|
 |
 |
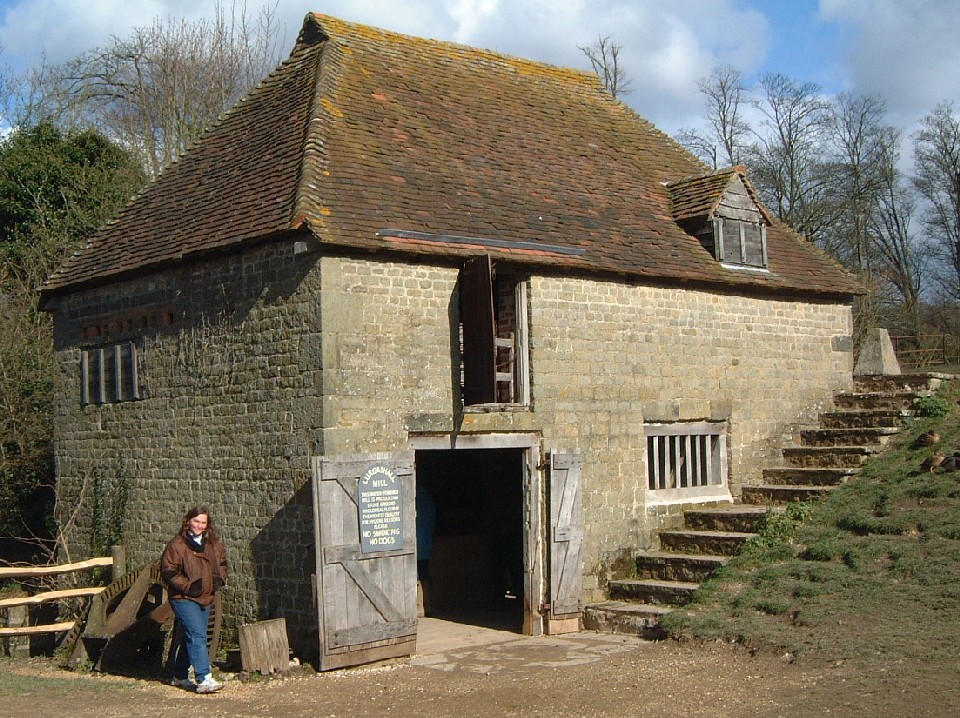
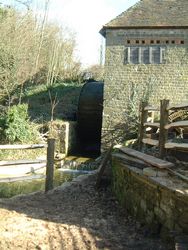
| The Lugarshall mill, used to grind flour
using water power. (276kb) |
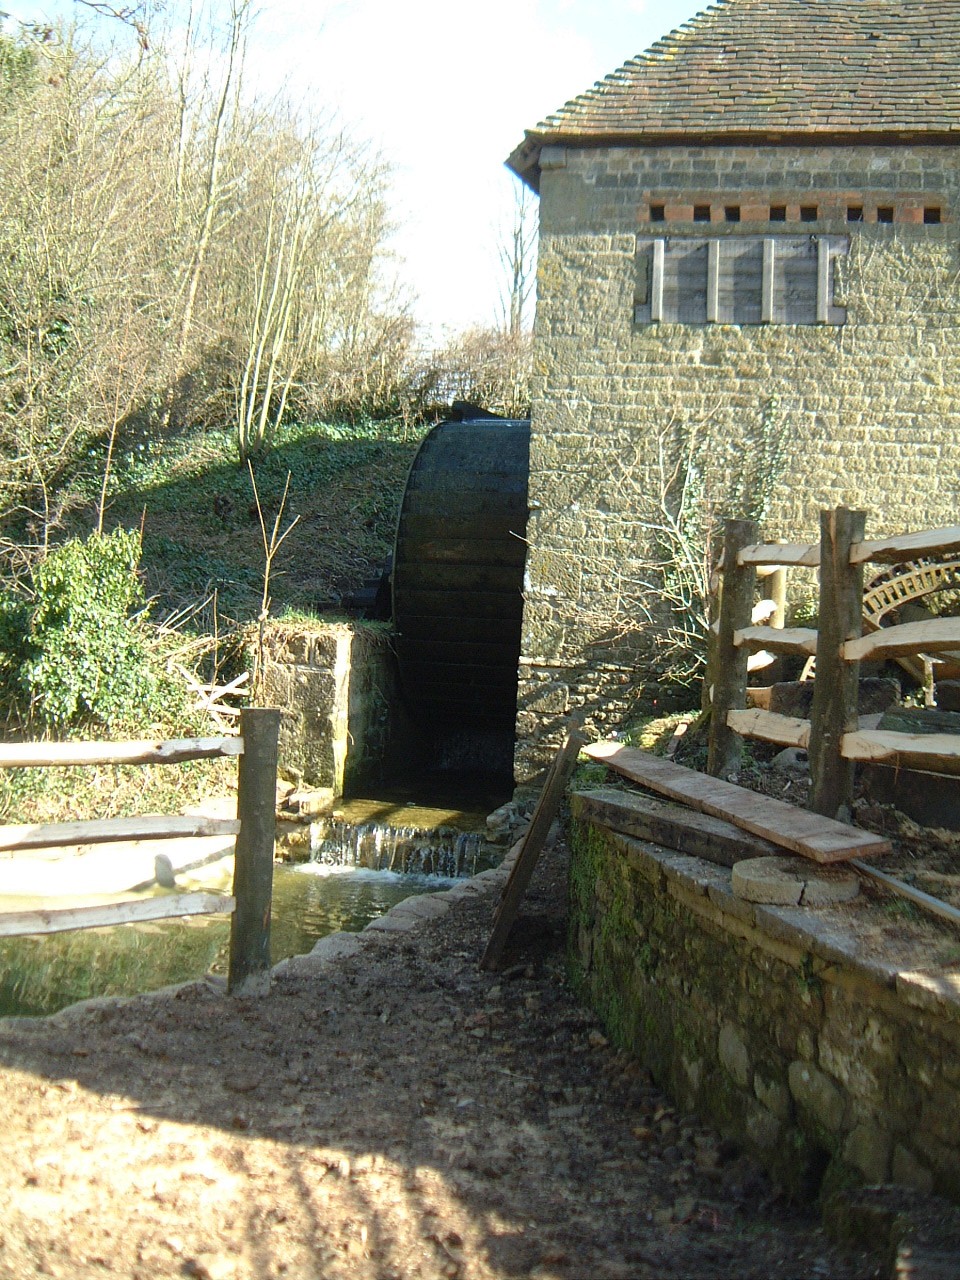
The working waterwheel of the mill. (469kb) |
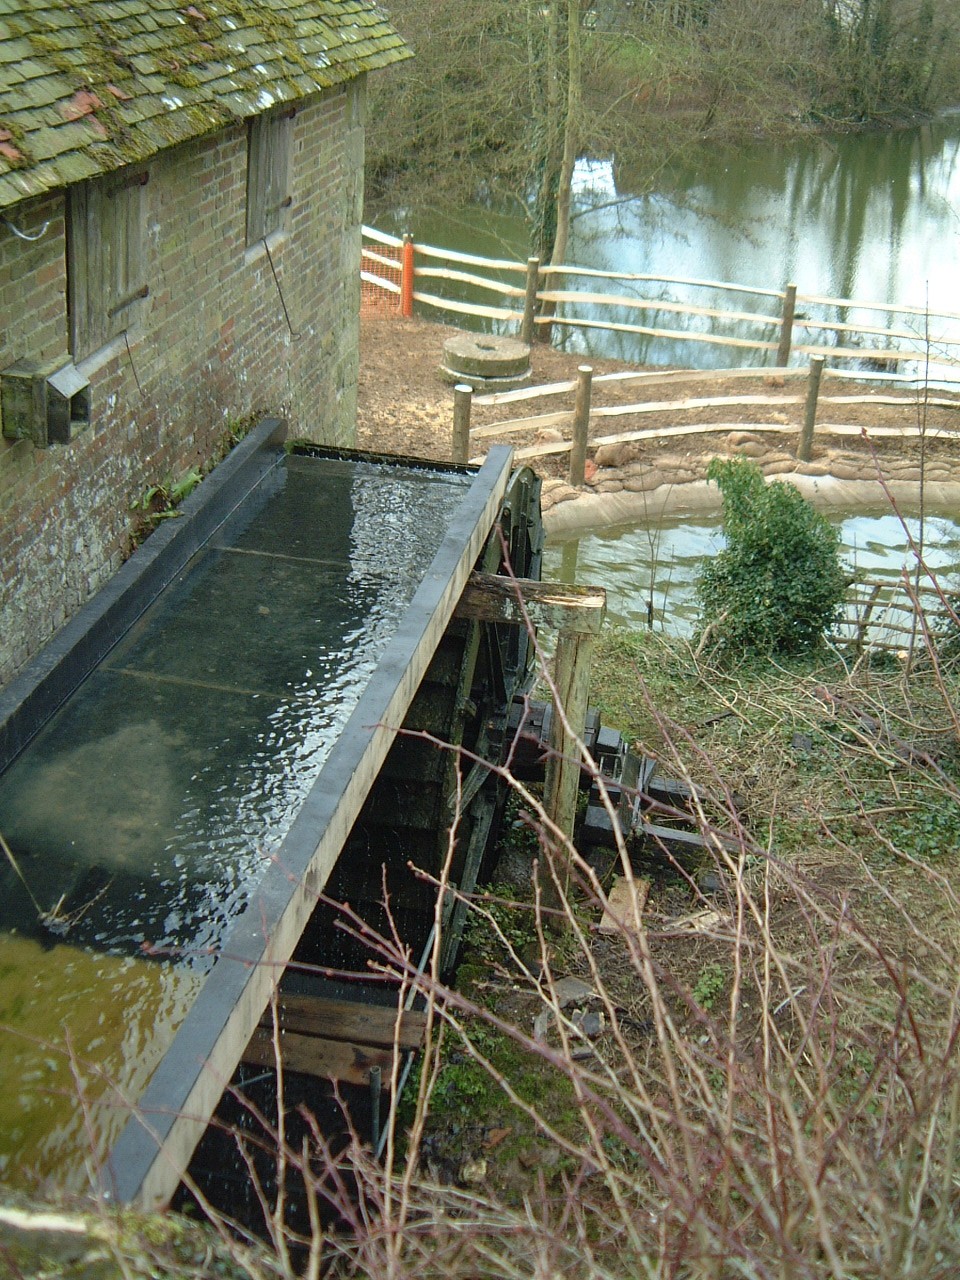
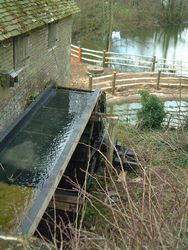
The raceway carrying water to the the top
of the waterwheel. (458kb) |
 |
 |
 |
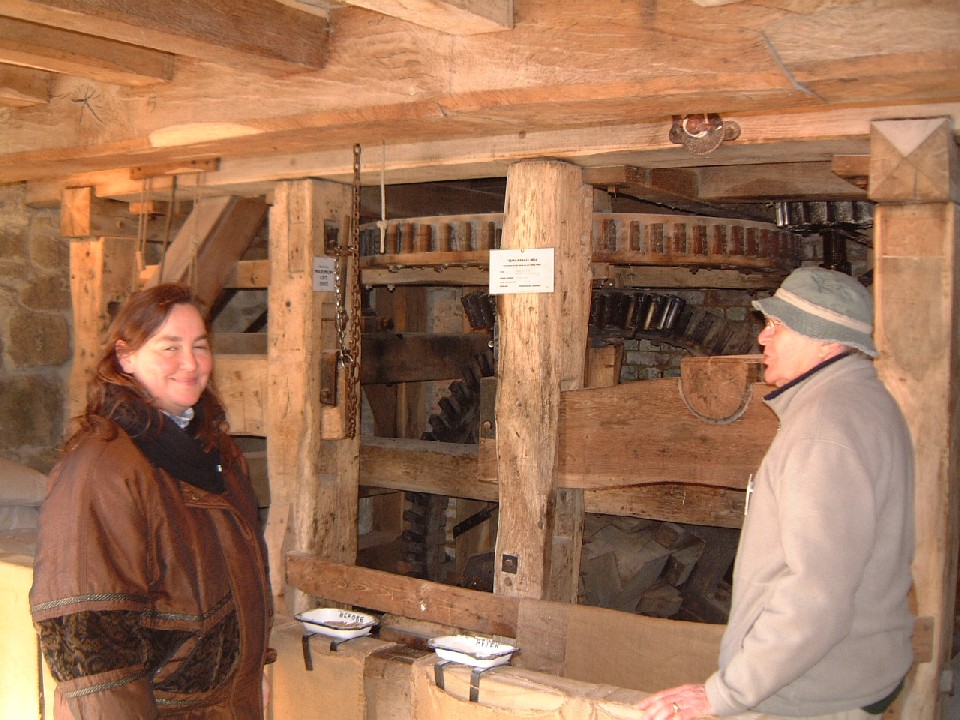
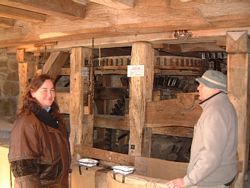
| The working mechanism inside the mill(195kb) |
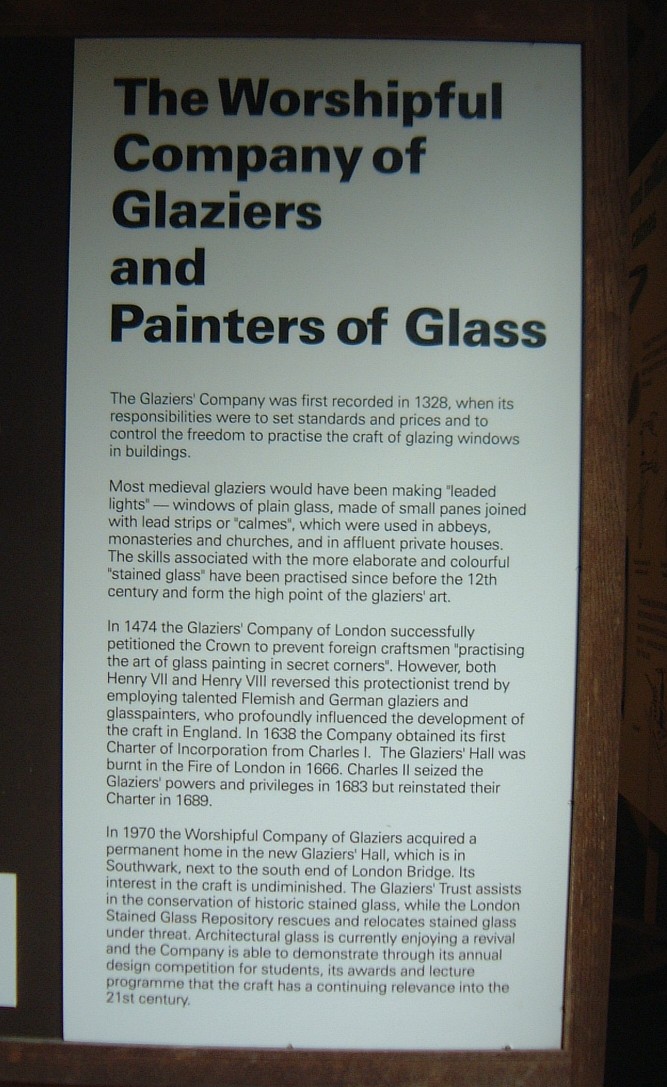
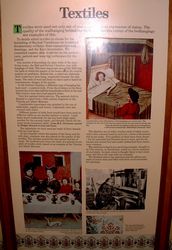
The stained glass exhibit began with
information on glaziers. (196kb) |
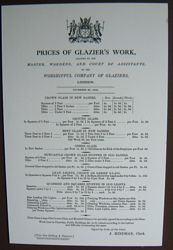
Information on the cost of glazier work
in 1818. (173kb) |
 |
 |
 |
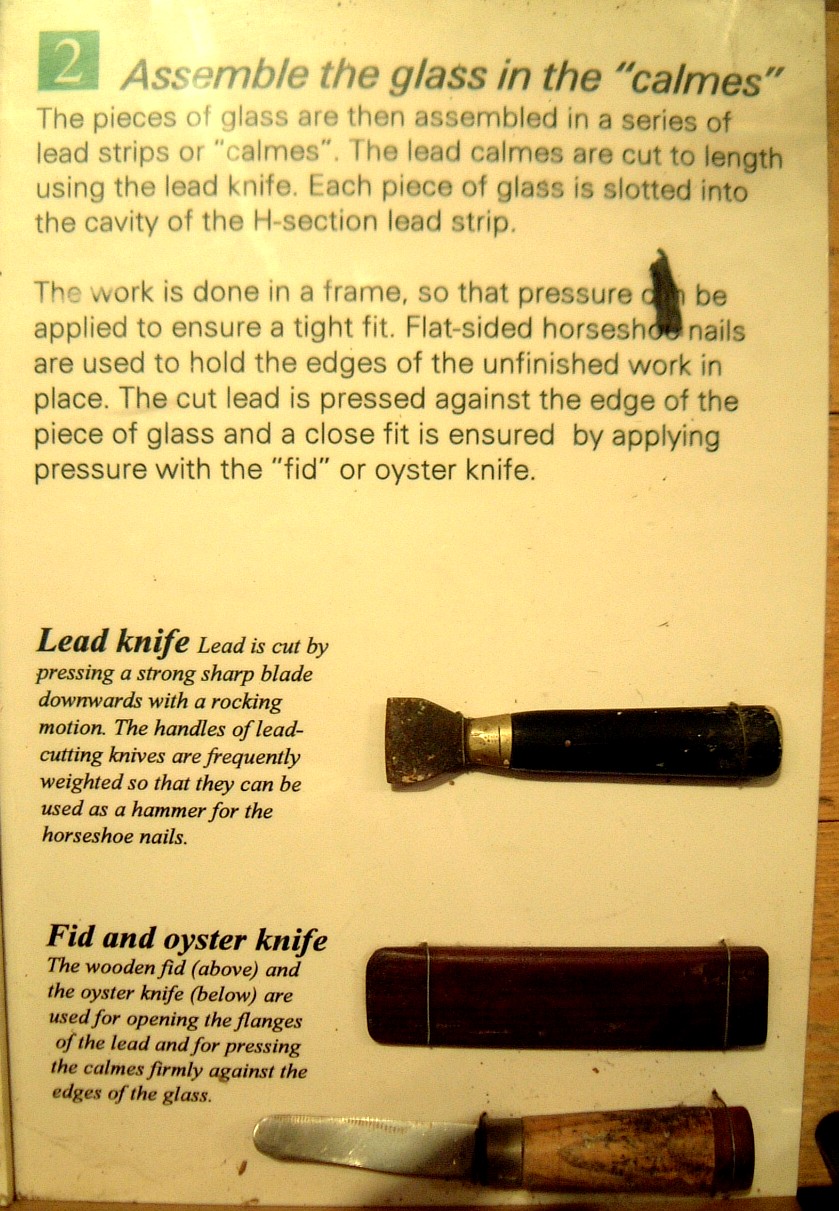
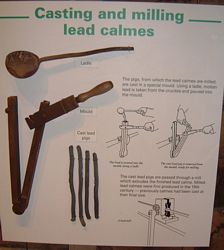
| Information on the lead calmes (which
surround the glass). (165kb) |
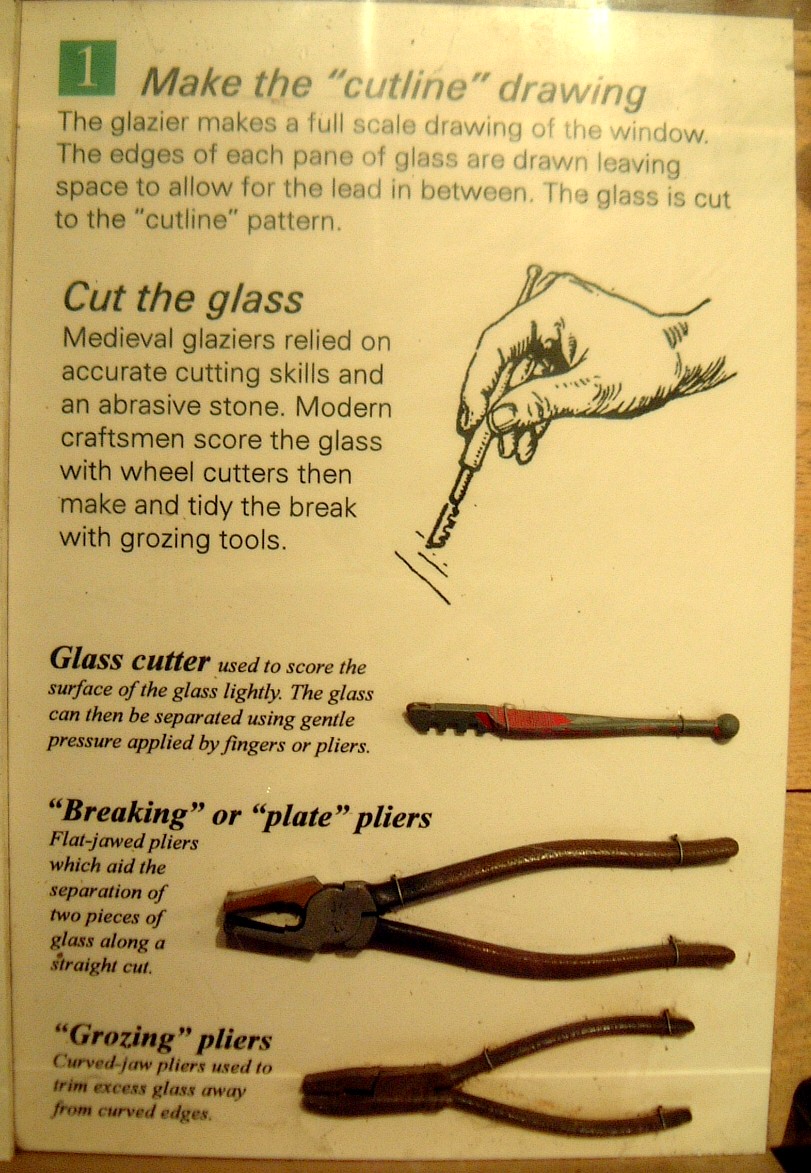
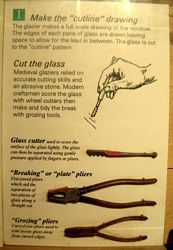
Stained glass, (or even plain lead
encased windows) begins with cutting the glass. (264kb) |
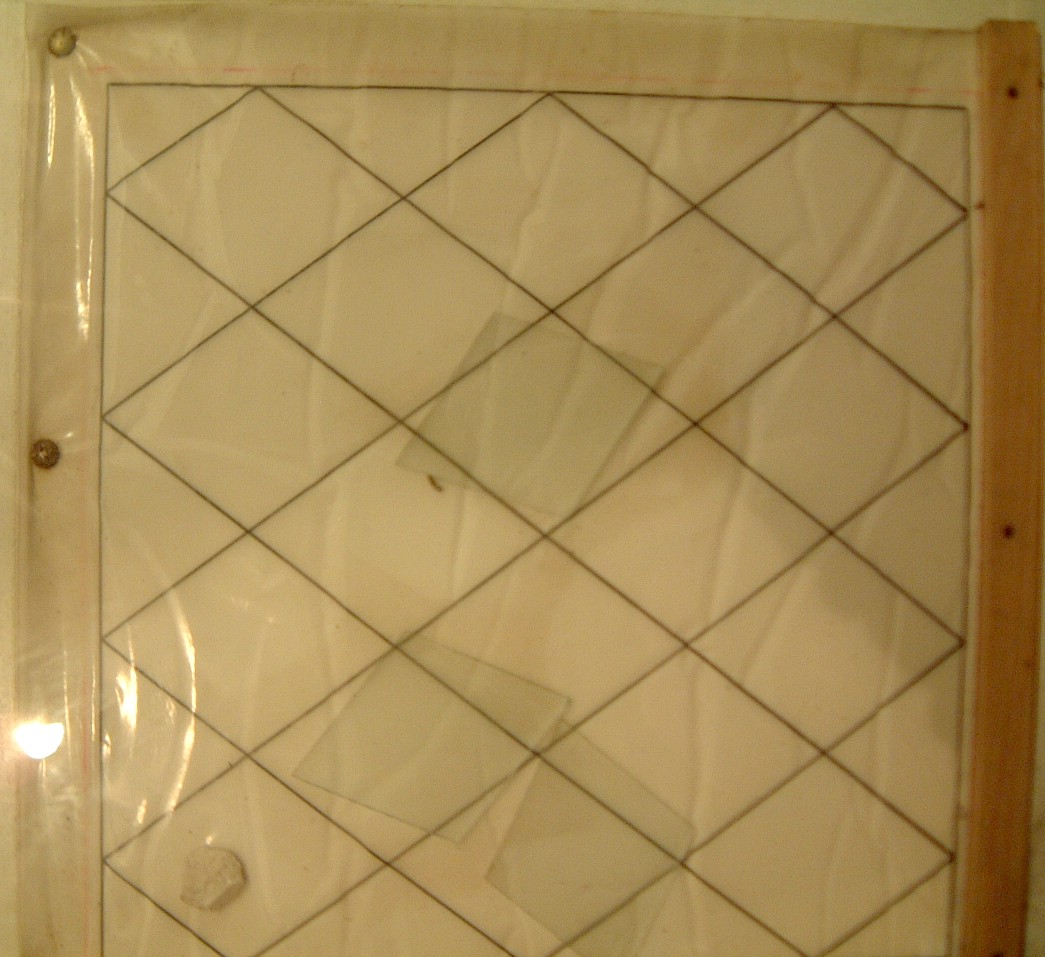
A layout pattern for the glass. (187kb) |
 |
 |
|
| Information on glazing's second step,
putting the glass into the calmes. (281kb) |
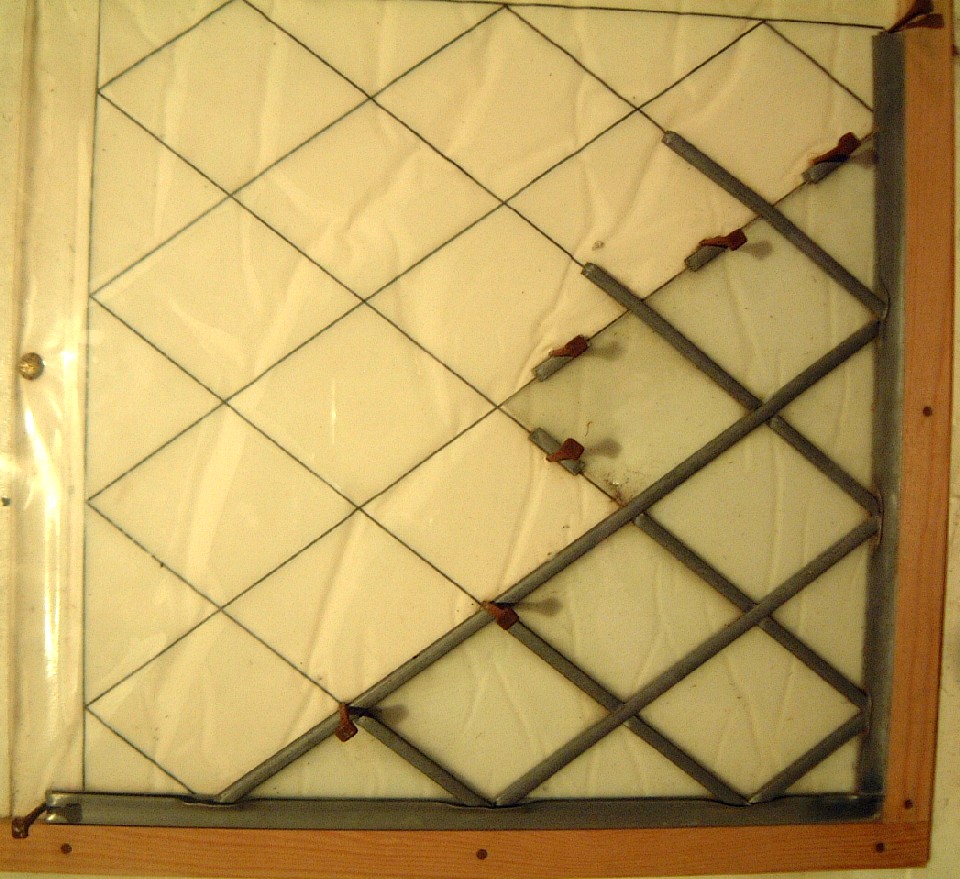
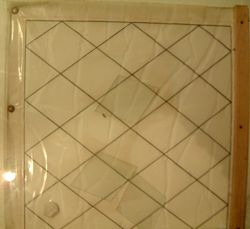
The layout patter partially filled with
glass and lead calmes. (219kb) |
|
 |
 |
 |
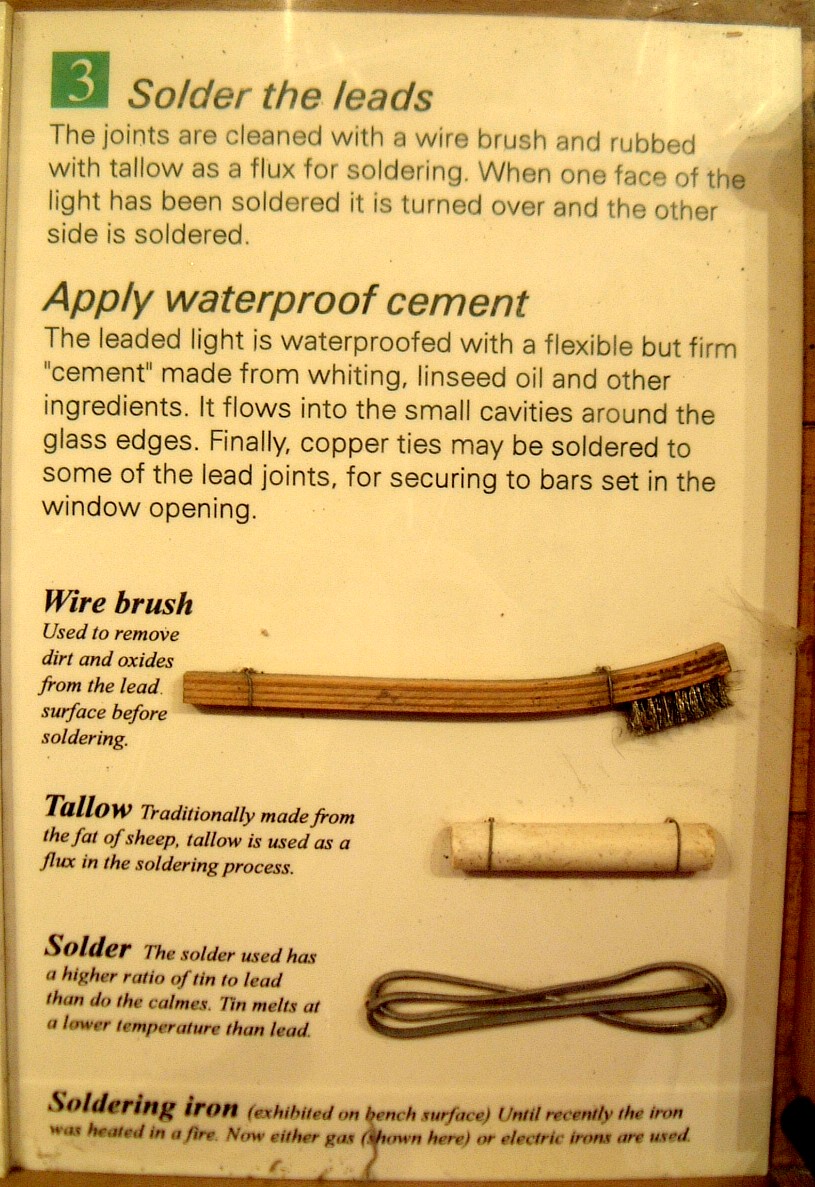
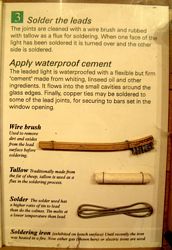
| Info on glazing's third step, soldering
the lead and waterproofing. (290kb) |
The layout pattern filled with glass, and
soldered lead calmes. (239kb) |
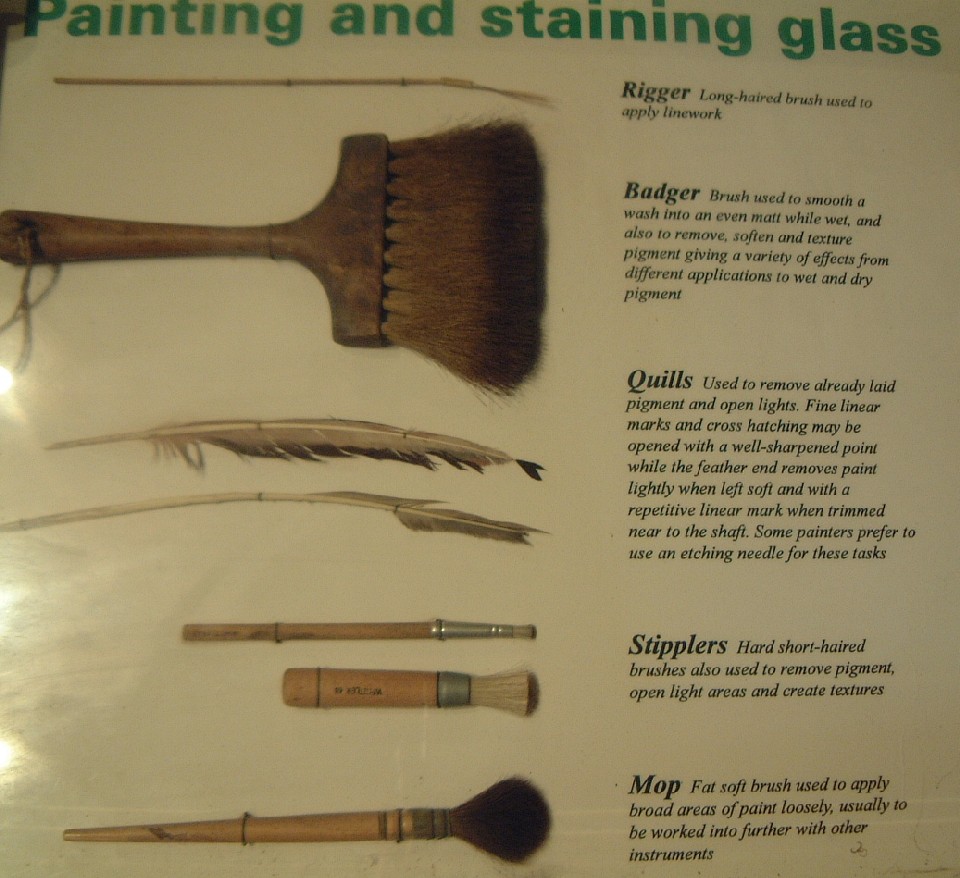
An exhibit of the tools used to paint or
stain glass. (170kb) |
 |
 |
 |
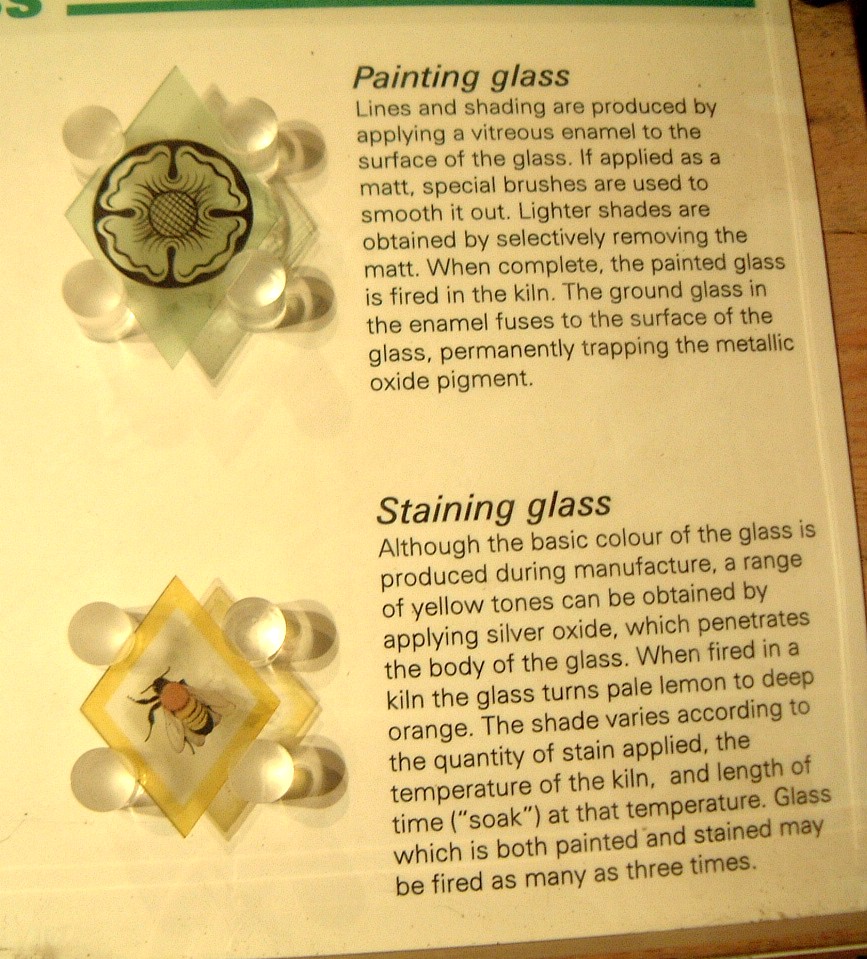
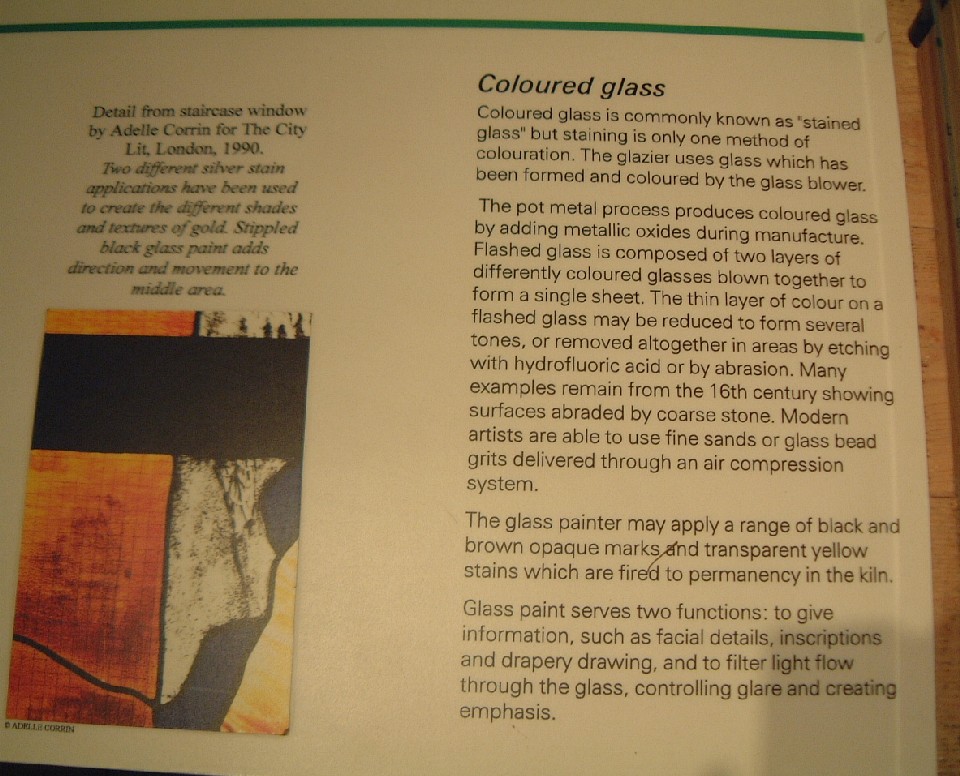
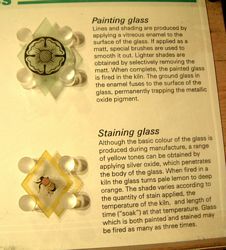
| Info on the difference between painting
and staining glass. (250kb) |
Information on making colored glass. (196kb) |
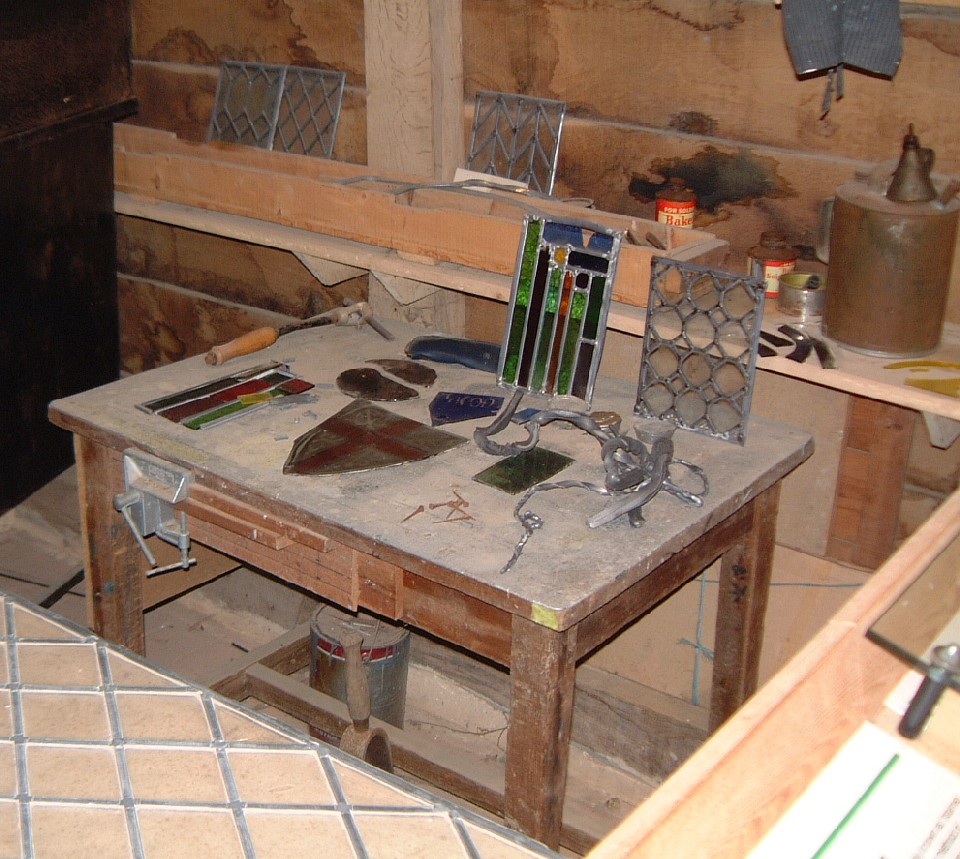
A display of glazier's work area. (221kb) |
 |
 |
 |
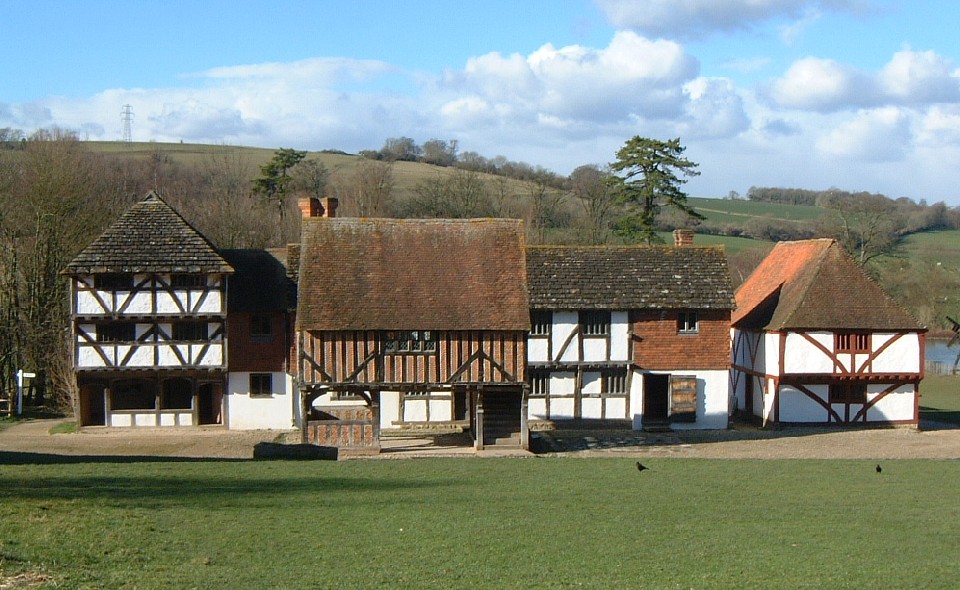
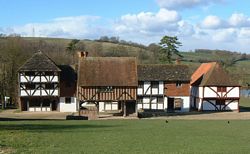
| A view of the collection of Downland
buildings. (174kb) |
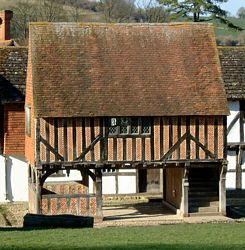
The town hall with the central market
underneath. (256kb) |
The end of the town hall. (244kb) |
 |
 |
 |
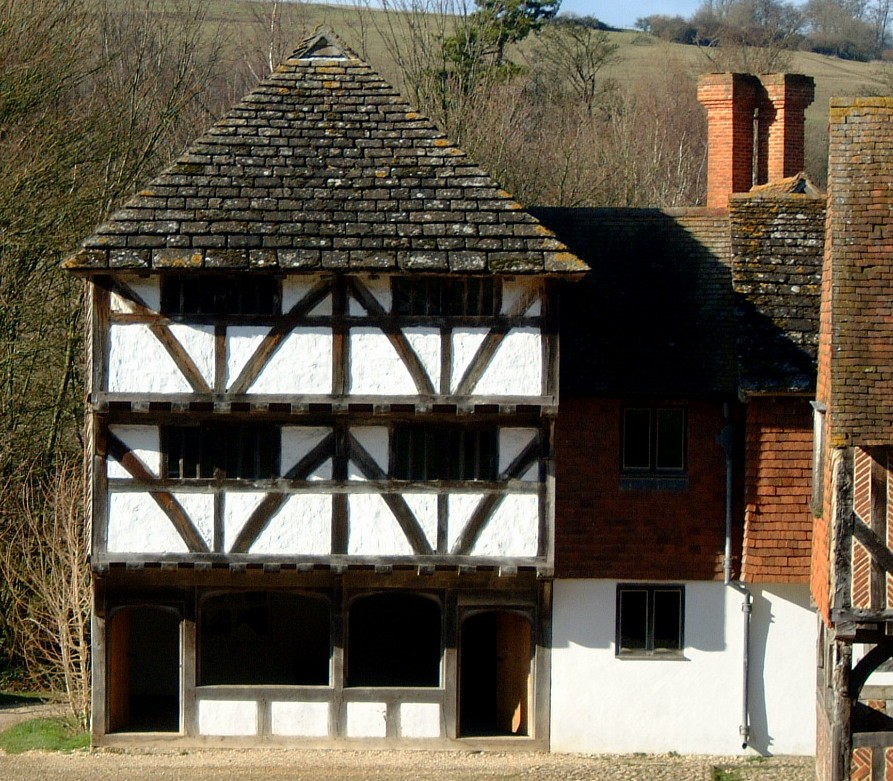
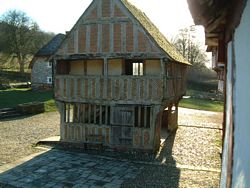
| A typical 15th century building with two
shops on the bottom floor. (251kb) |
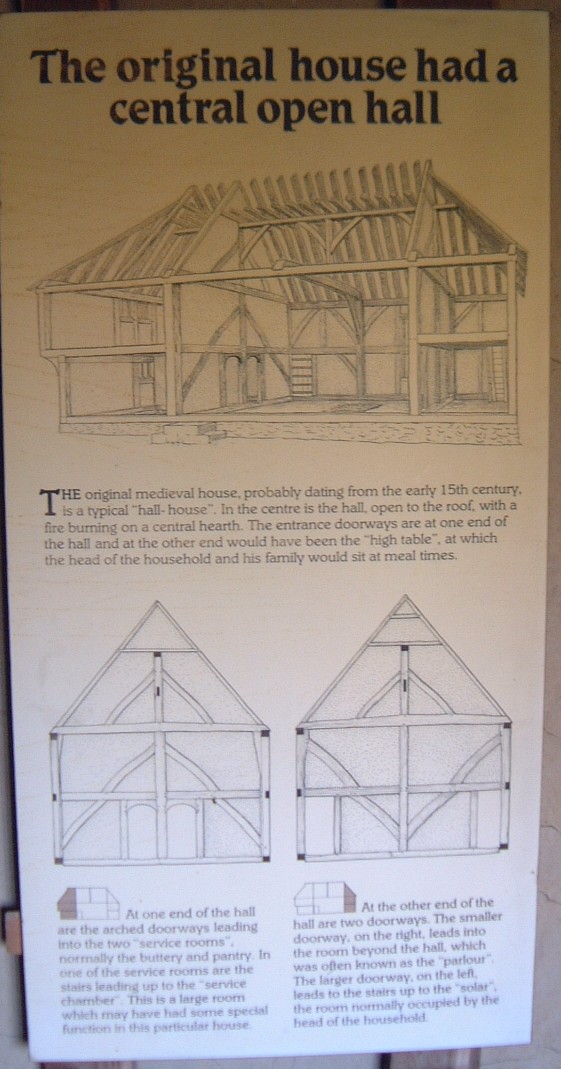
Information on an original 15th century
medieval house (the North Cray House) (139kb) |
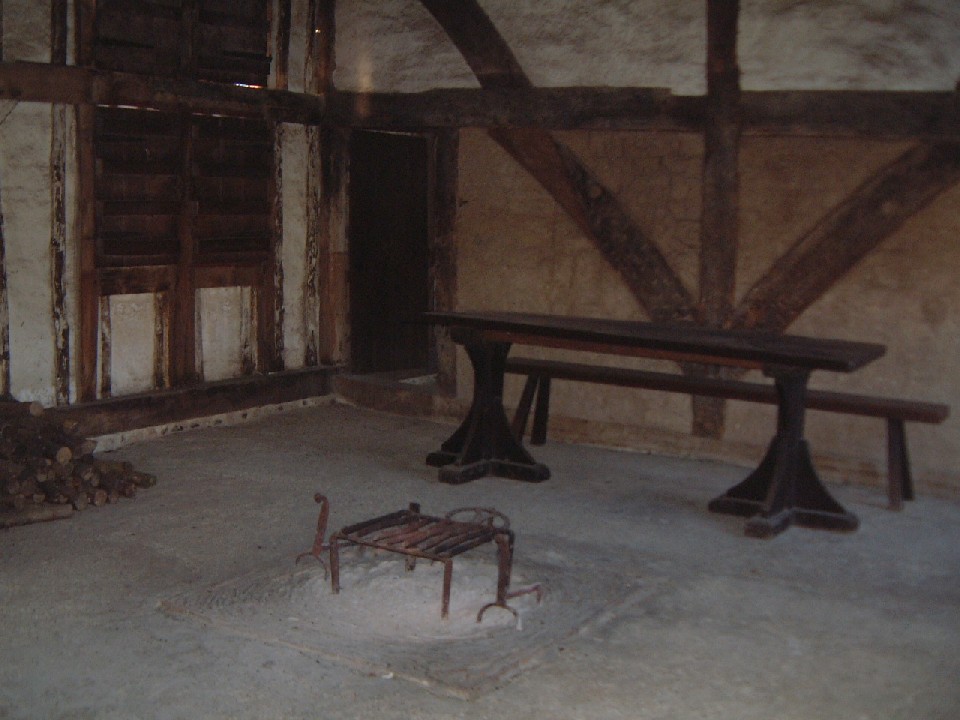
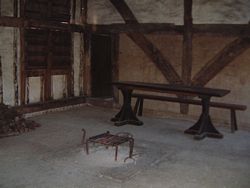
The open hall with a central hearth. (132kb) |
 |
 |
 |
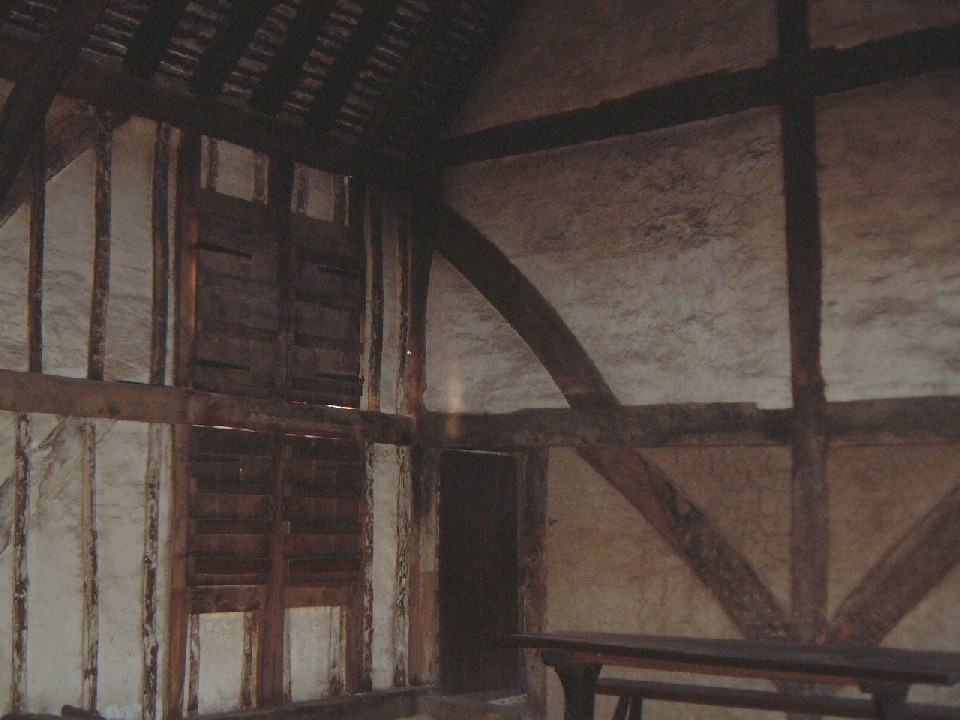
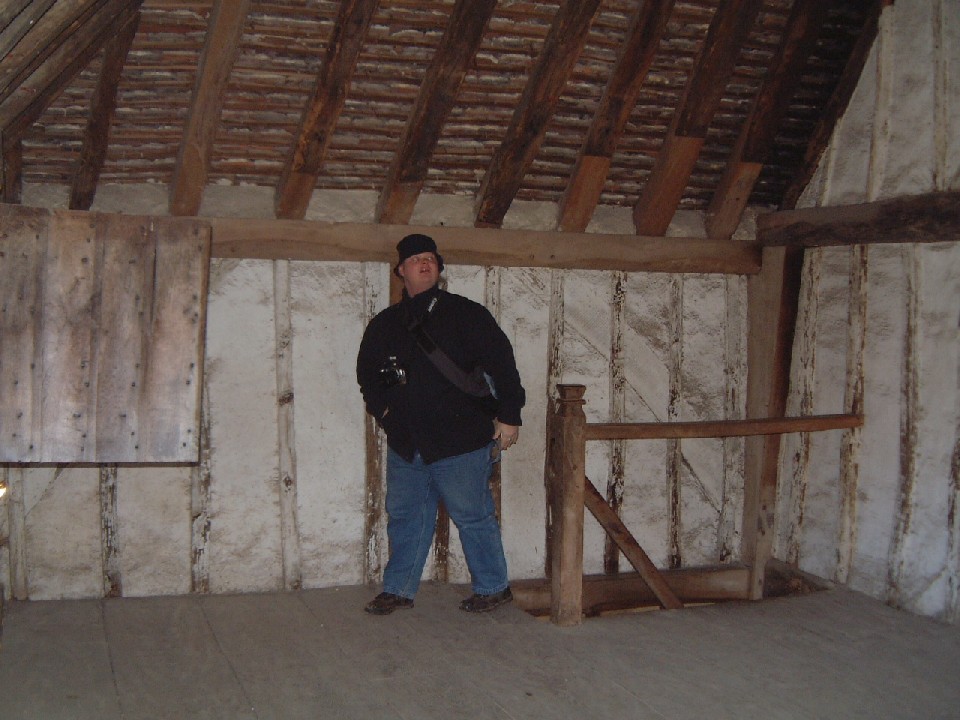
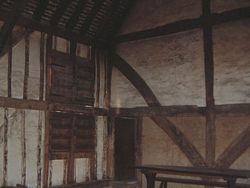
| The upper levels of the open hall. (154kb) |
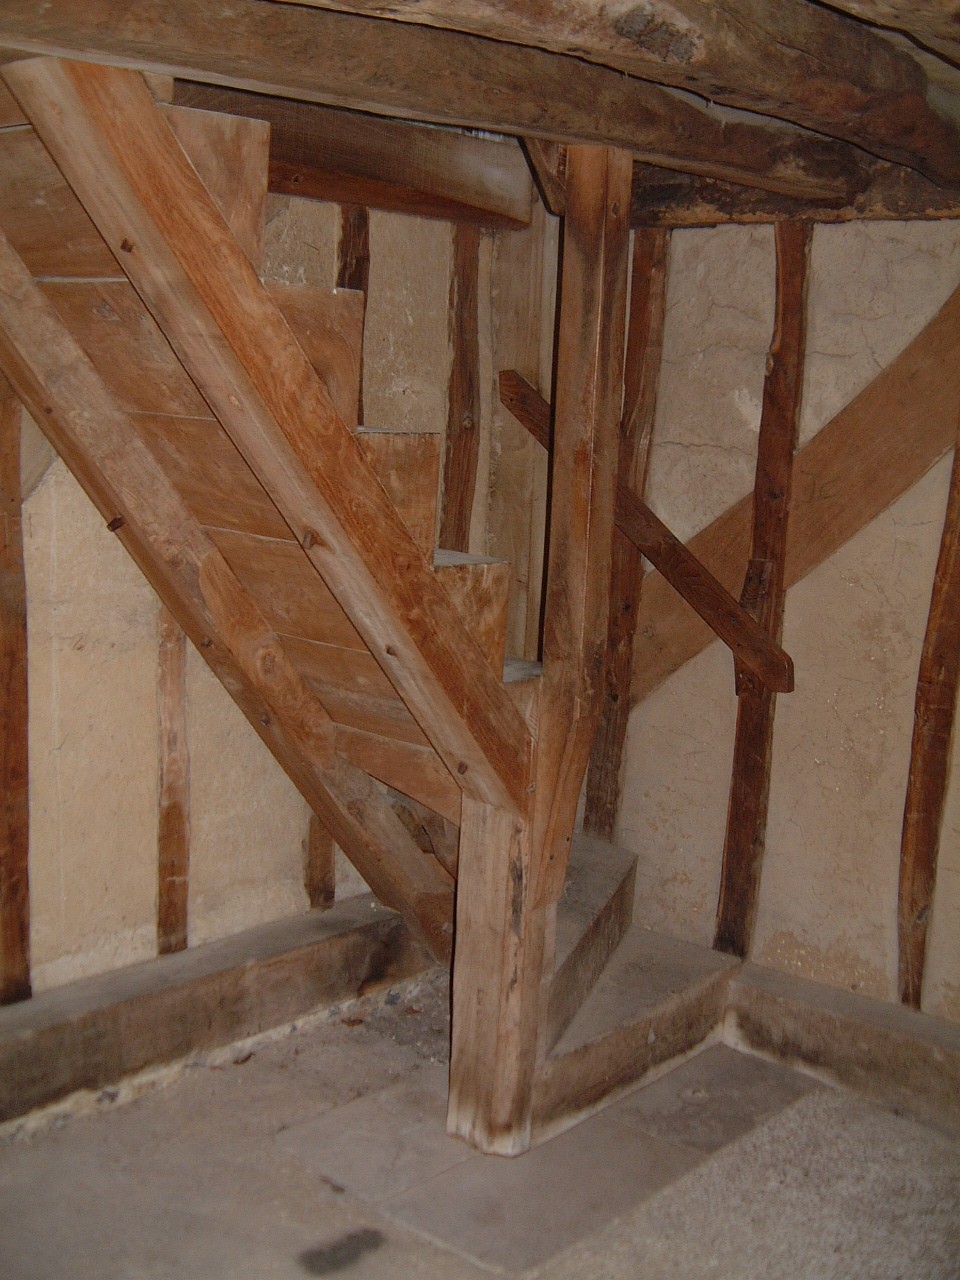
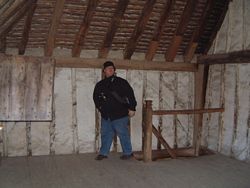
The stairs in one of the service rooms. (281kb) |
The entrance to the service chamber. (158kb) |
 |
 |
|
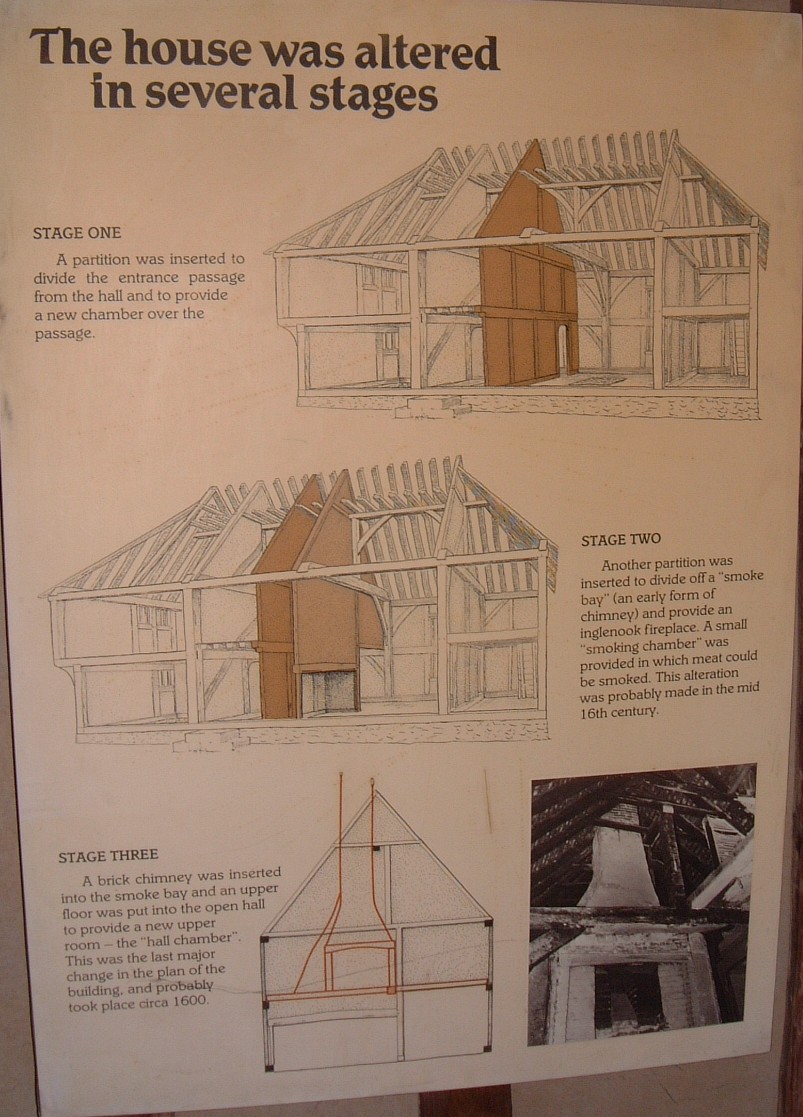
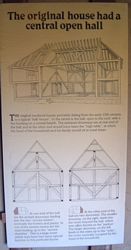
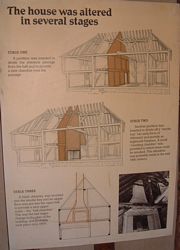
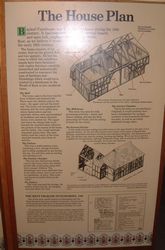
| Information on the changes in the house. (220kb) |
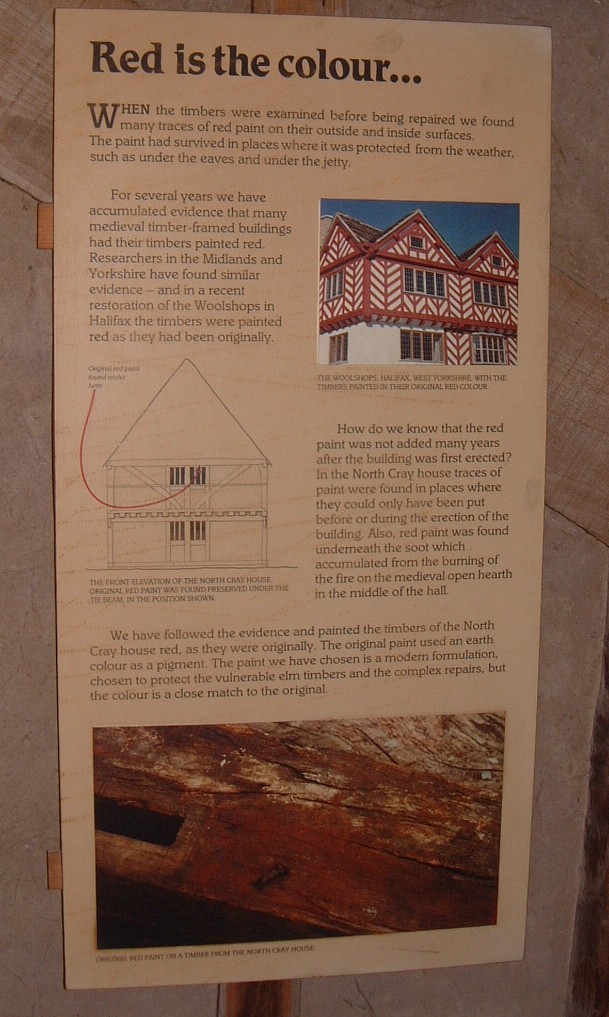
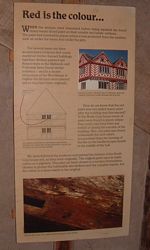
Information on why the timbers of the
North Cray House are painted red. (165kb) |
|
 |
 |
 |
| An information panel on Bayleaf Hall (256kb) |
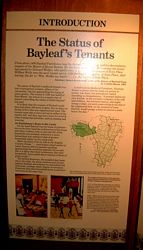
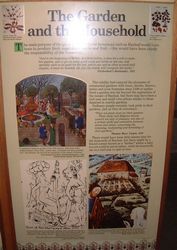
Information on who might have lived at
Bayleaf Hall. (262kb) |
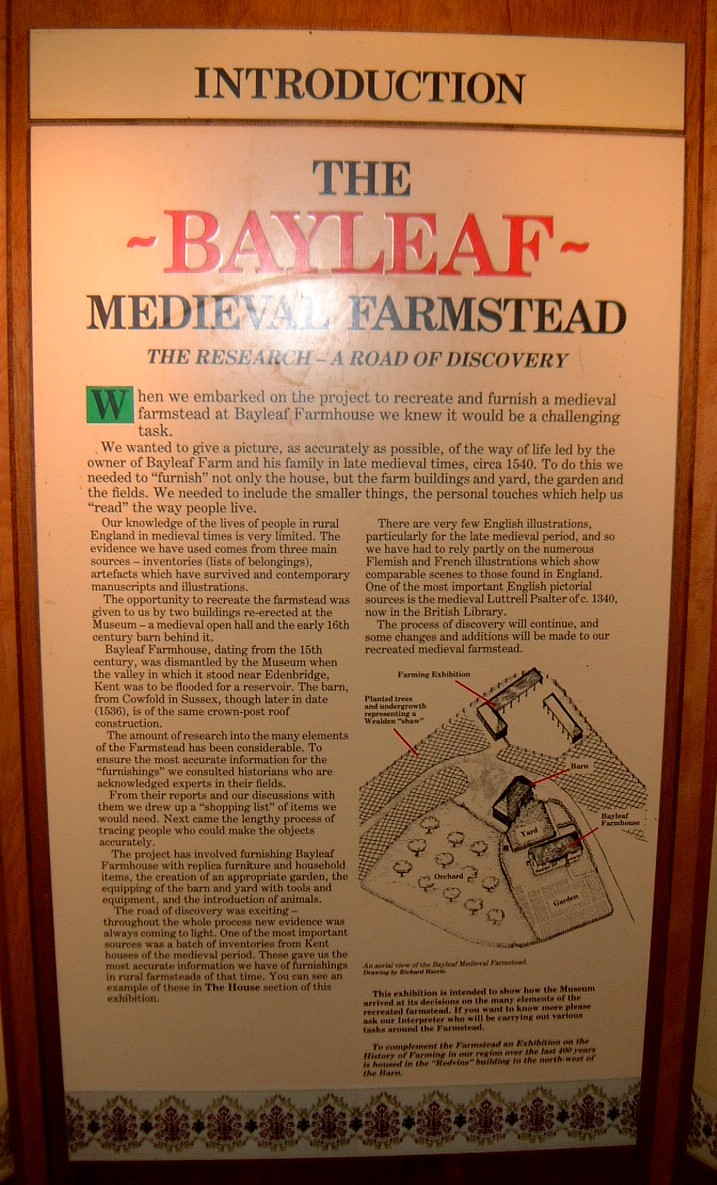
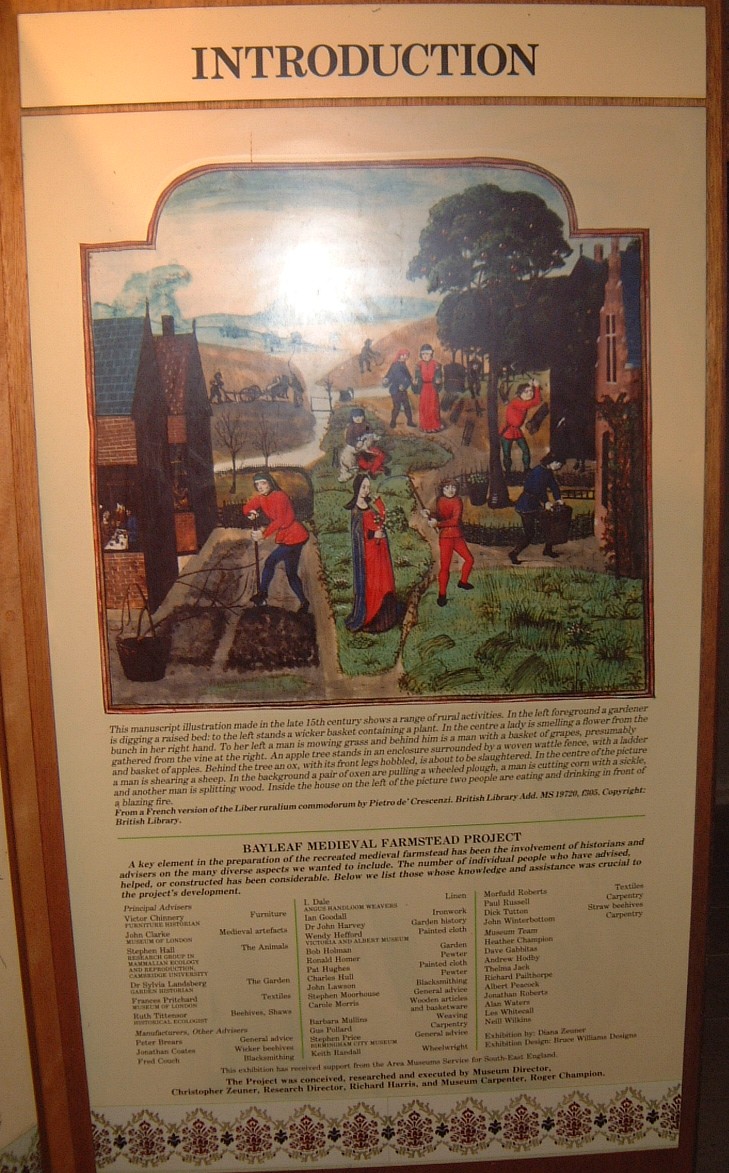
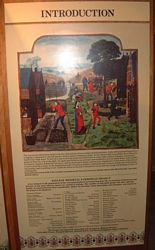
Information on the Bayleaf medieval
farmstead project. (244kb) |
 |
 |
 |
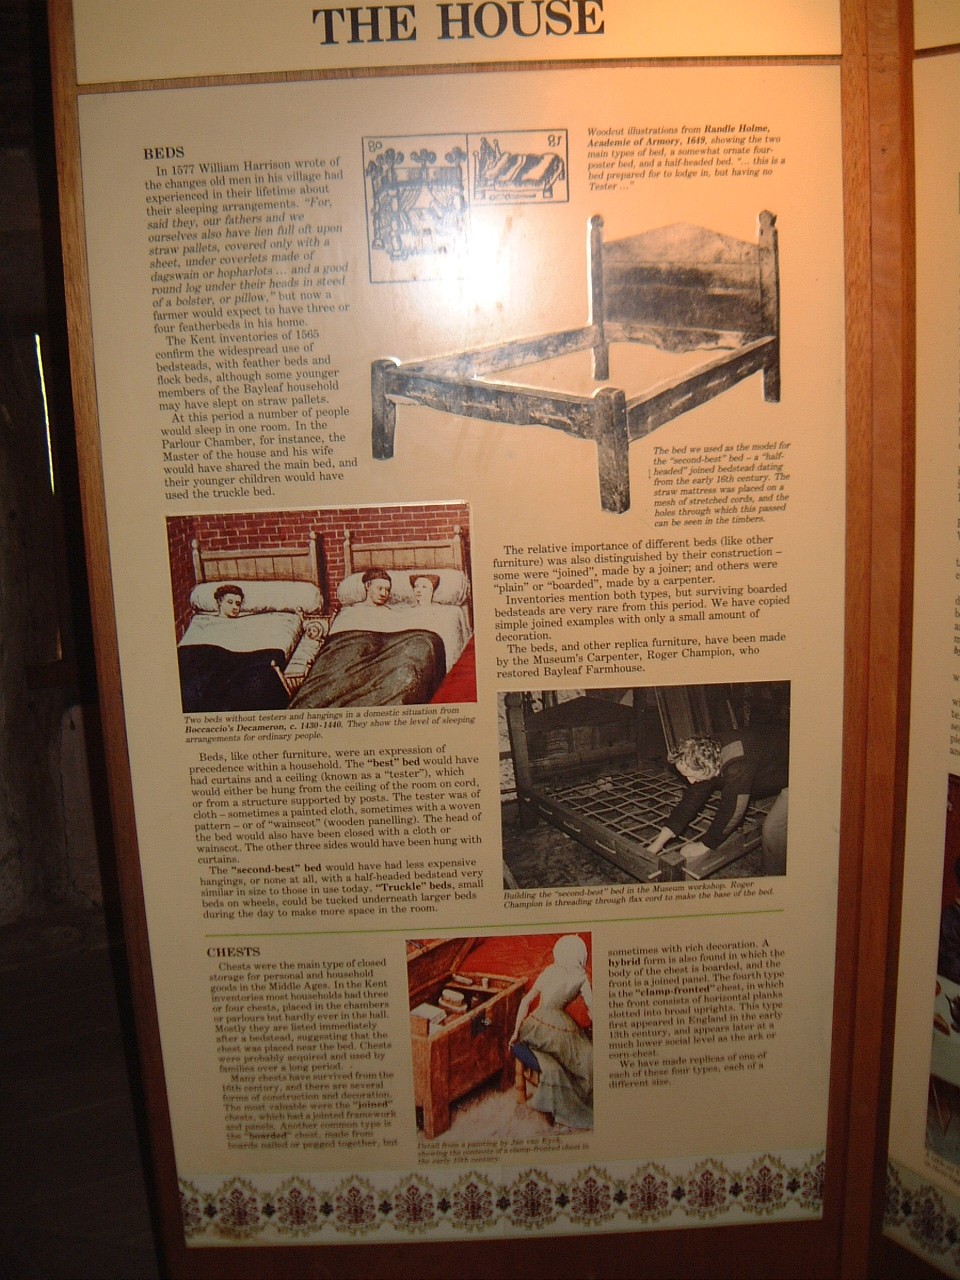
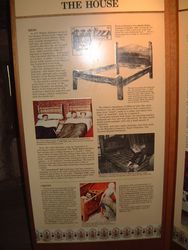
| Information on the house, and some of the
furniture in Bayleaf Hall. (321kb) |
More information on decorations in
Bayleaf Hall. (334kb) |
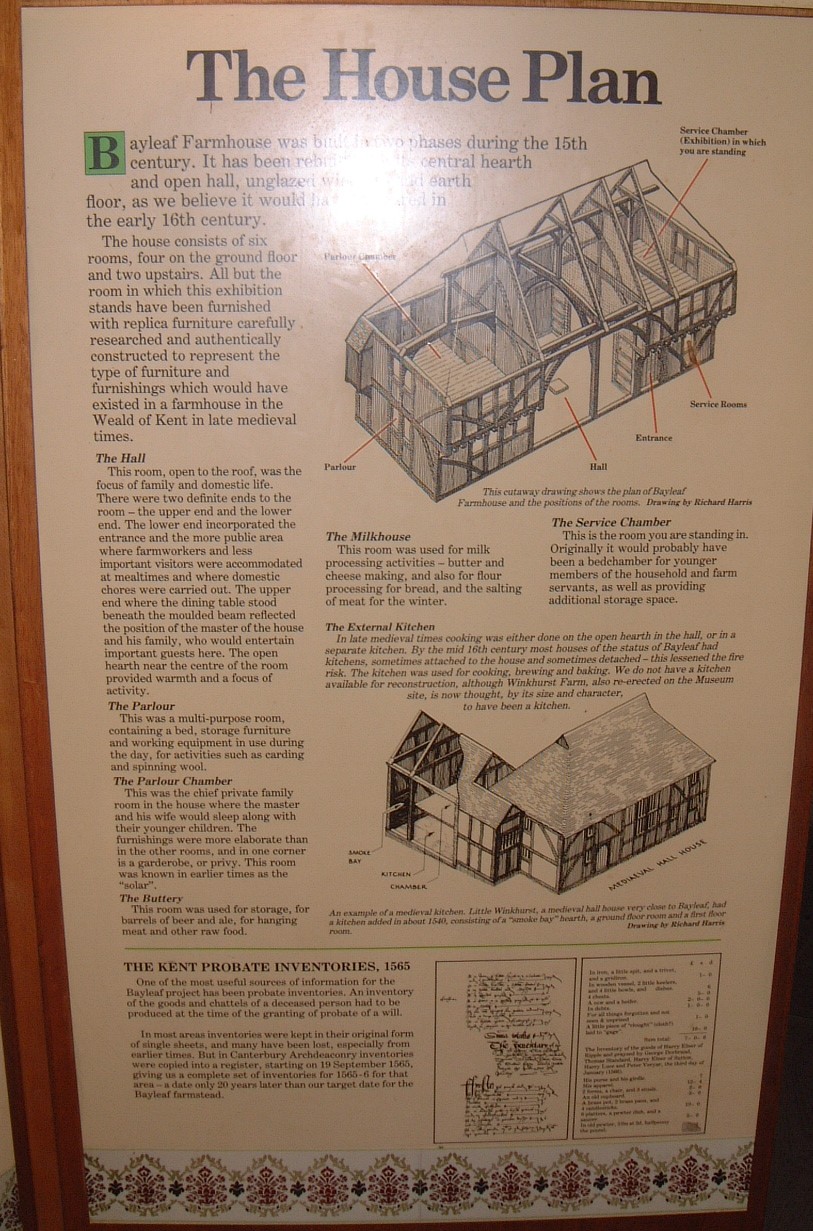
Details on the layout of Bayleaf Hall. (301kb) |
 |
 |
 |
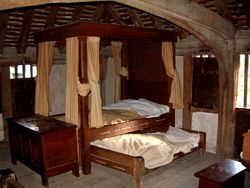
| The parlour in Bayleaf Hall (with
reproduction furniture) (180kb) |
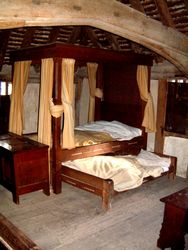
Another shot, with more of the roof beams
visible (343kb) |
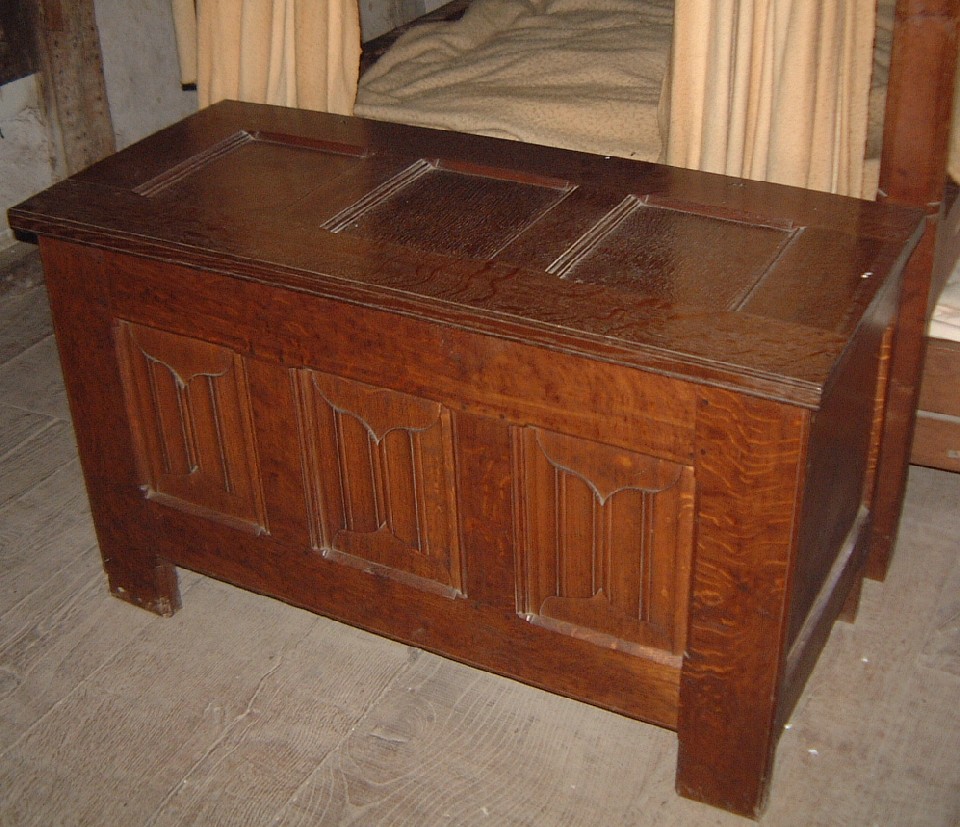
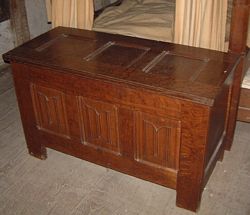
A reproduction panel chest. (210kb) |
 |
 |
 |
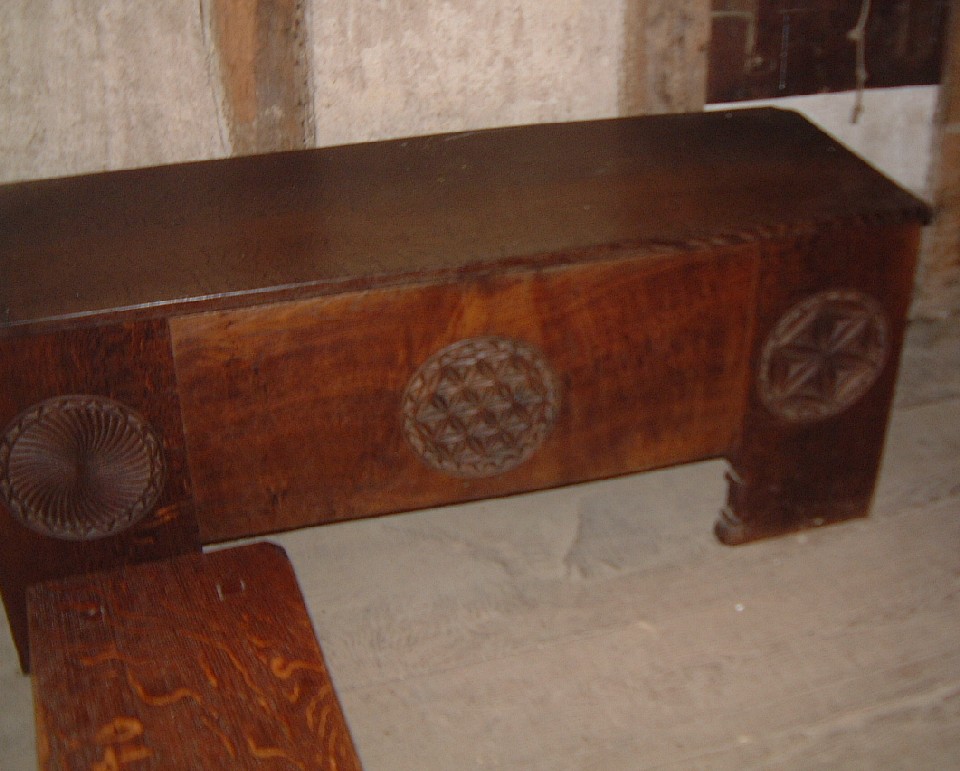
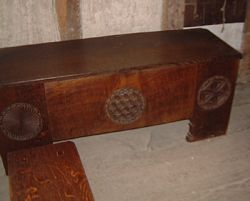
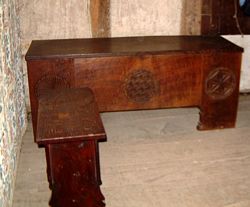
| A reproduction hutch chest. (148kb) |
Another view of the hutch chest with a
bench/stool in front of it. (194kb) |
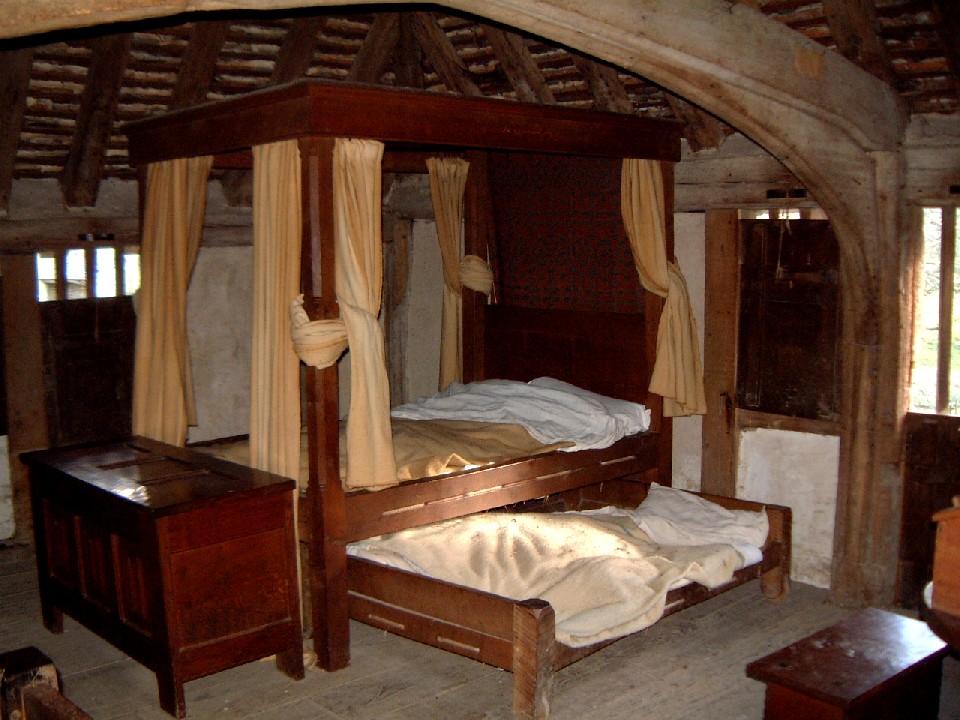
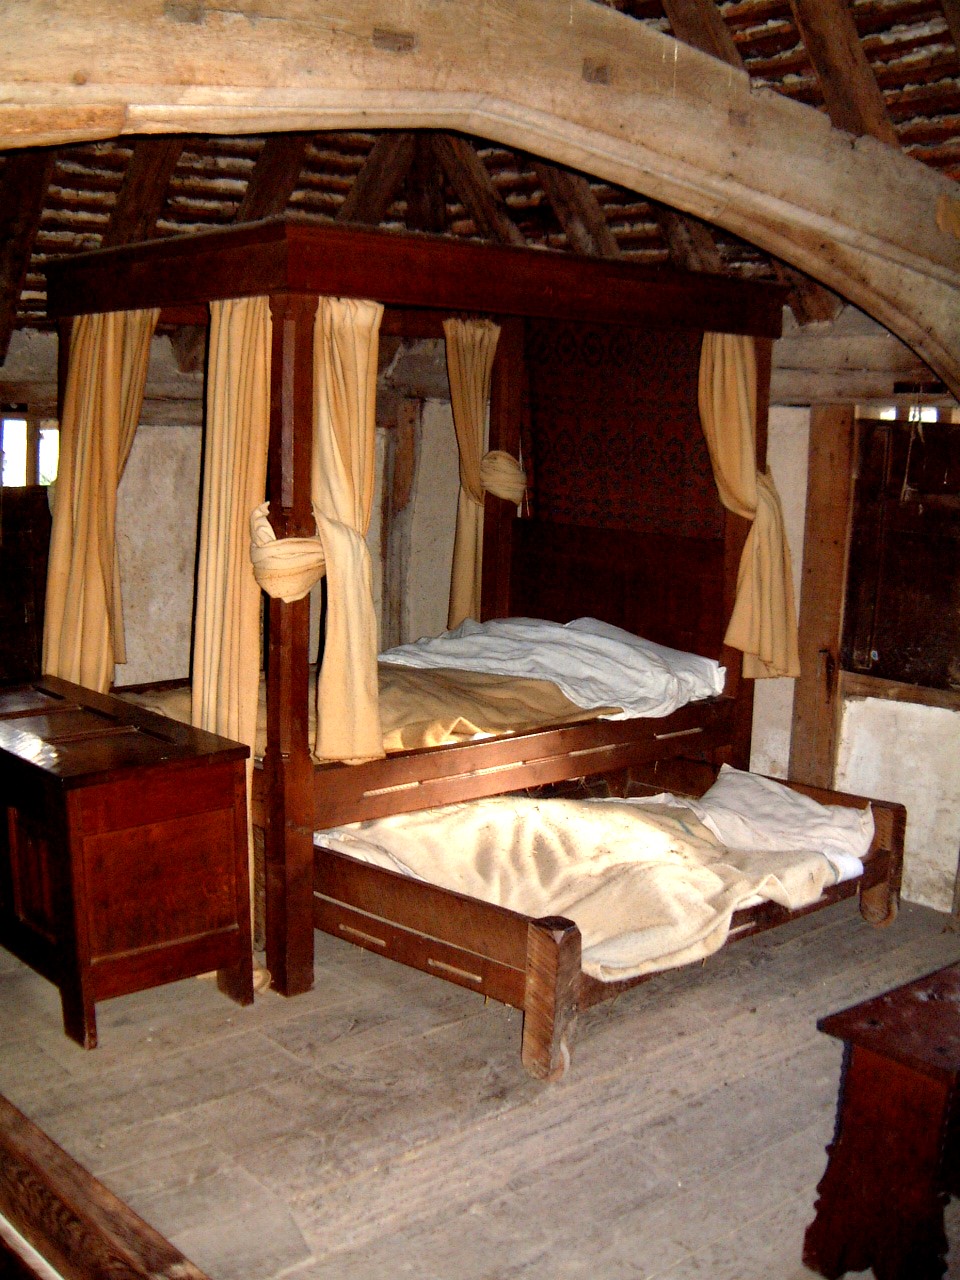
The top of the four poster bed. (131kb) |
 |
 |
 |
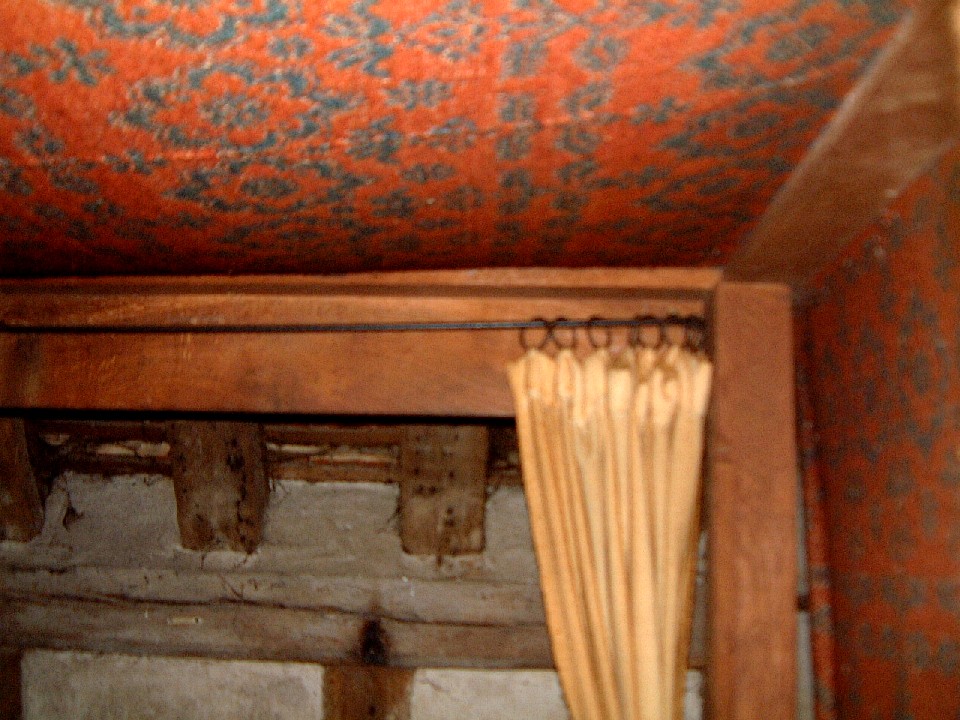
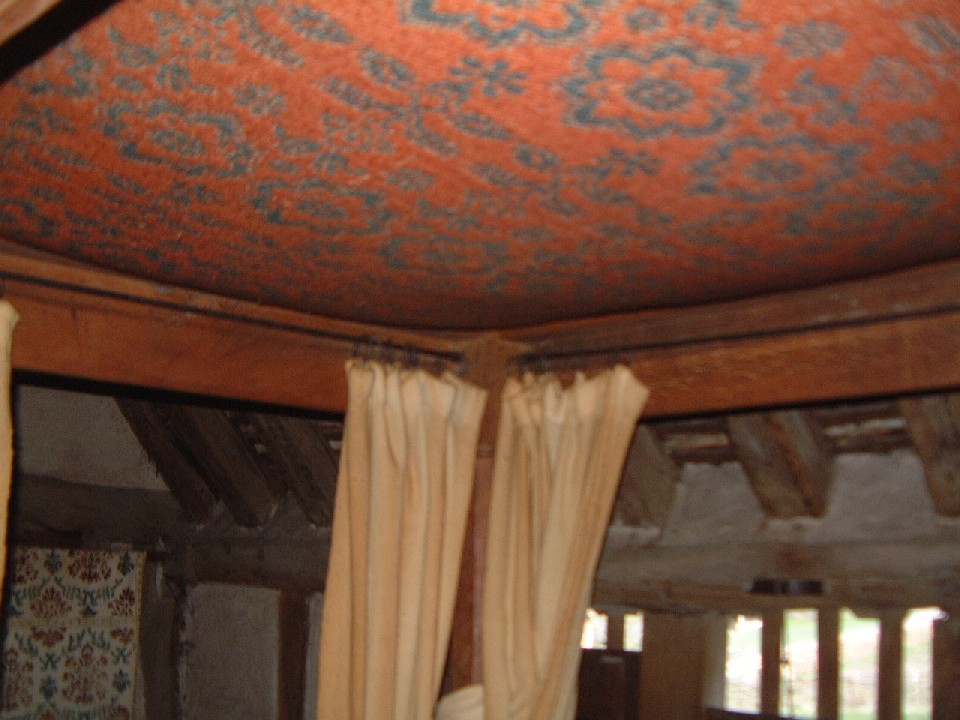
| A shot of the curtain rods and hangers. (103kb) |
A shot of two curtain rods meeting at the
corner post. (152kb) |
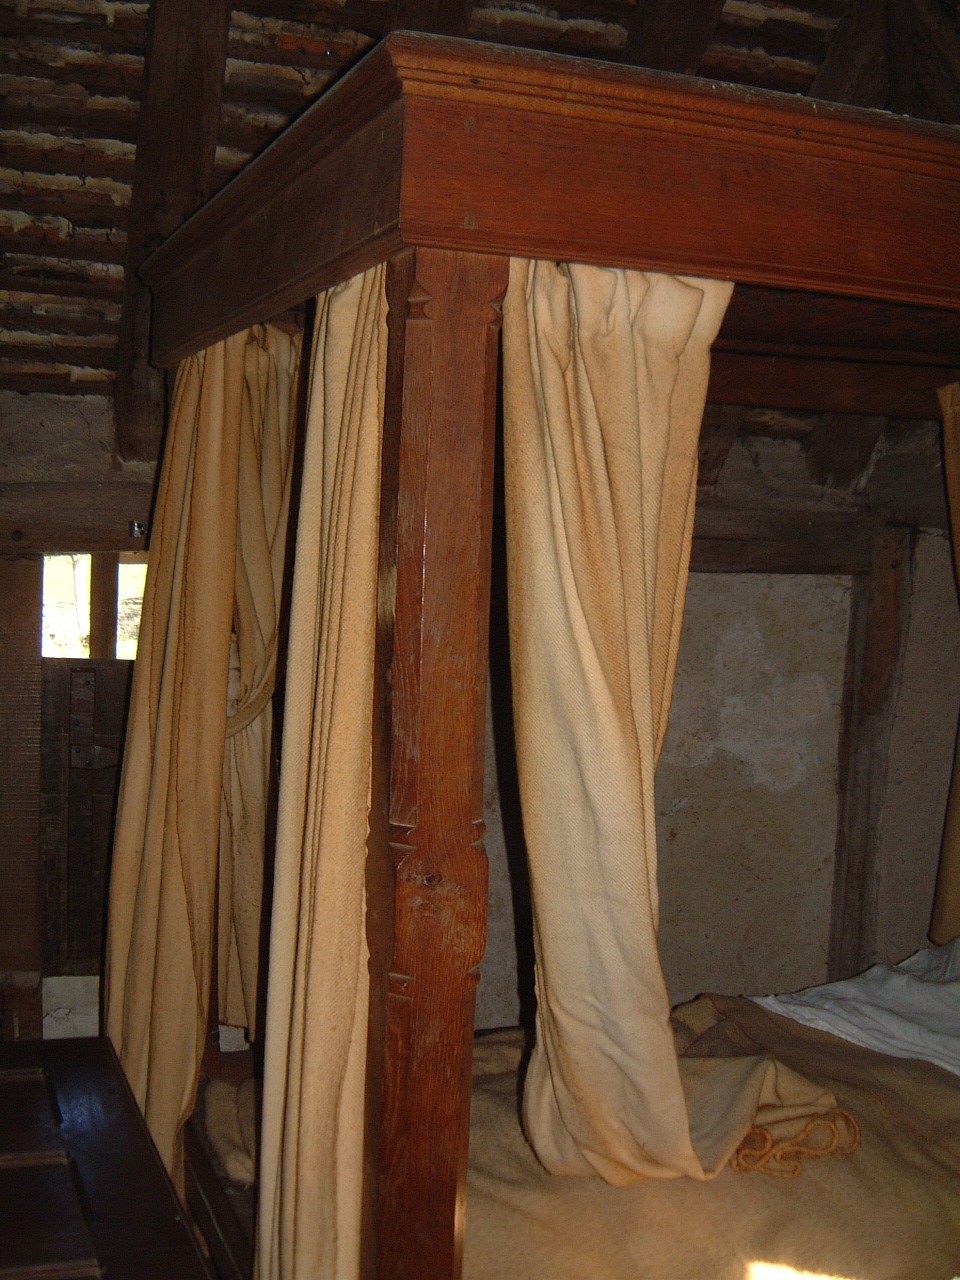
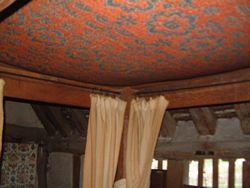
The bed and curtains without a flash. (275kb) |
 |
 |
 |
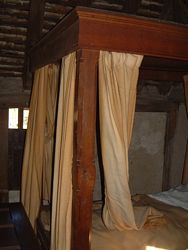
| The bed and curtains with flash. (292kb) |
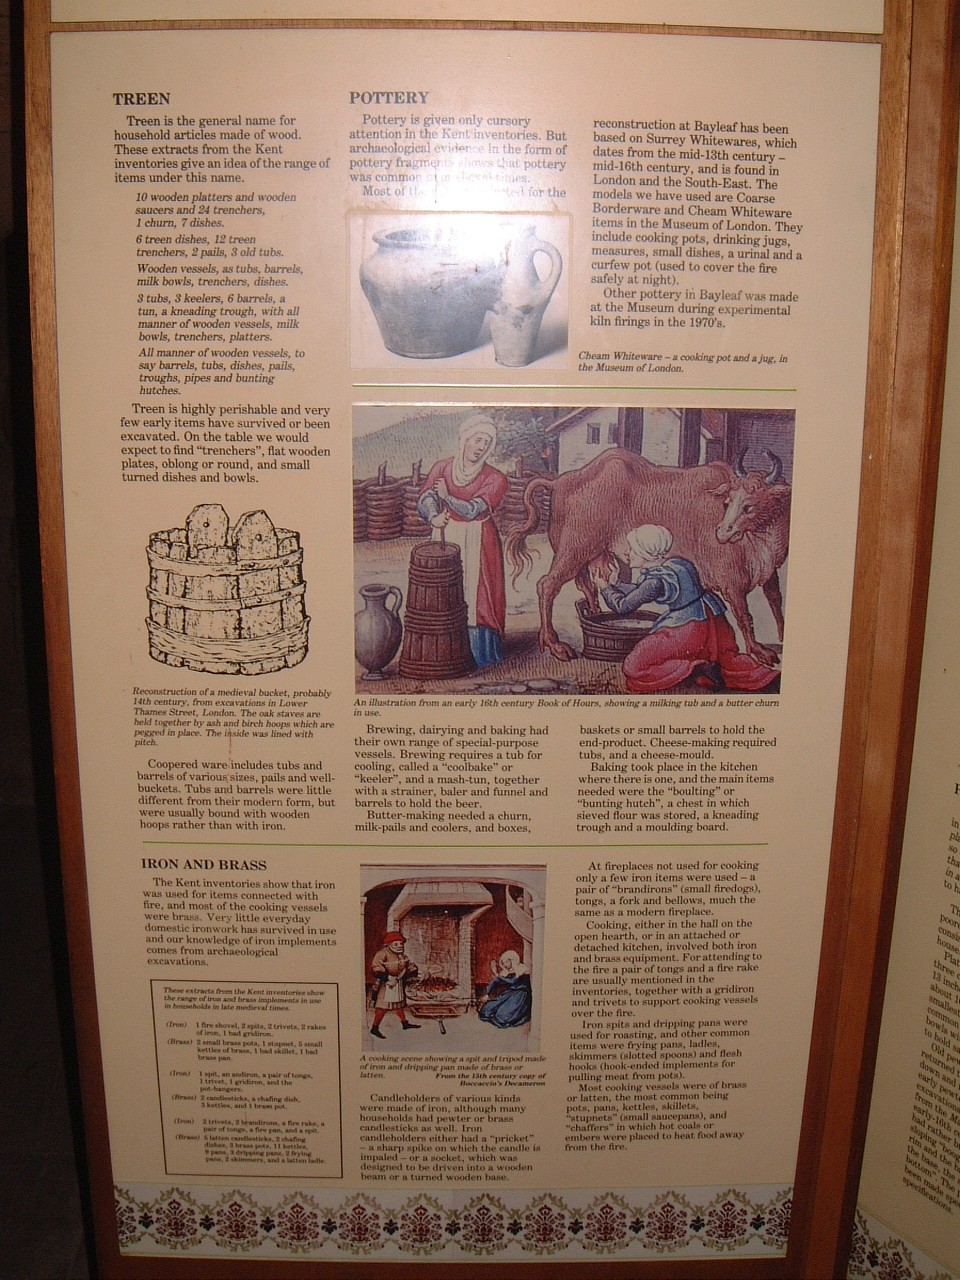
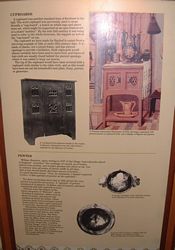
An information panel on 'treen' (wooden
household objects), pottery, and brass and iron objects. (373kb) |
Information on cupboards and pewter
objects in Bayleaf Hall. (280kb) |
 |
 |
 |
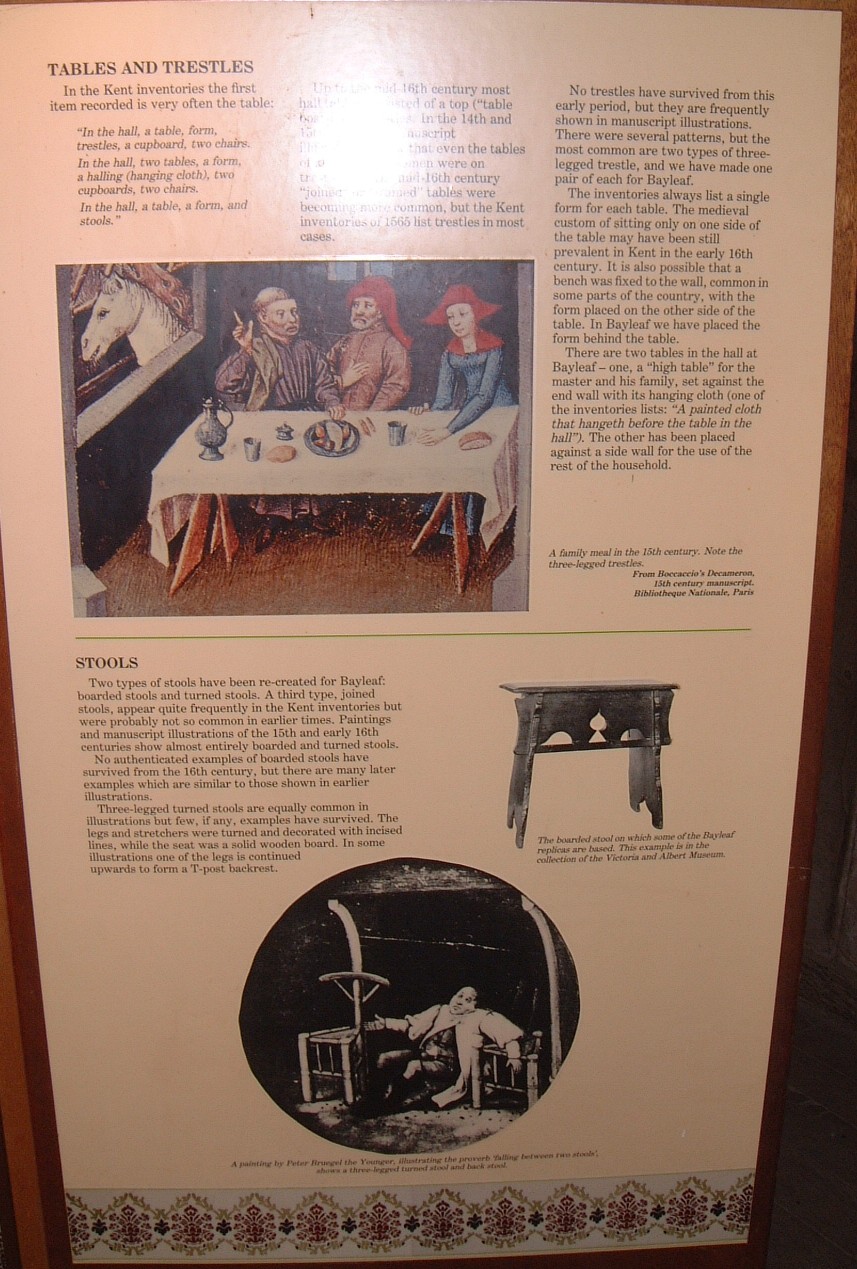
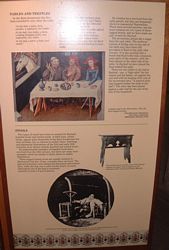
| Information on trestles, tables, and
stools. (286kb) |
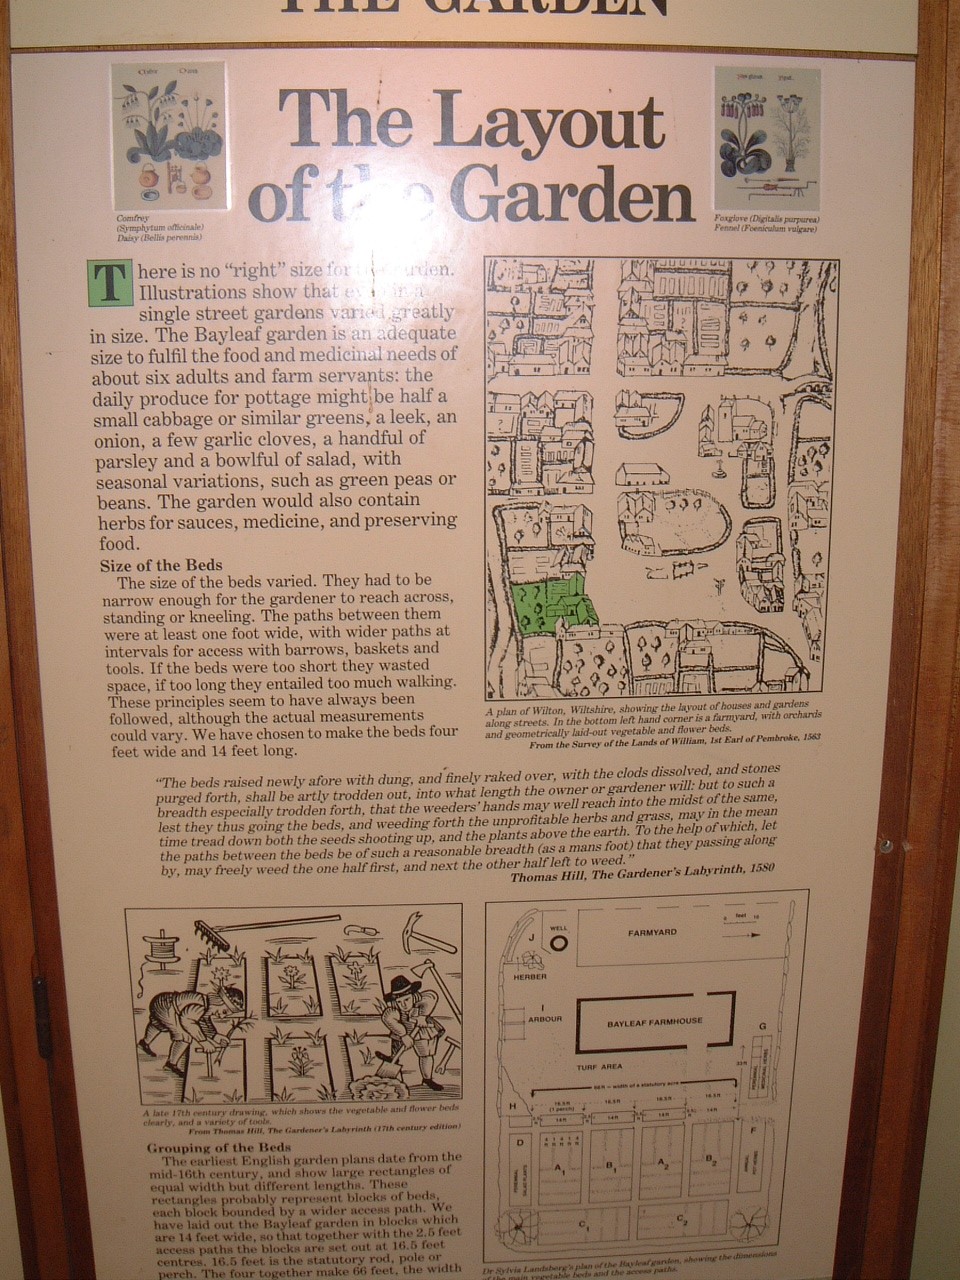
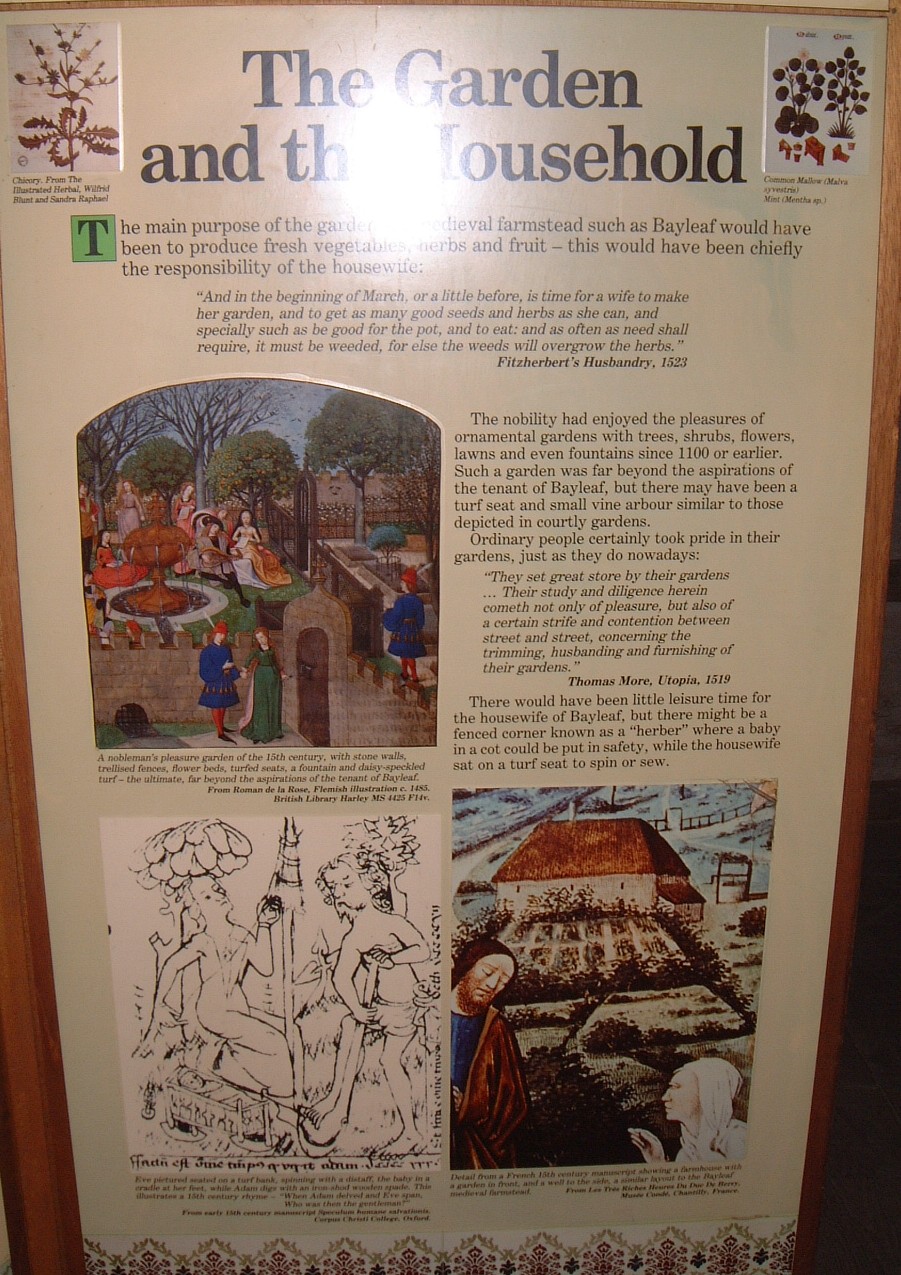
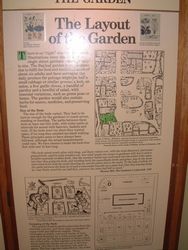
Information on how the medieval garden
would be laid out. (381kb) |
Information on the purposes the garden
served. (346kb) |
 |
 |
 |
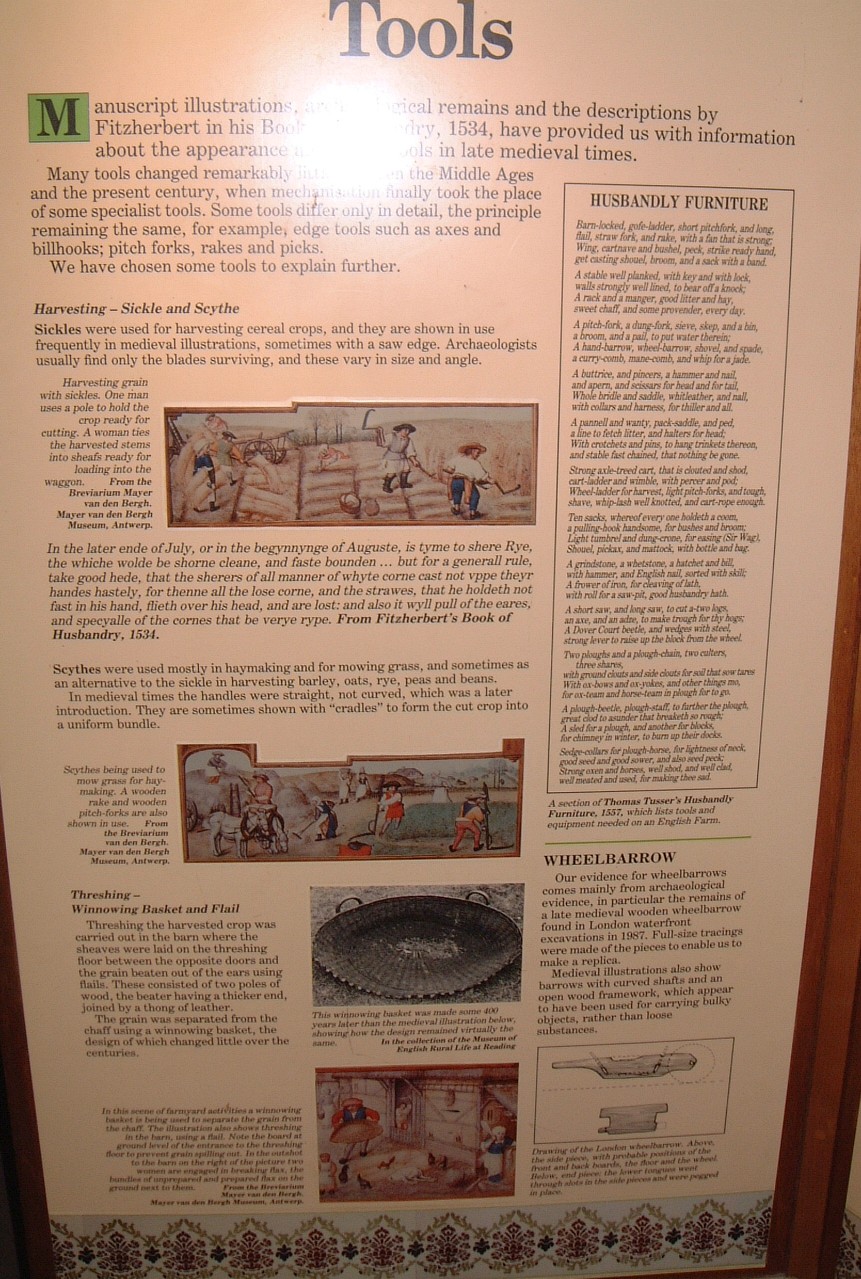
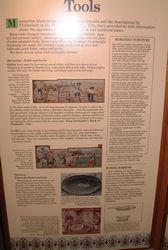
| Information on tools used for harvesting
and threshing. (337kb) |
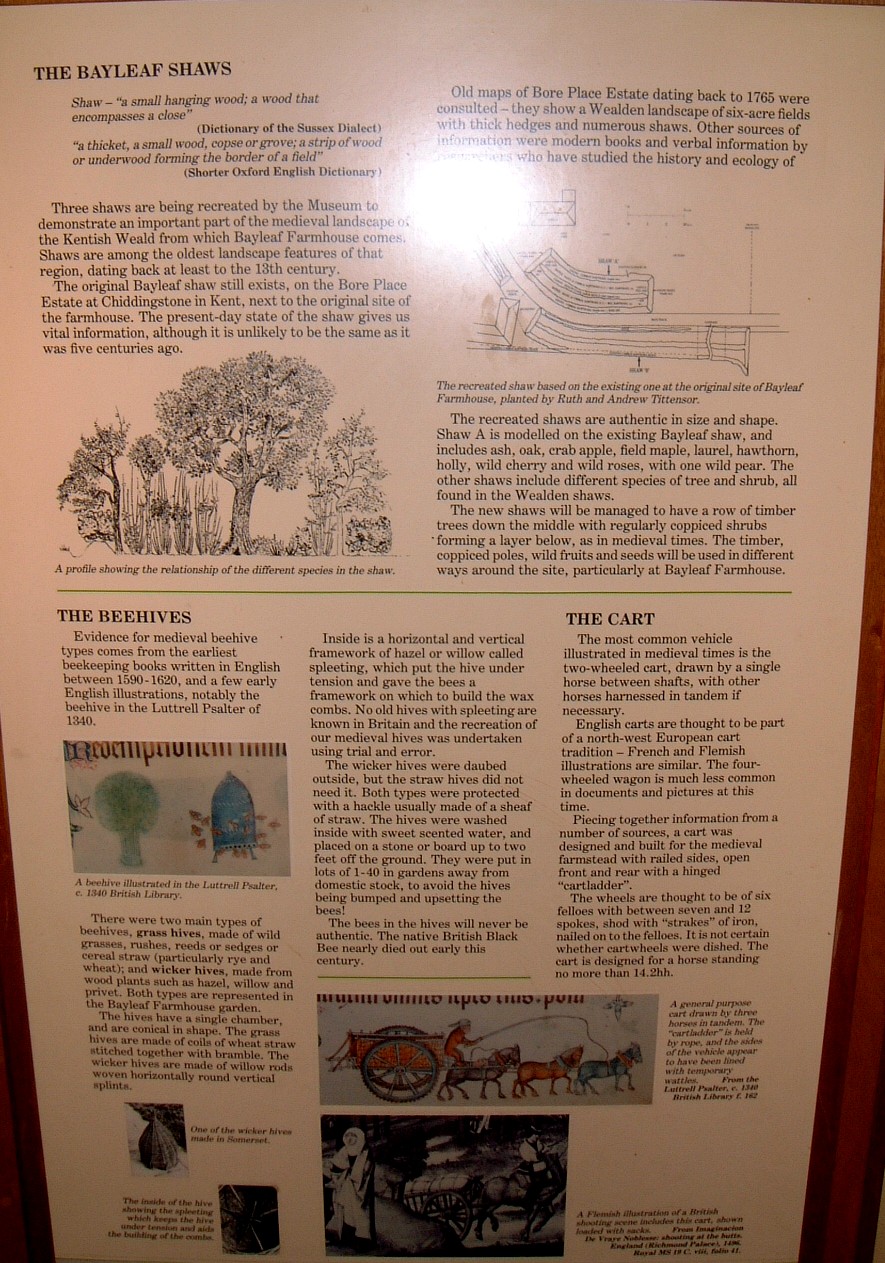
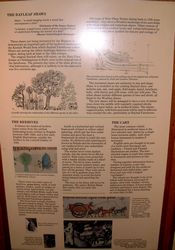
Information on the landscape around
Bayleaf Hall, and medieval beehives and carts. (354kb) |
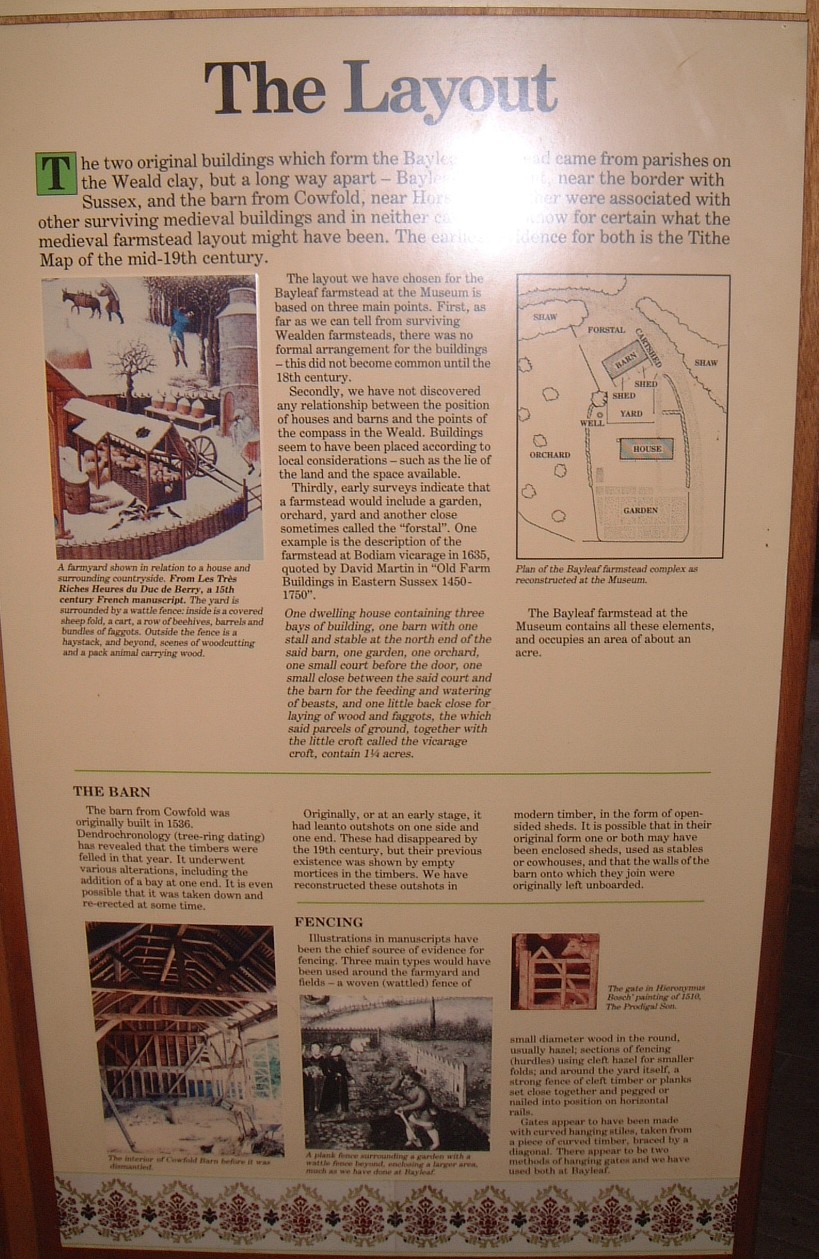
Information on the original layout of the
Bayleaf medieval buildings. (303kb) |
 |
 |
 |
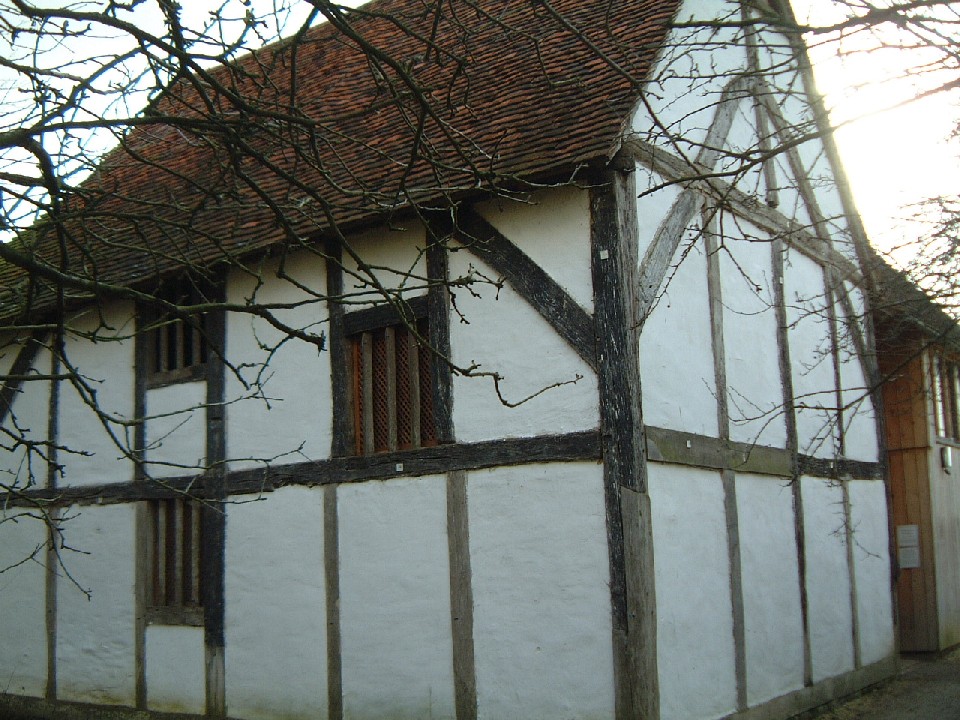
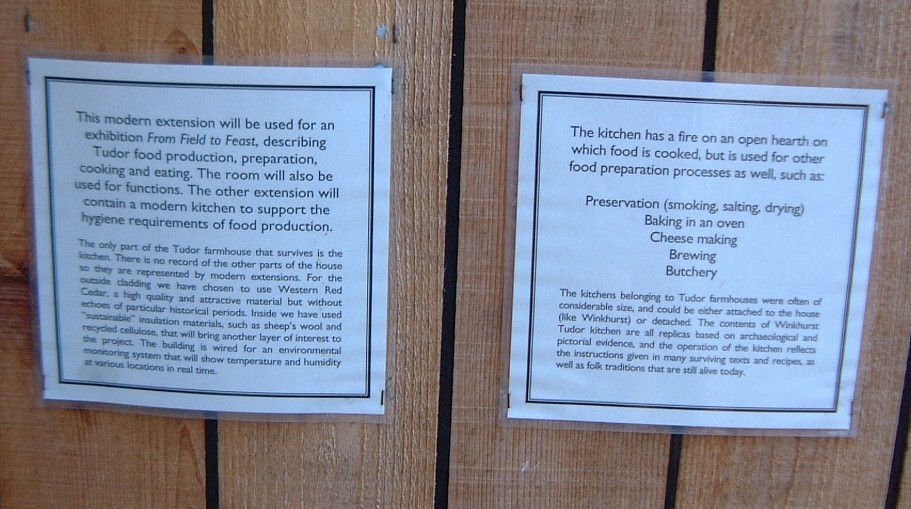
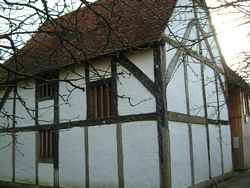
| The outside of the medieval part of
Winkhurst (the Tudor kitchen) (226kb) |
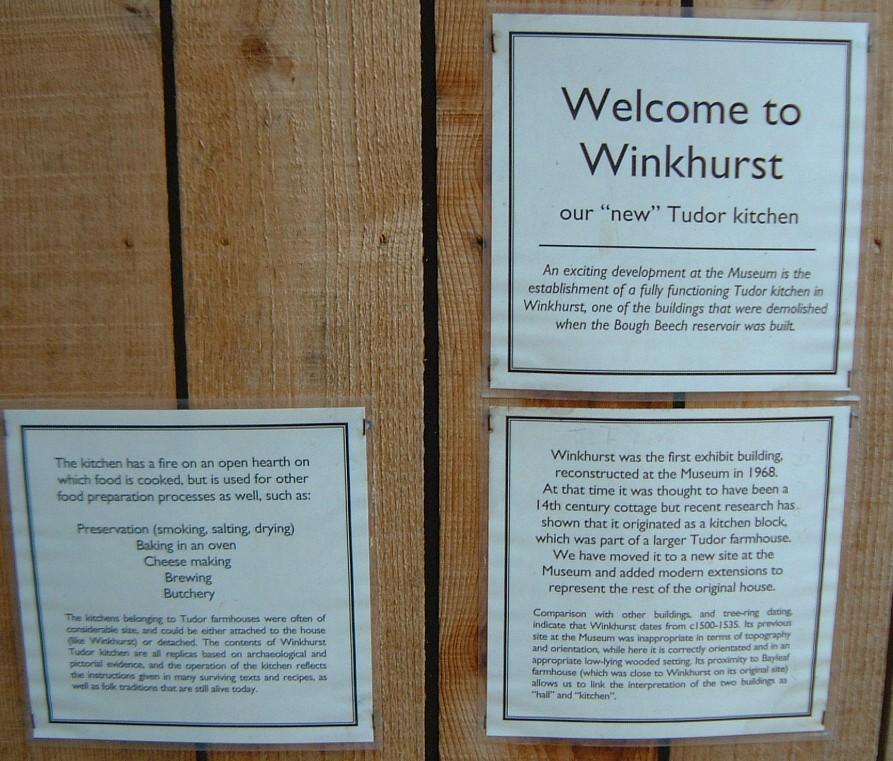
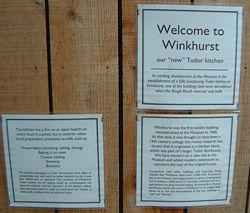
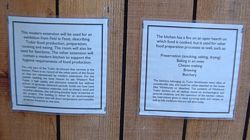
Information on Winkhurst. (202kb) |
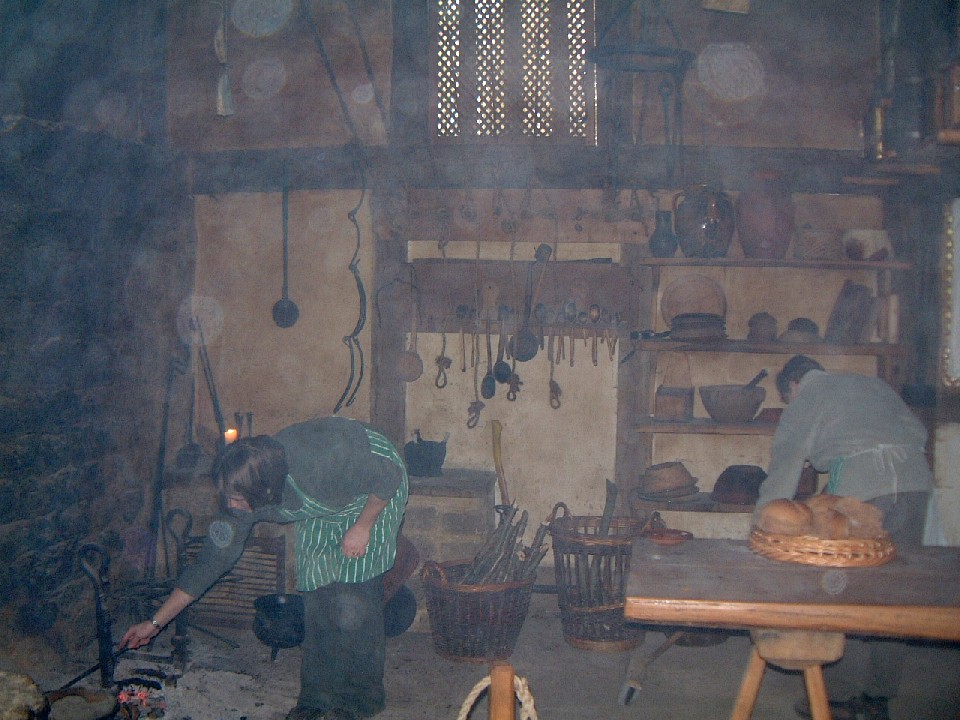
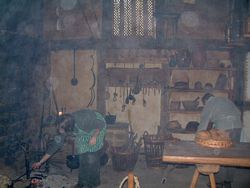
Two cooks, working away in the
authentically smoky kitchen. (185kb) |
 |
 |
 |
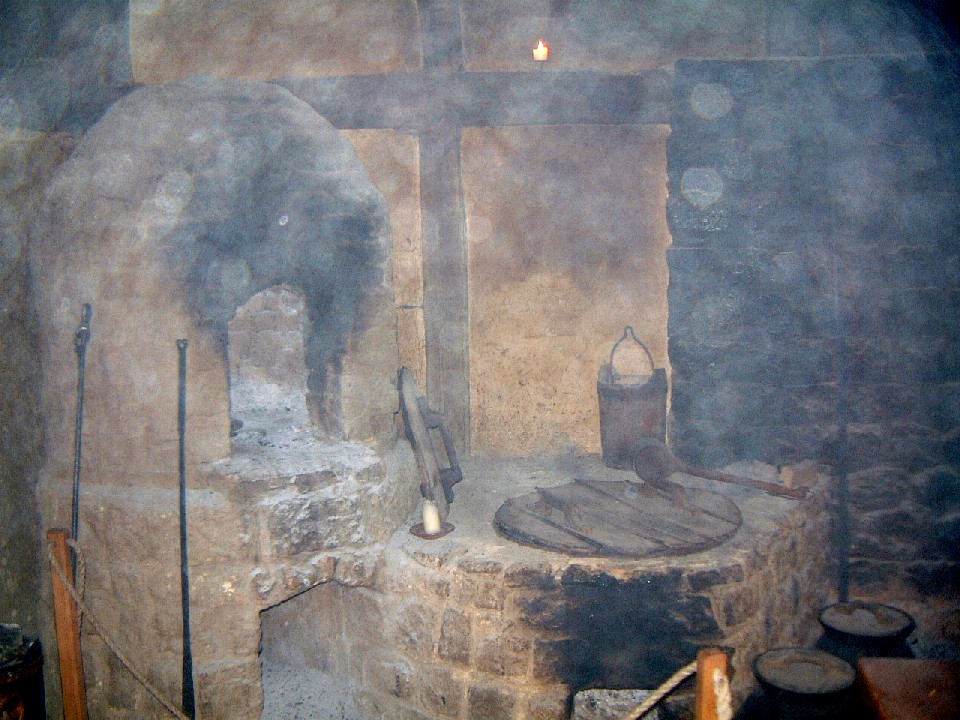
| The bread oven. (222kb) |
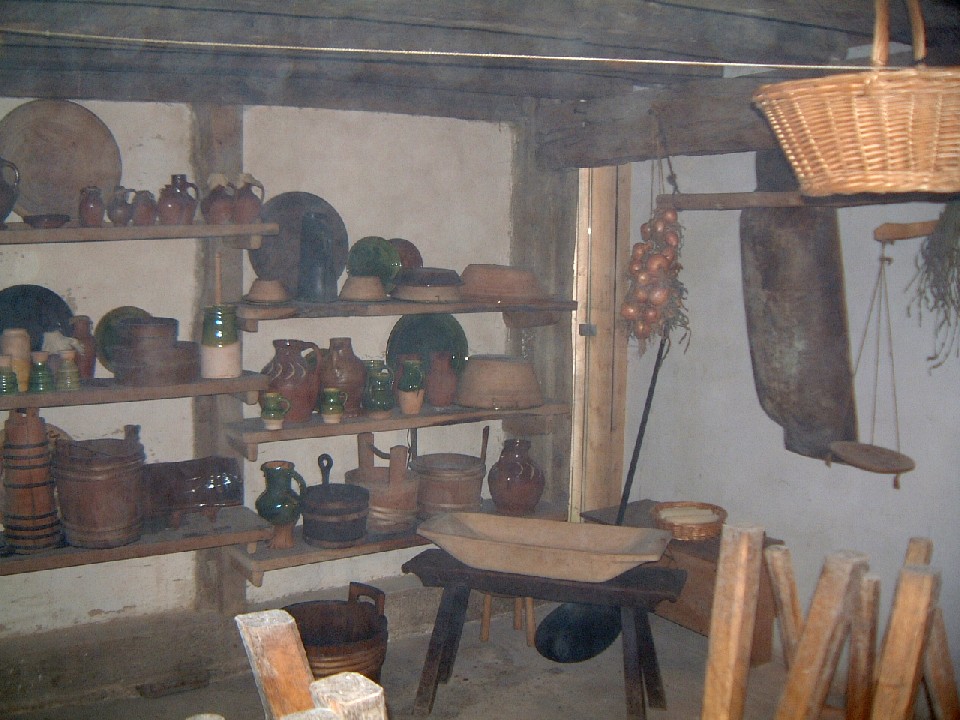
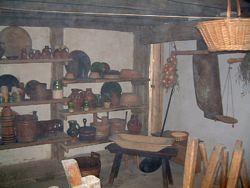
The other end of the kitchen, a little
less smoky, is a storage place for jars, jugs, and other vessels. (175kb) |
More information on Winkhurst. (146kb) |