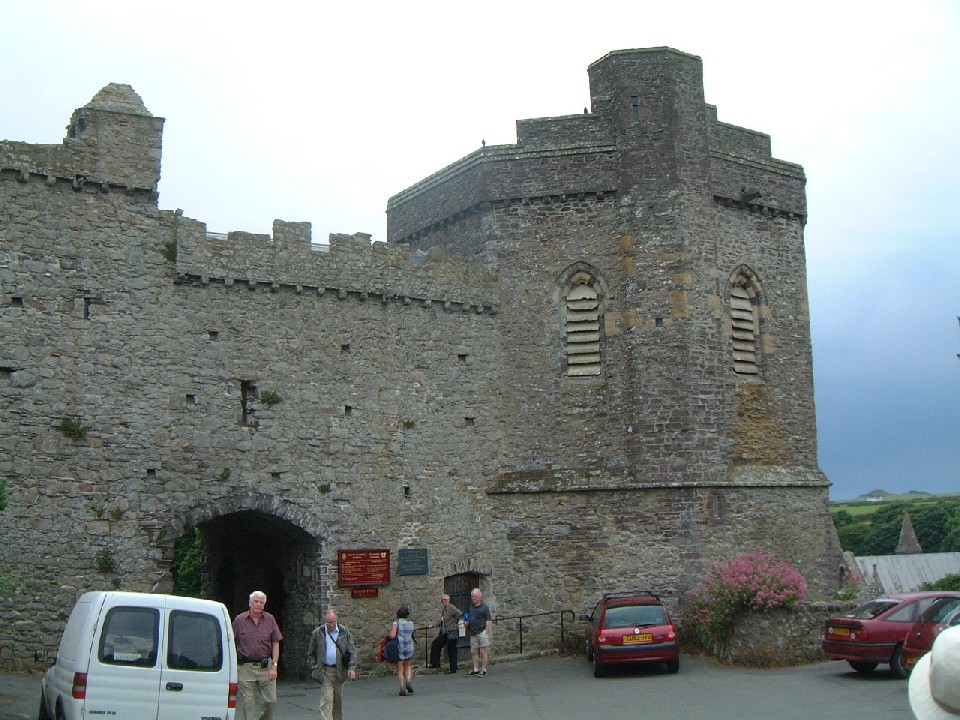
| On the second day, we started with Llawhaden Castle... | ||
 |
 |
 |
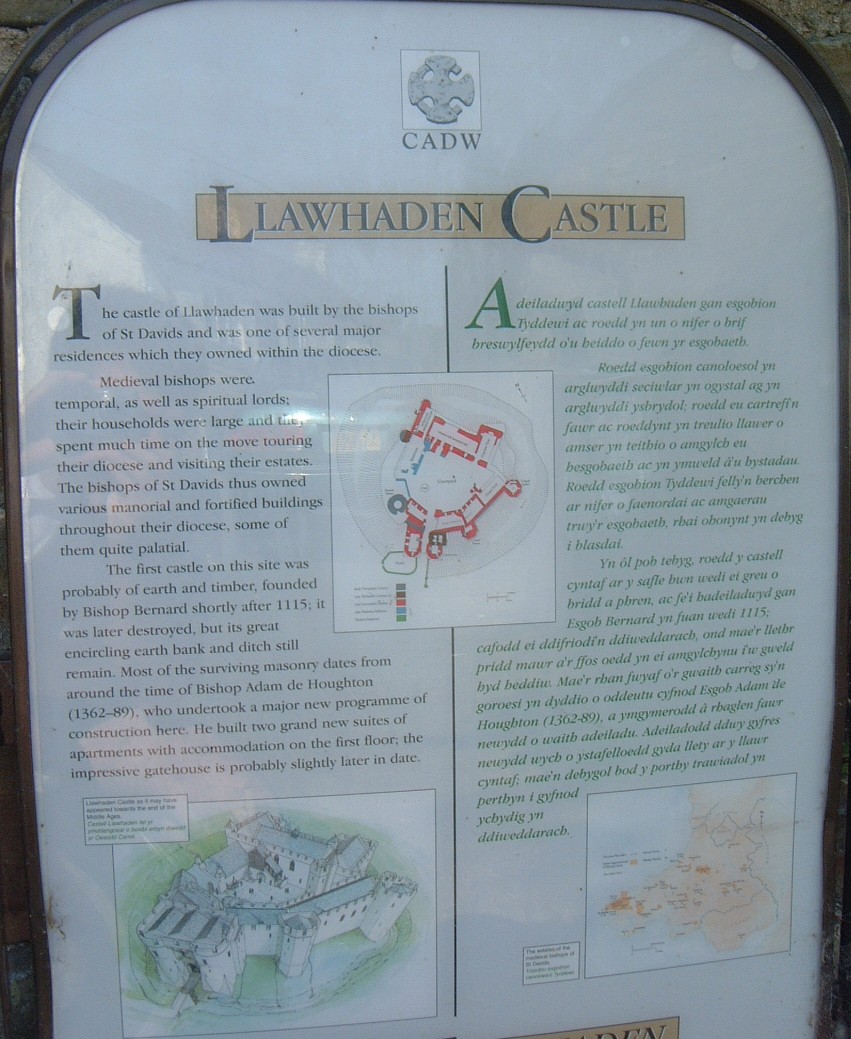
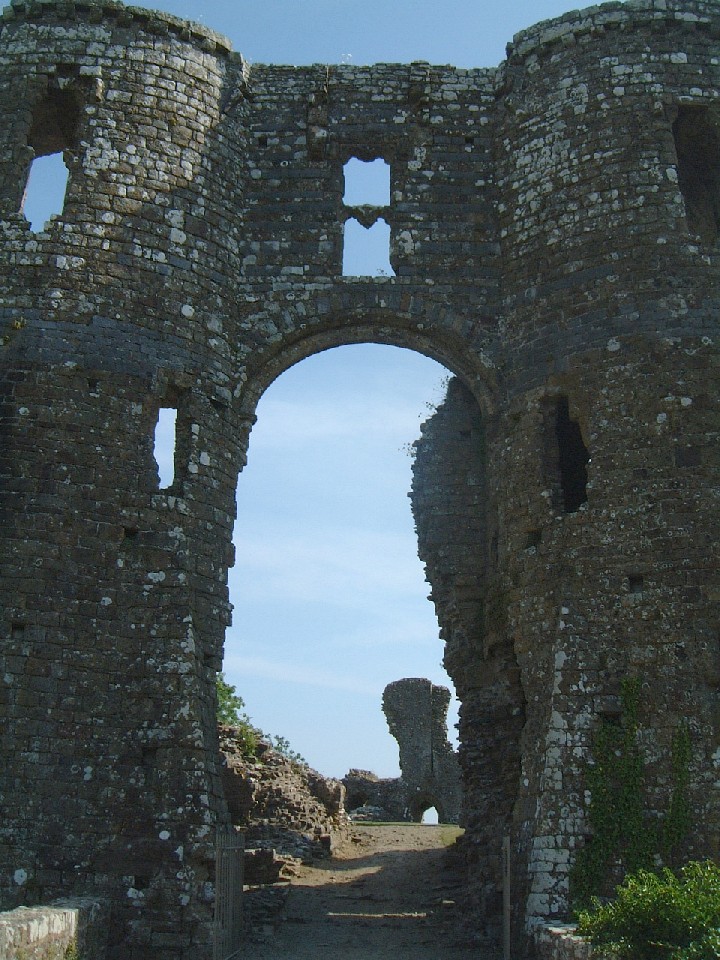
| An information panel on Llawhaden (208kb) | The entrance to Llawhaden (235kb)
|
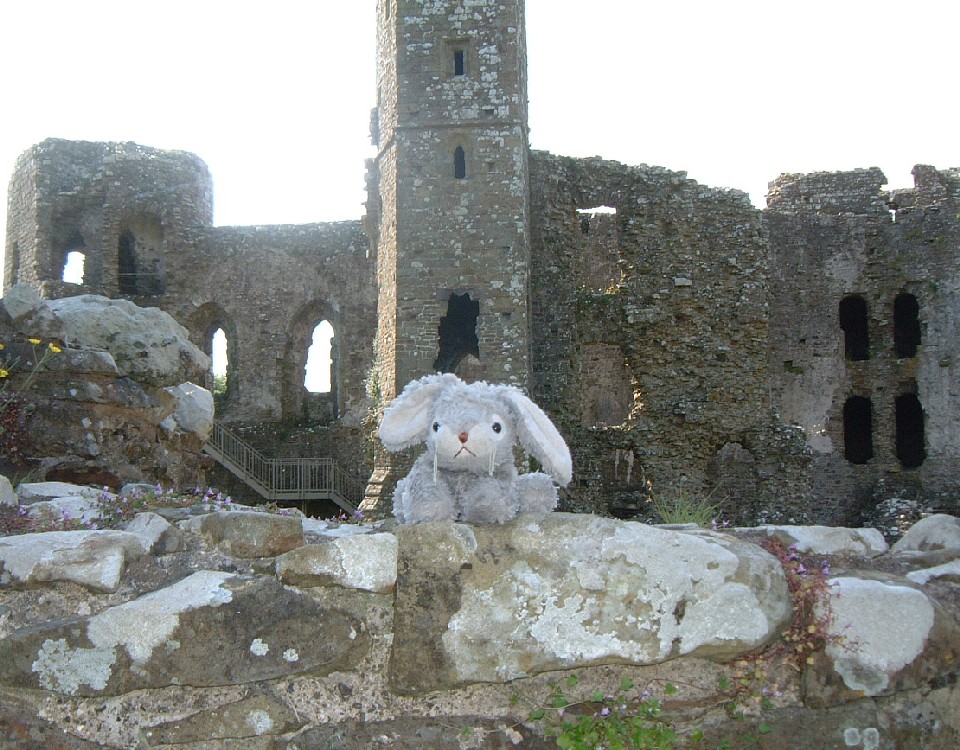
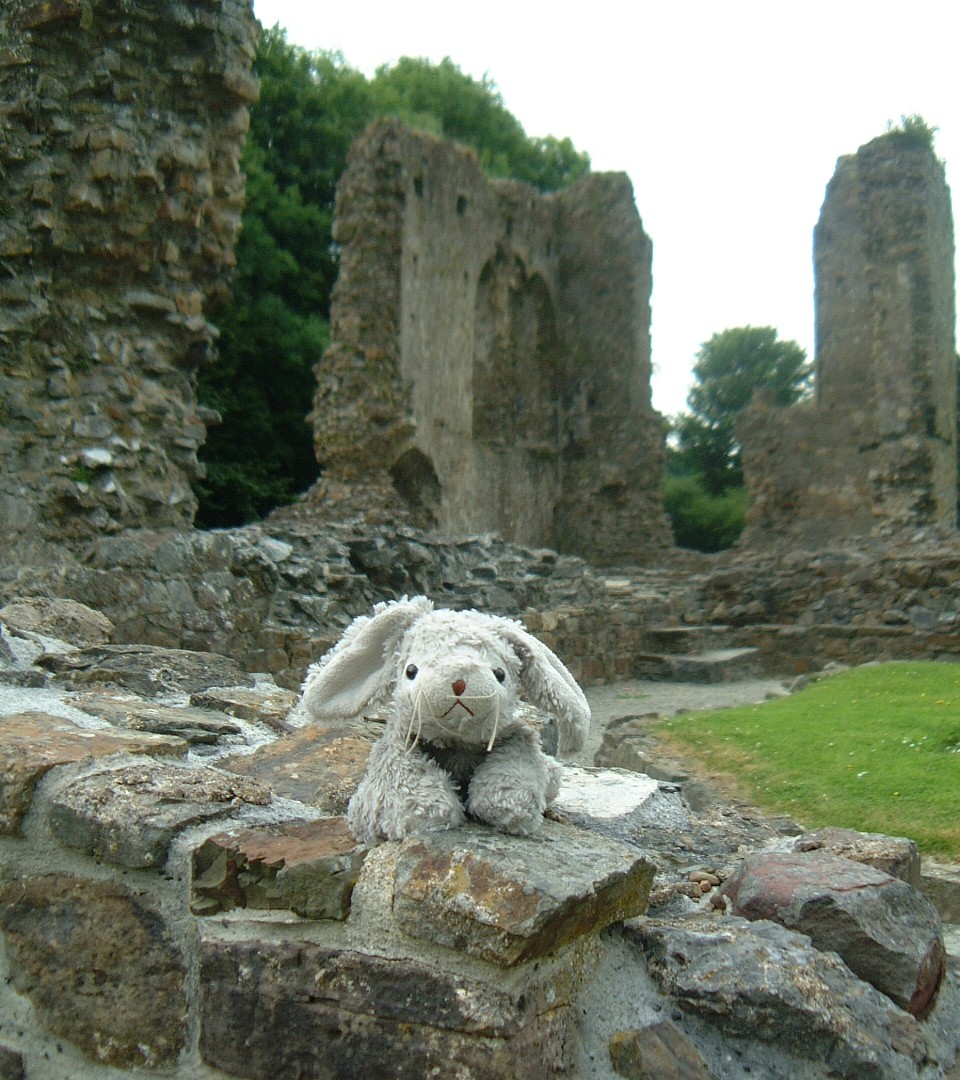
The vorpal bunny inside Llawhaden Castle. (226kb) |
 |
 |
 |
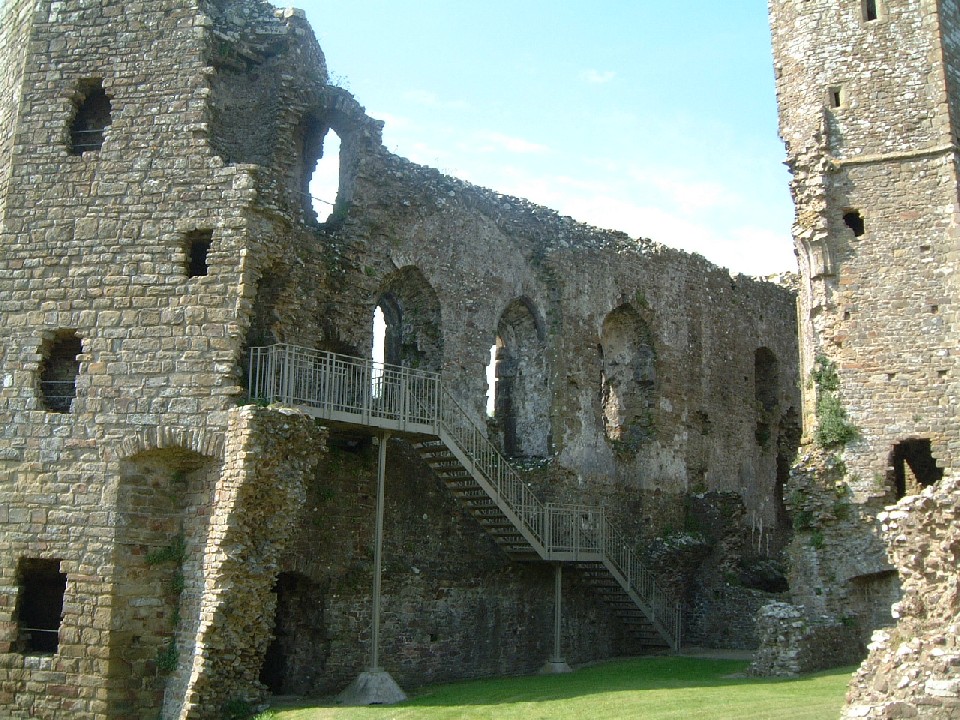
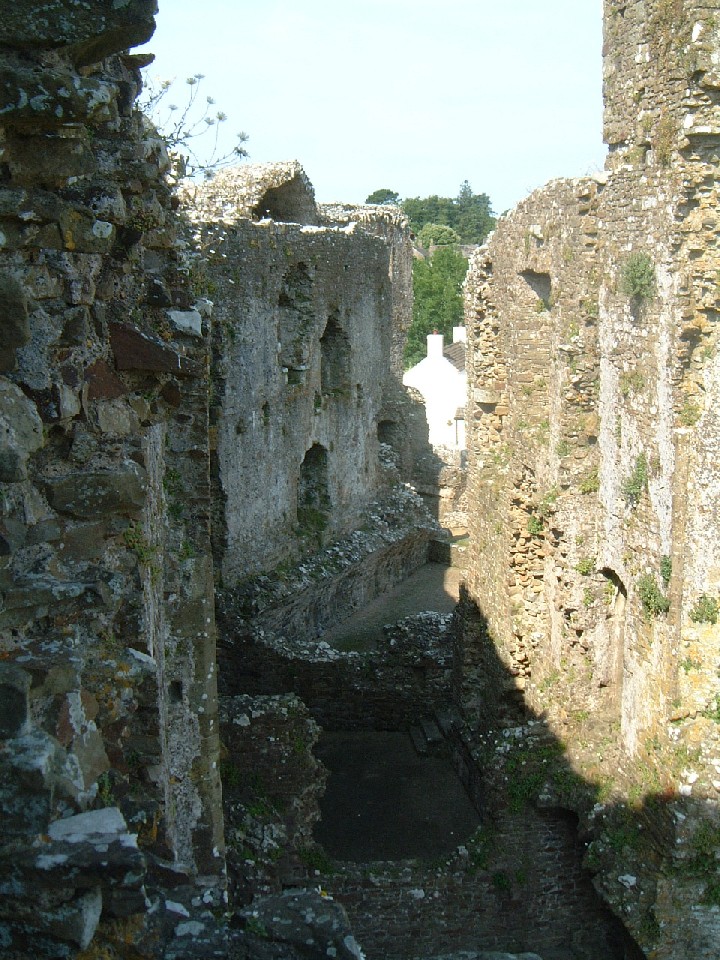
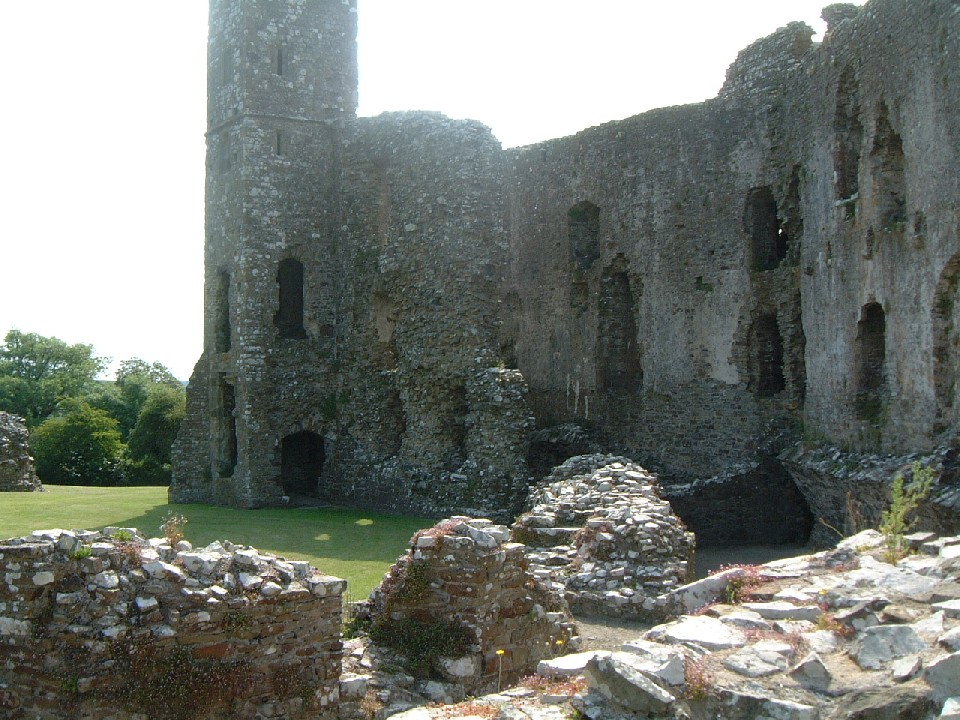
| The inside of an outer wall in Llawhaden 722(kb) | Looking along the wall. (263kb)
|
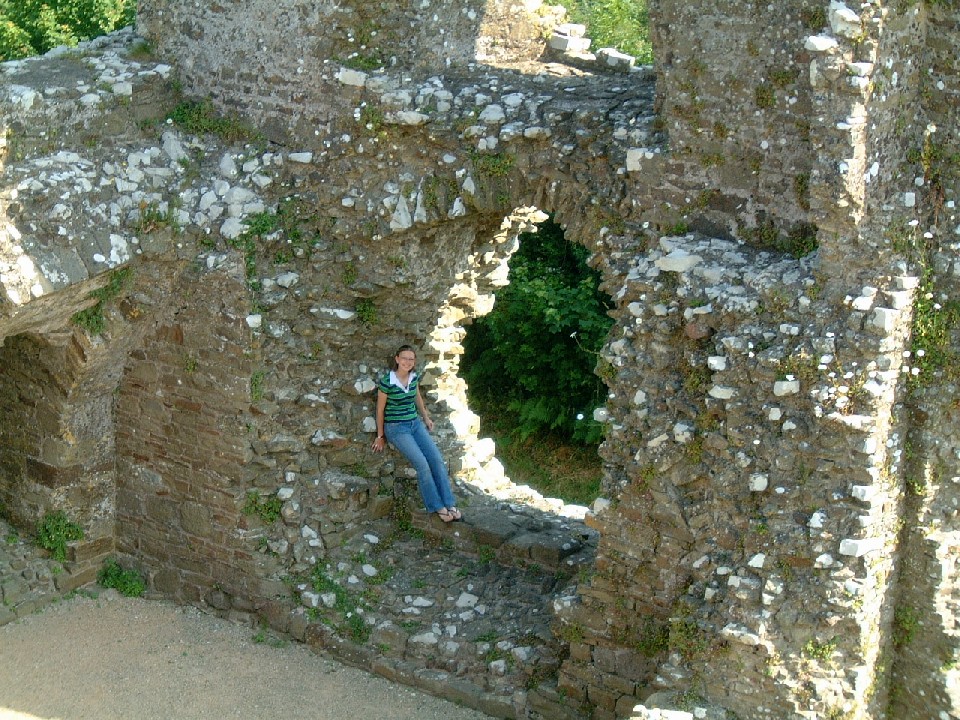
Tarythe sitting in a window. (310kb) |
 |
 |
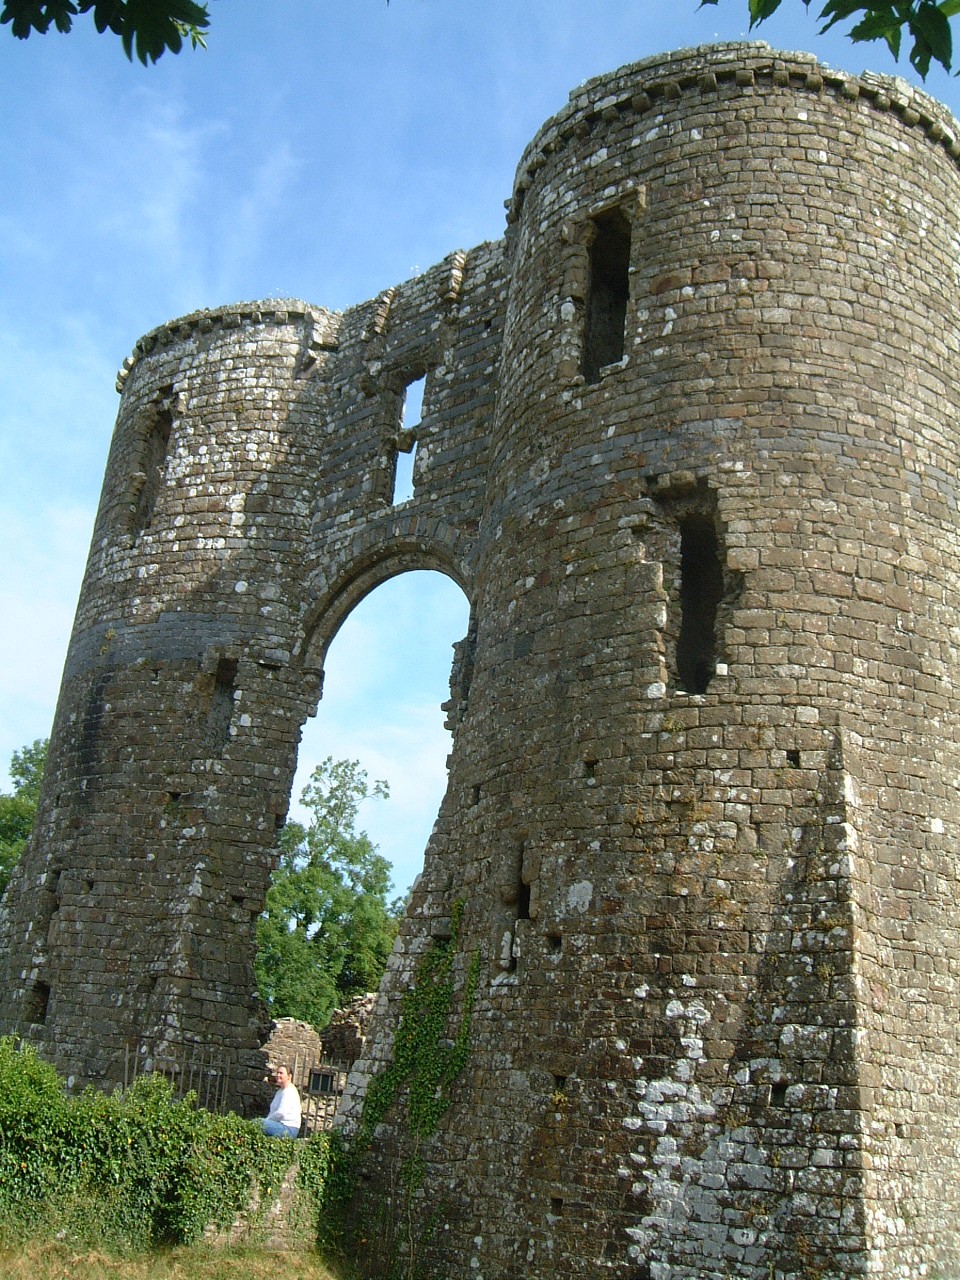 |
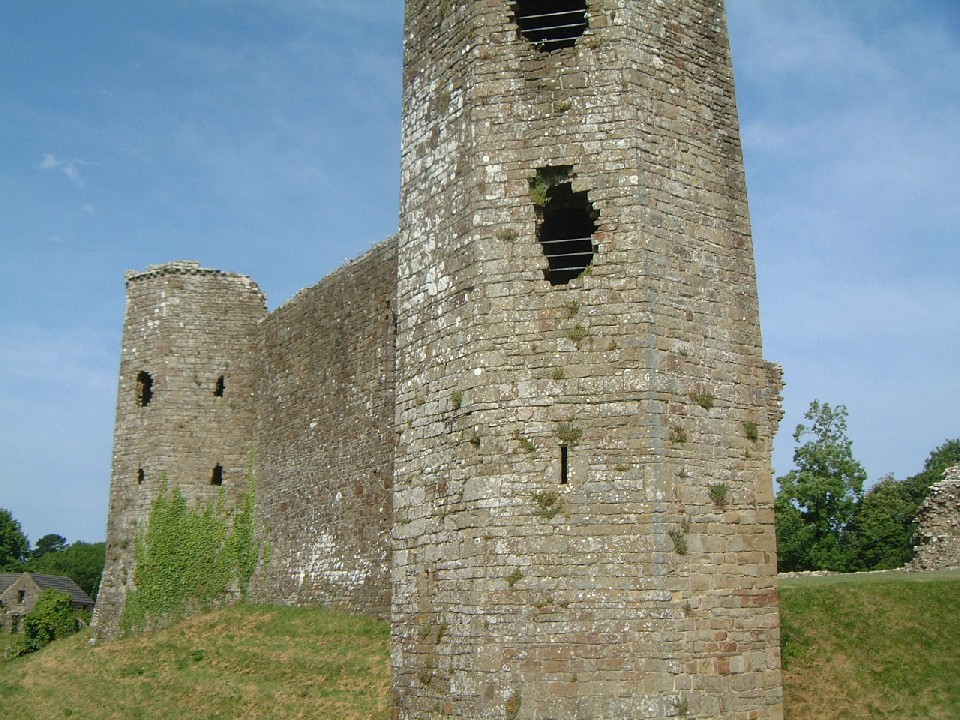
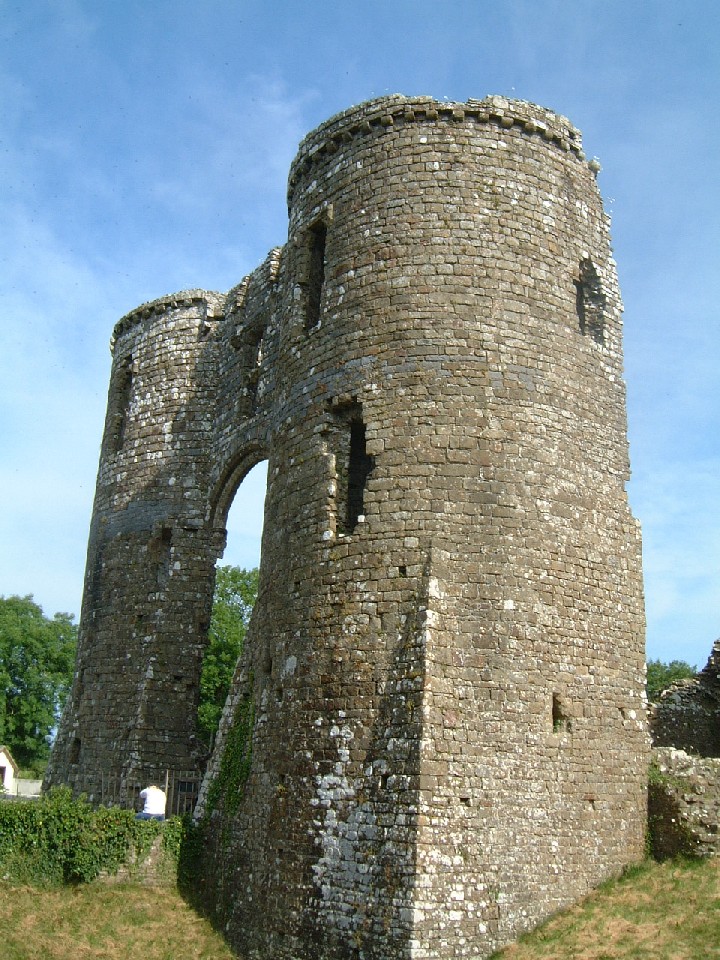
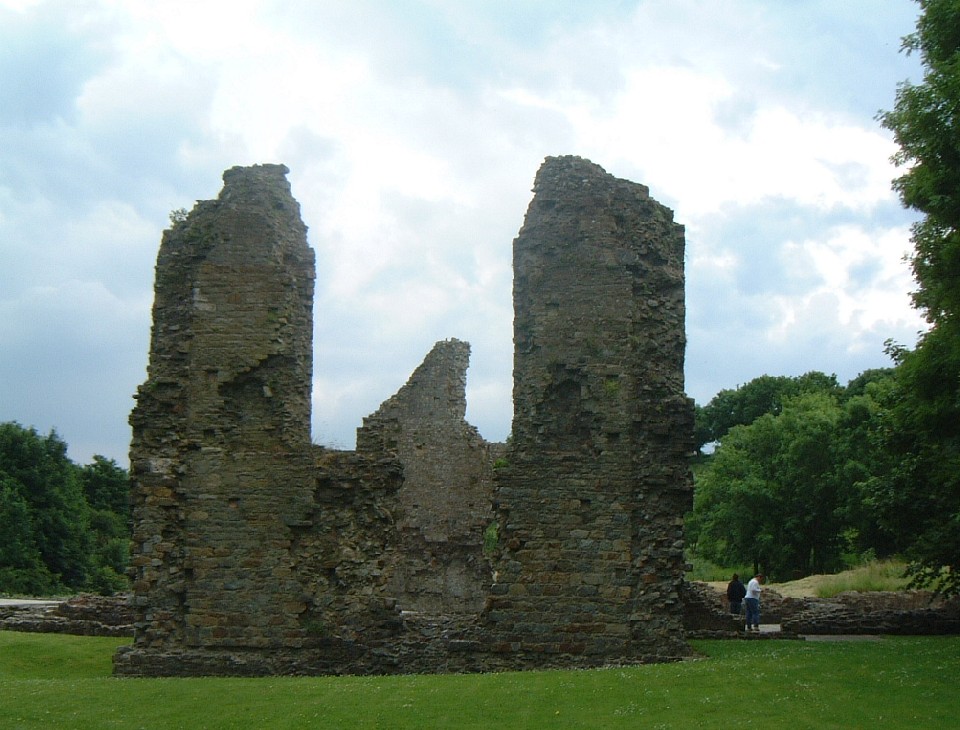
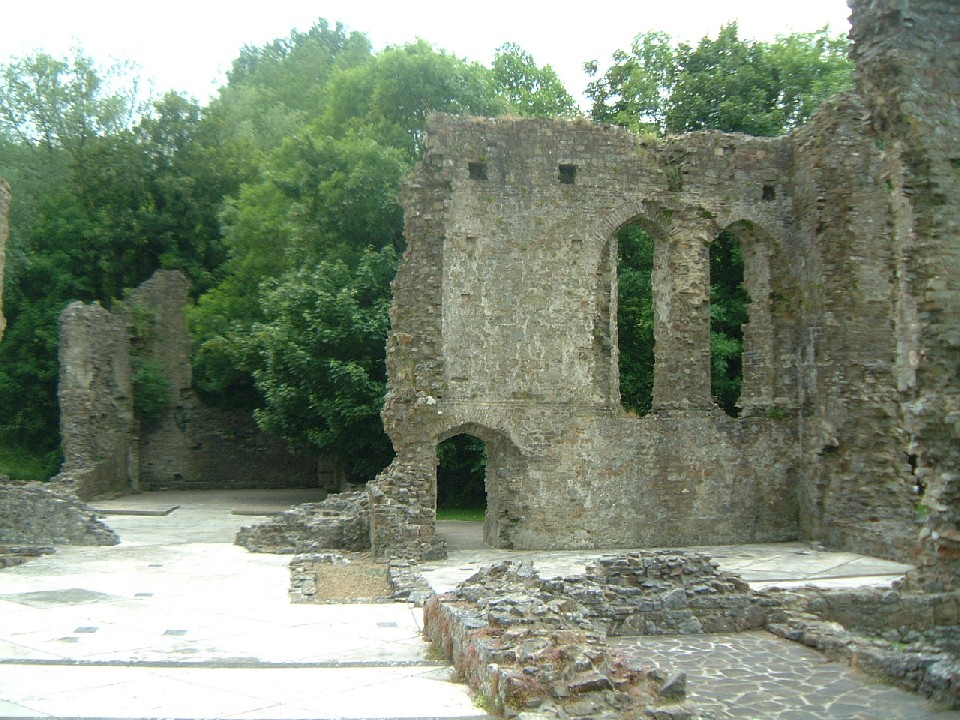
| The outer walls of Llawhaden (250kb) | A side view of the gate tower. (269kb)
|
Another angled view of the gate tower. (494kb) |
 |
 |
 |
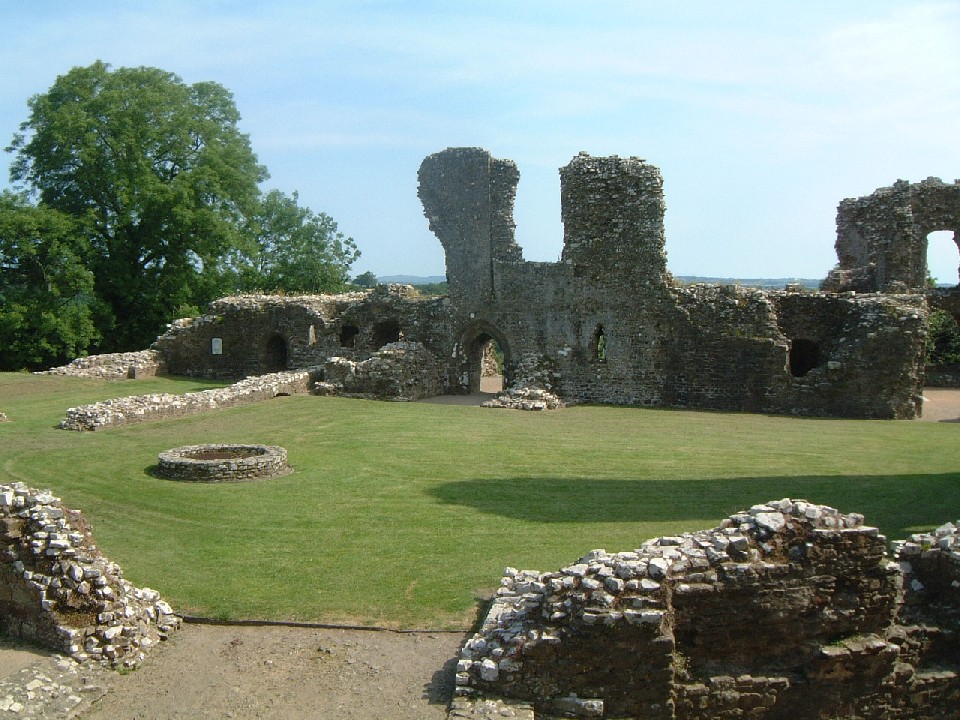
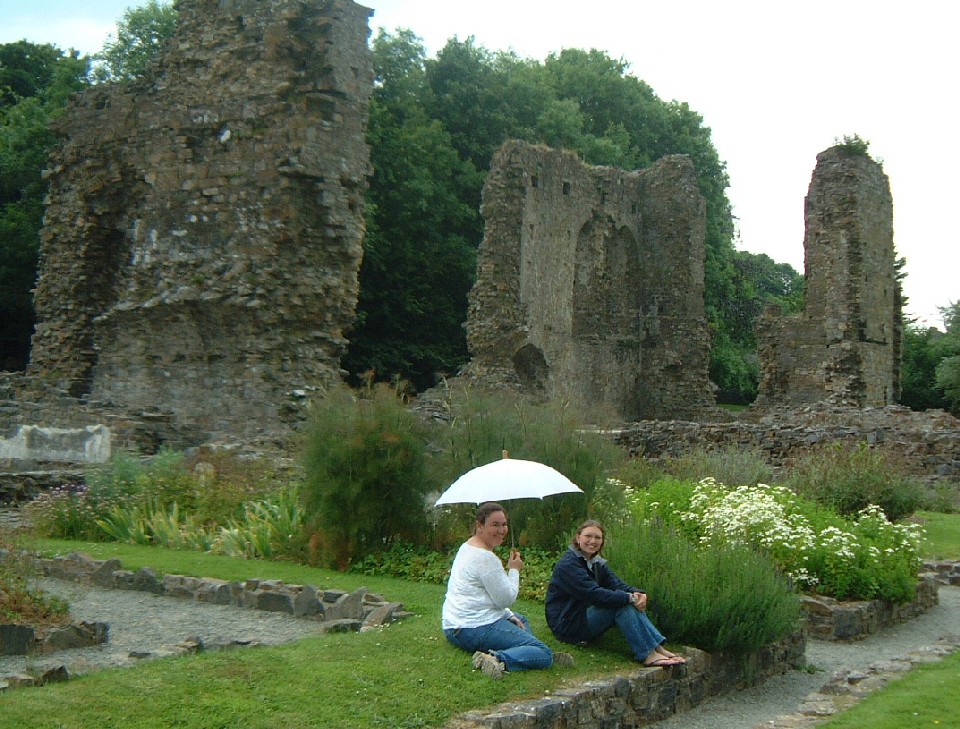
| Looking across the moat at the outer walls. (230kb) | Looking across the inner ward. (223kb)
|
A different view in the inner ward. (227kb) |
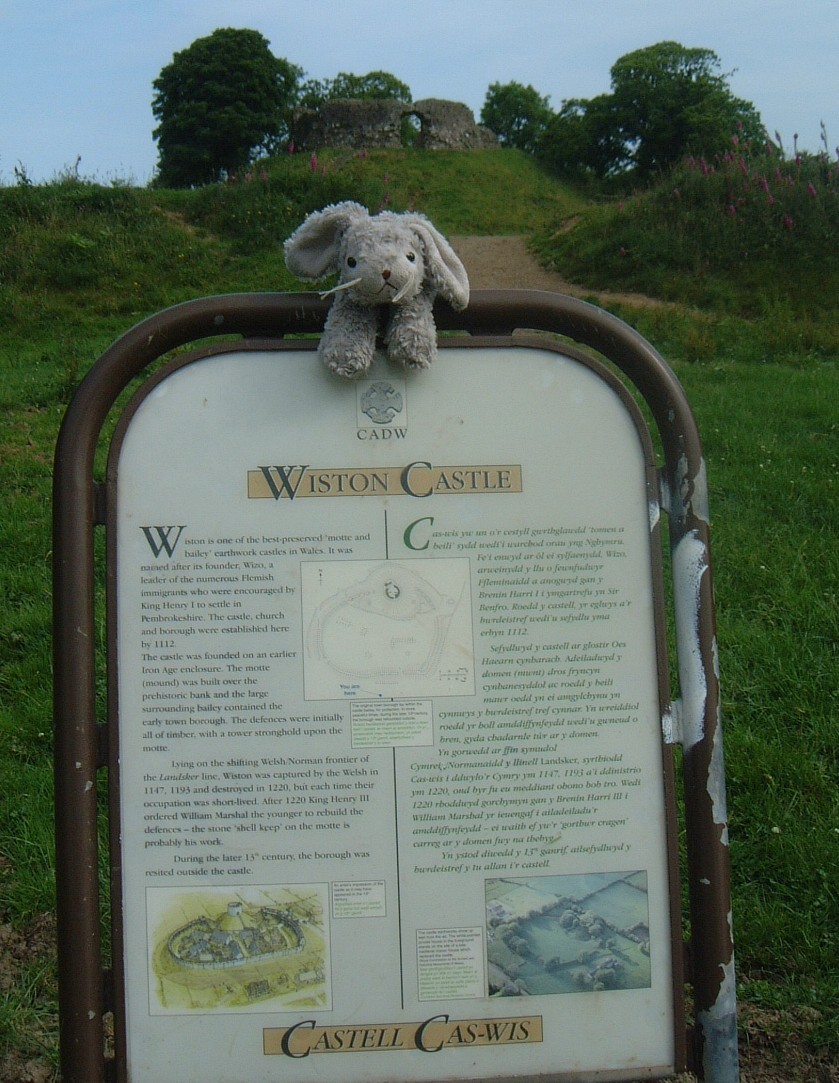
| Next we went to a neat motte and bailey castle, Wiston. | ||
 |
 |
 |
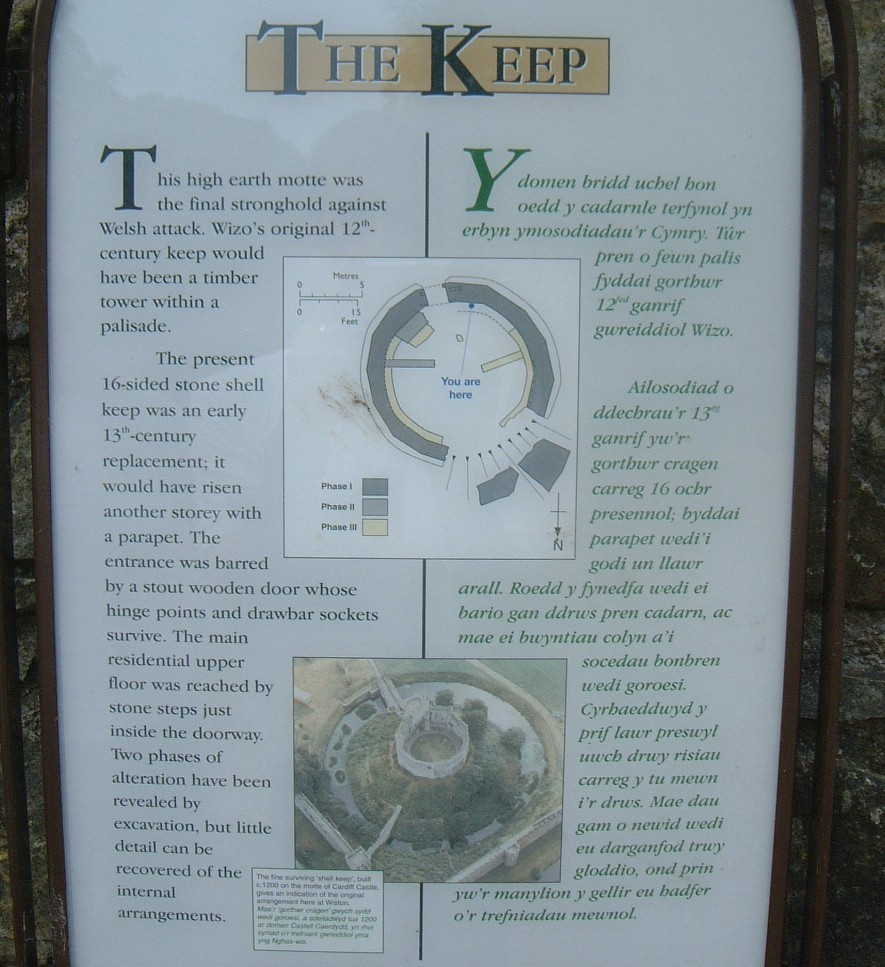
| The vorpal bunny reading an information
panel, with Wiston Keep in the background. (242kb)
|
An information panel on the keep. (207kb) | Tarythe sitting in the keep. (257kb) |
 |
 |
|
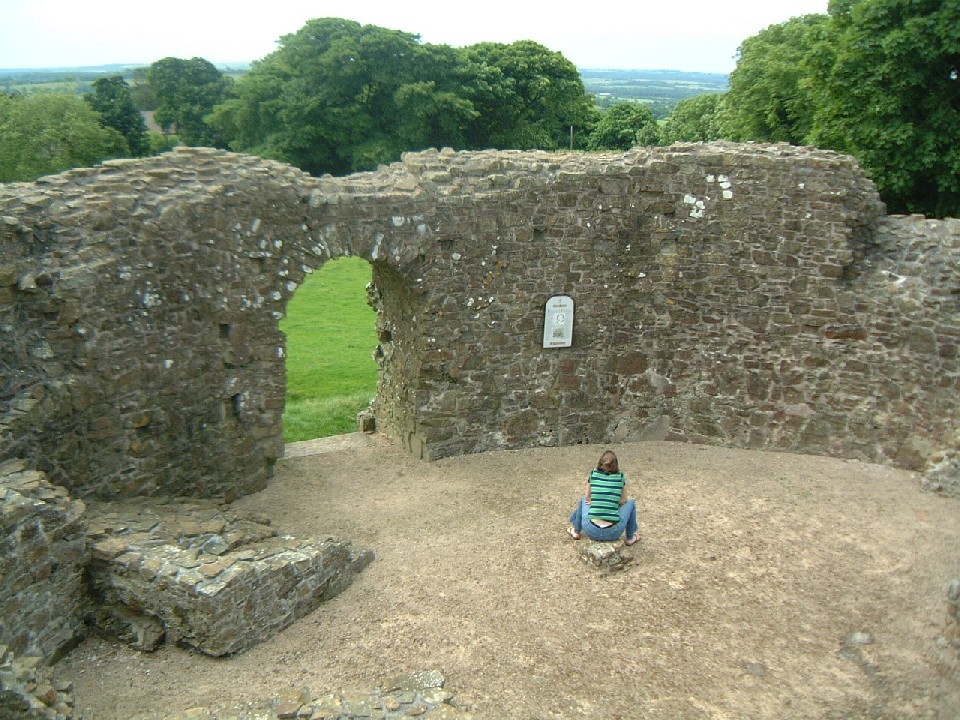
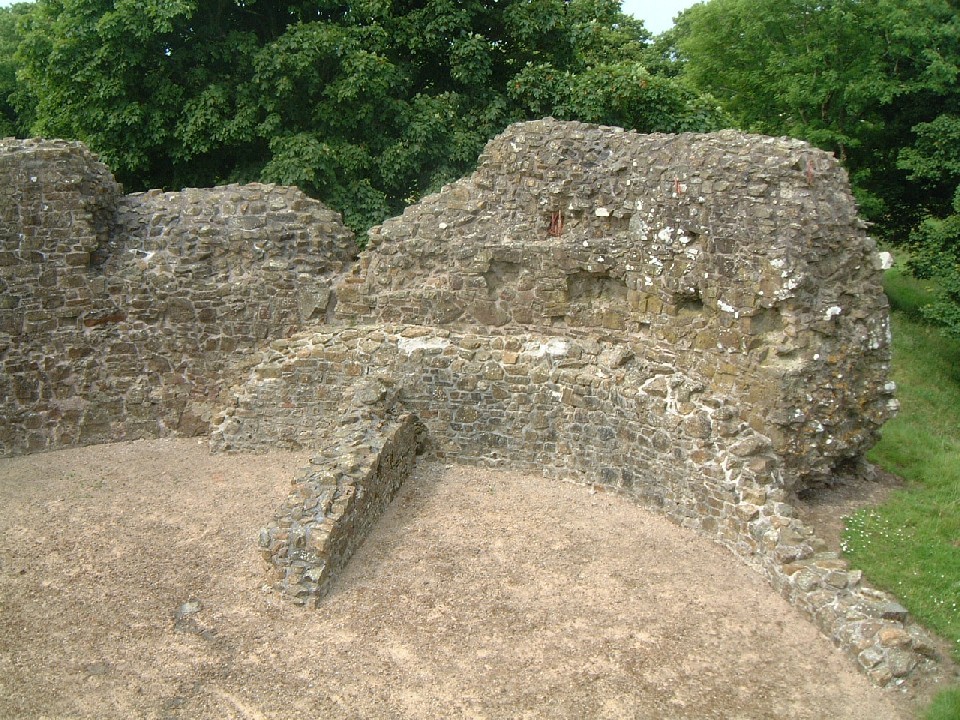
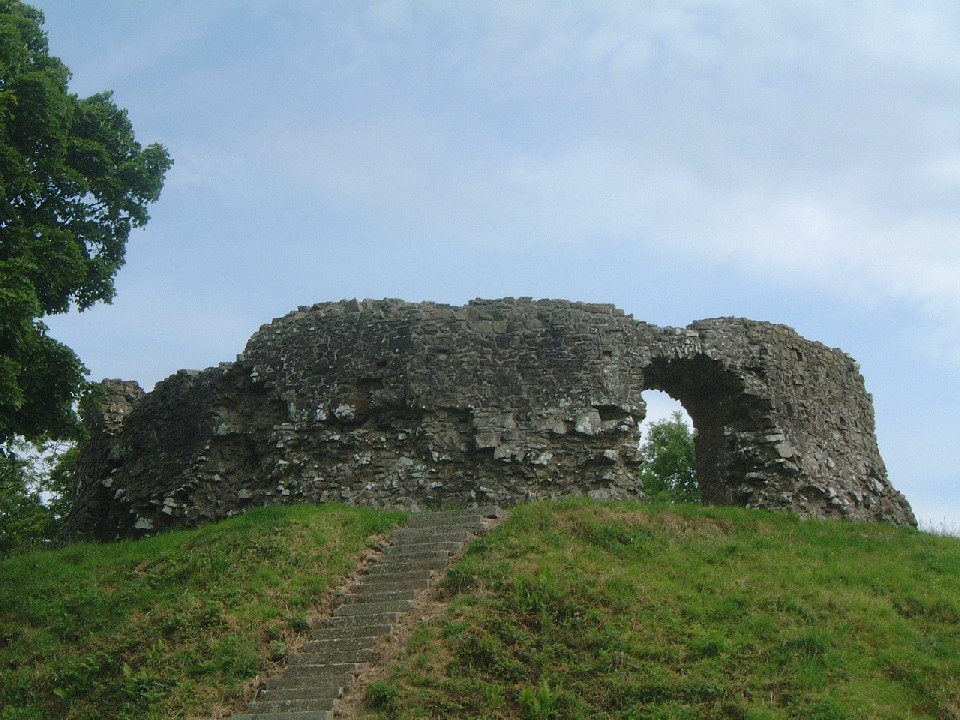
| A view of the keep from the top of the walls. (321kb) | The view of the keep from the bottom of the
motte. (197kb)
|
|
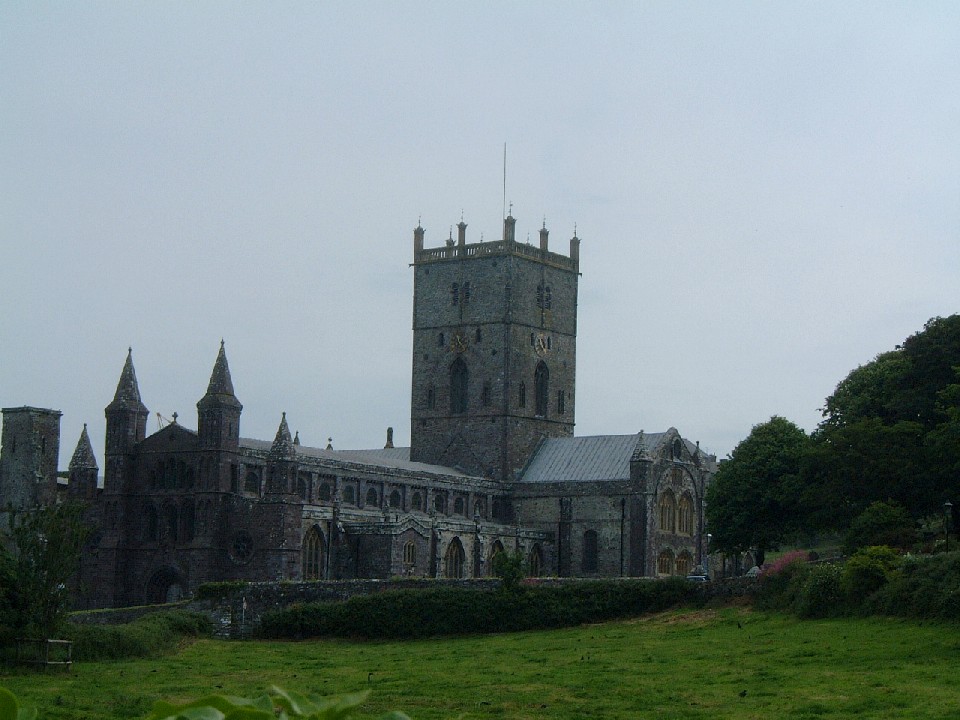
| From Wiston, we drove to St Davids in Pembrokeshire. | ||
 |
 |
 |
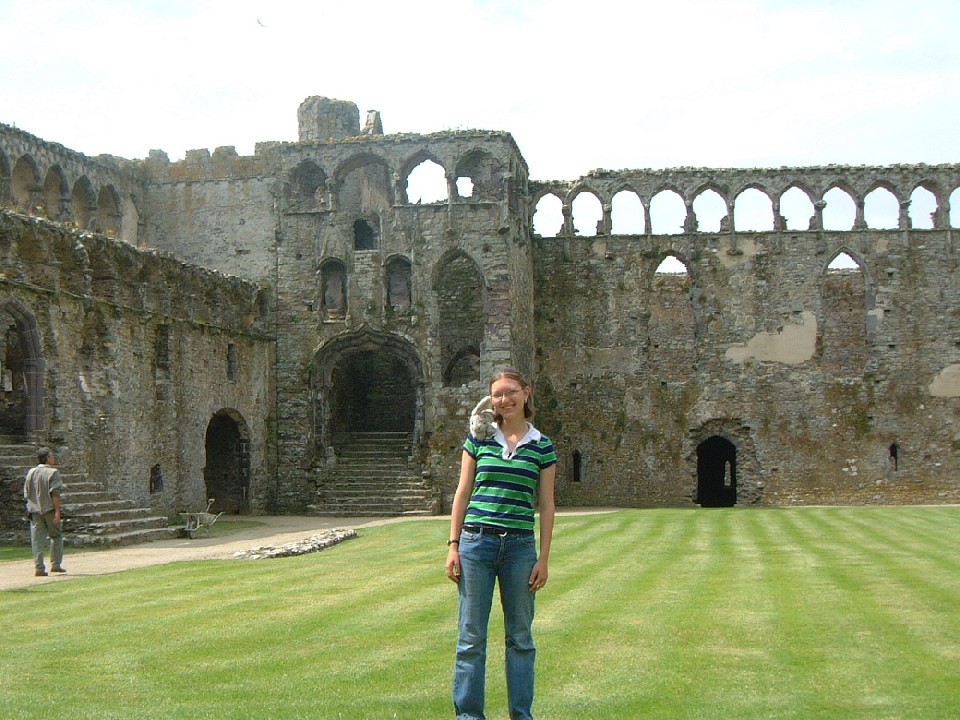
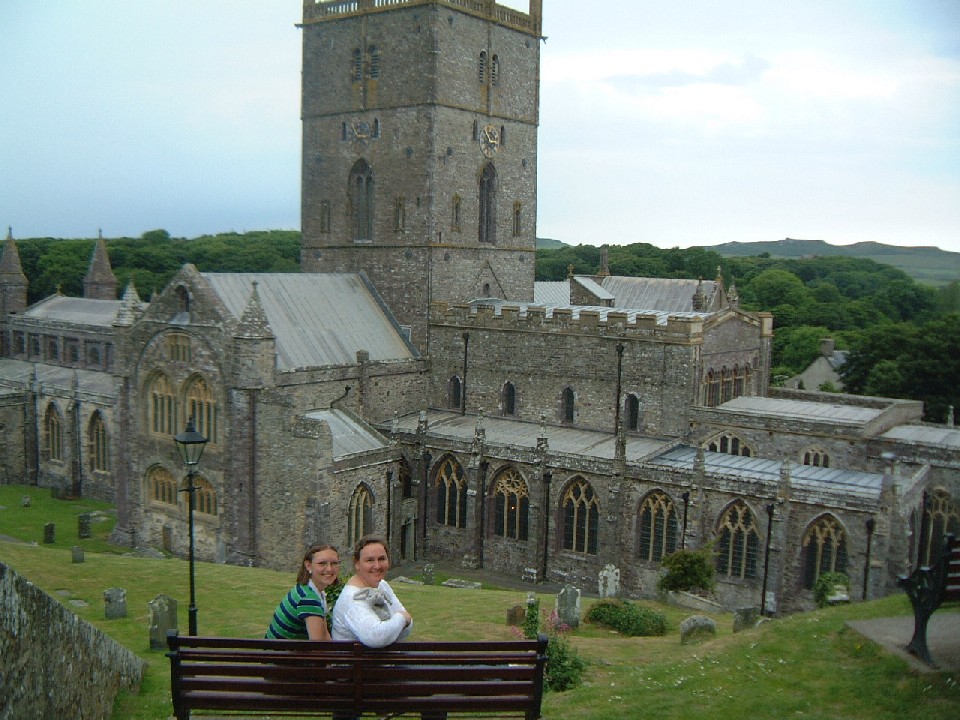
| A view of St David's Cathedral from across the lawn. (145kb) | Tarythe and the vorpal bunny inside the
Bishop's Palace. (199kb)
|
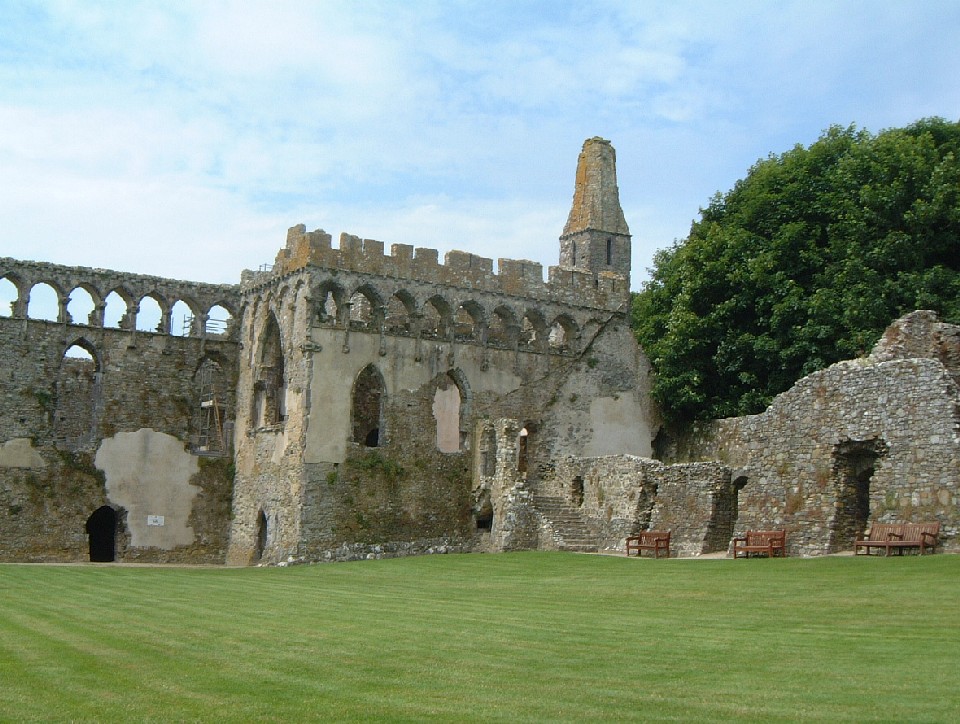
A view across the lawn of the Bishop's Palace. (207kb) |
 |
 |
 |
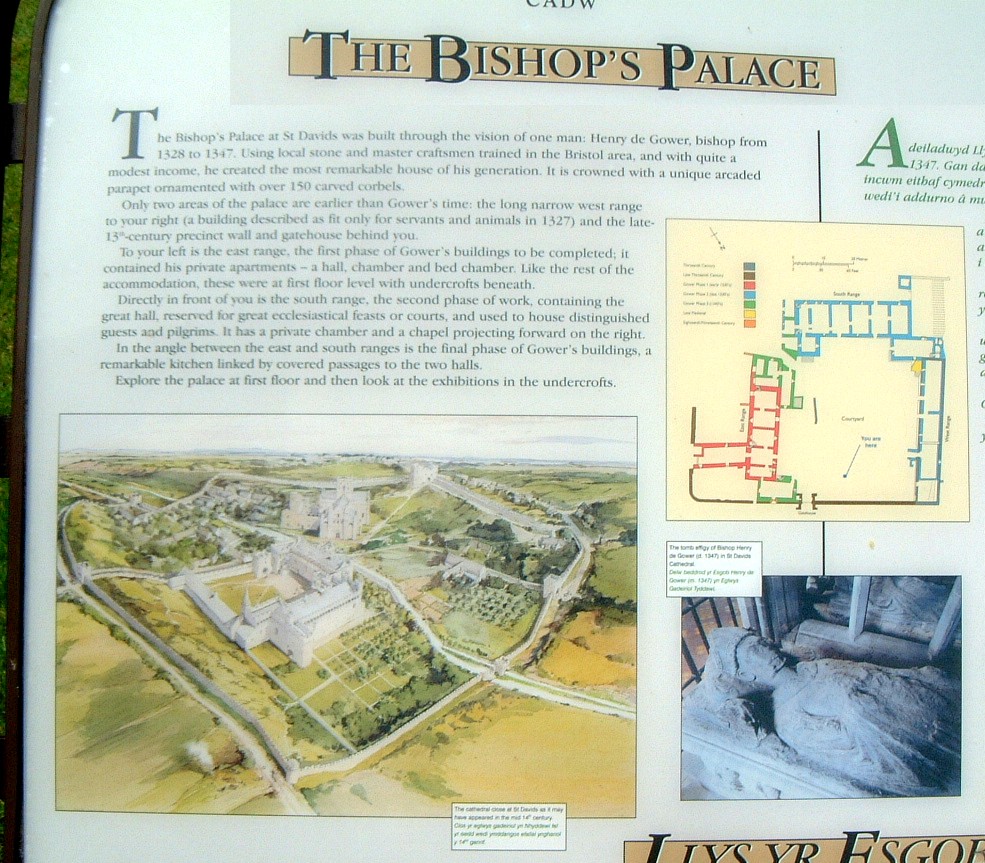
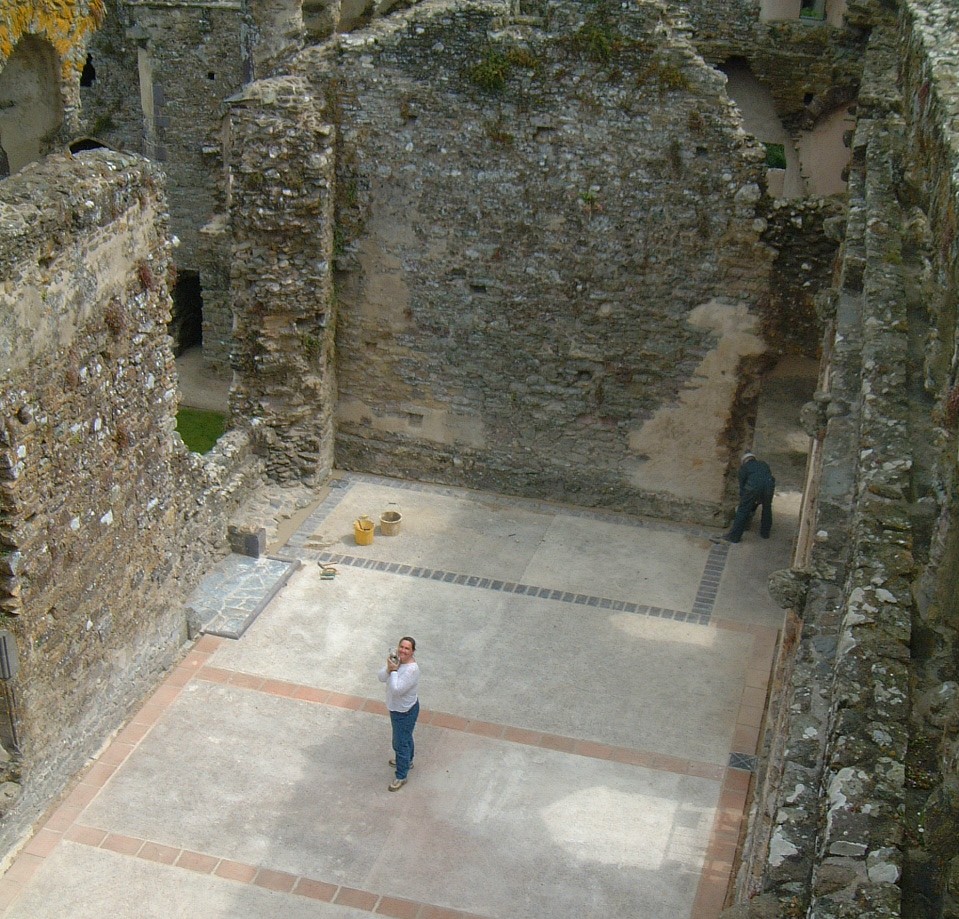
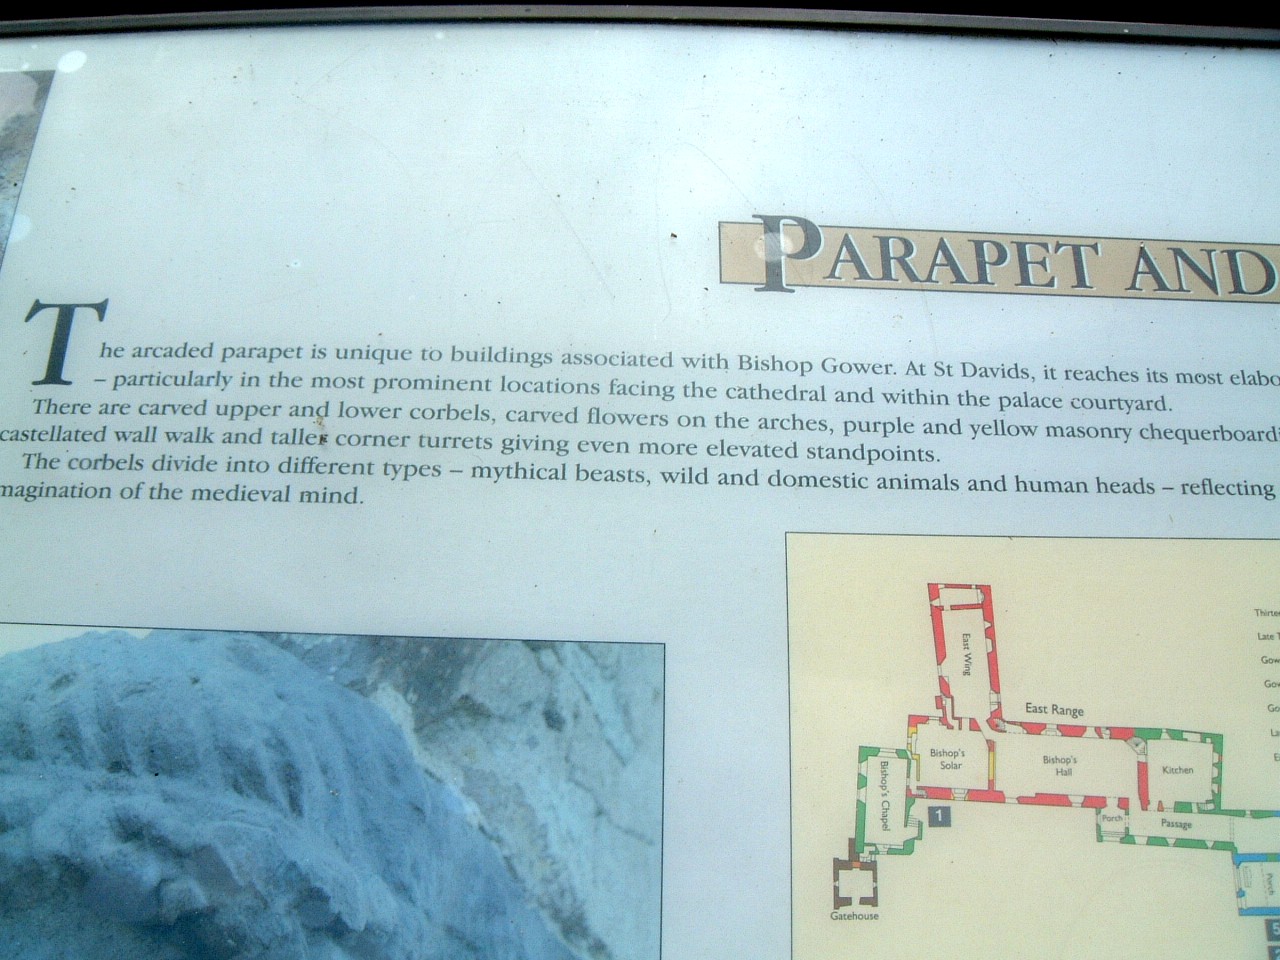
| An information panel on the Bishop's Palace. (278kb) | Debbie in the hall. (306kb)
|
A view along the top of the wall in the hall. (255kb) |
 |
 |
 |
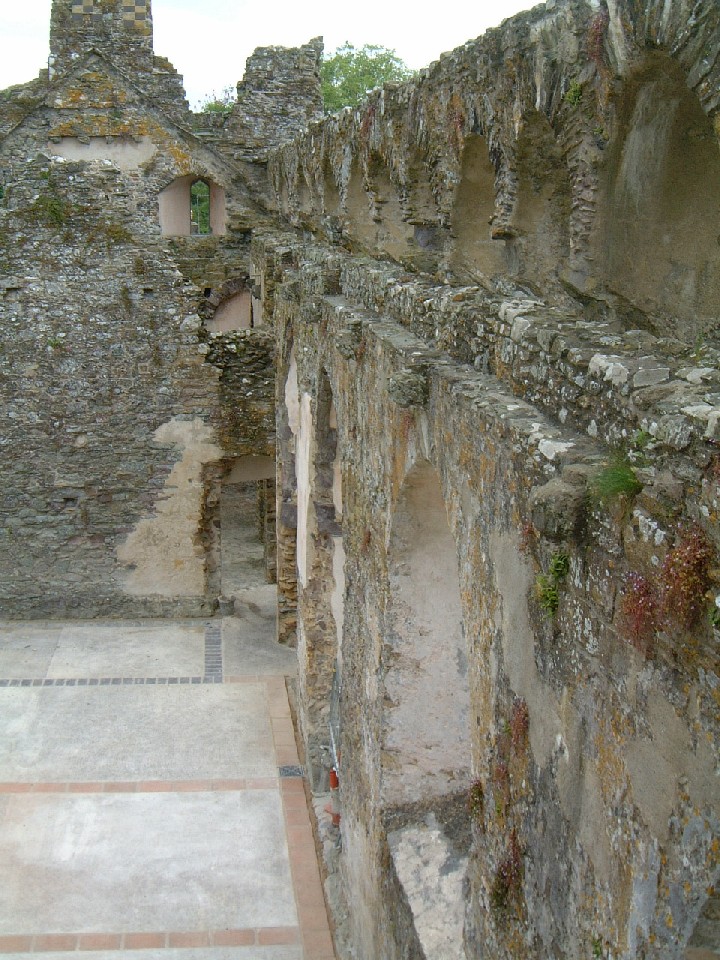
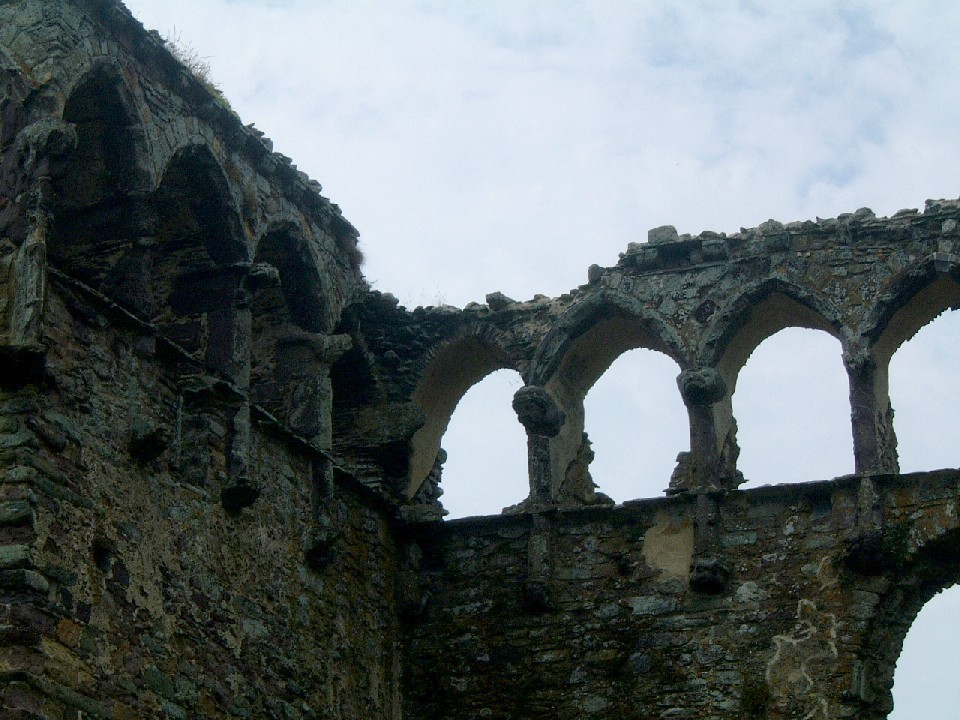
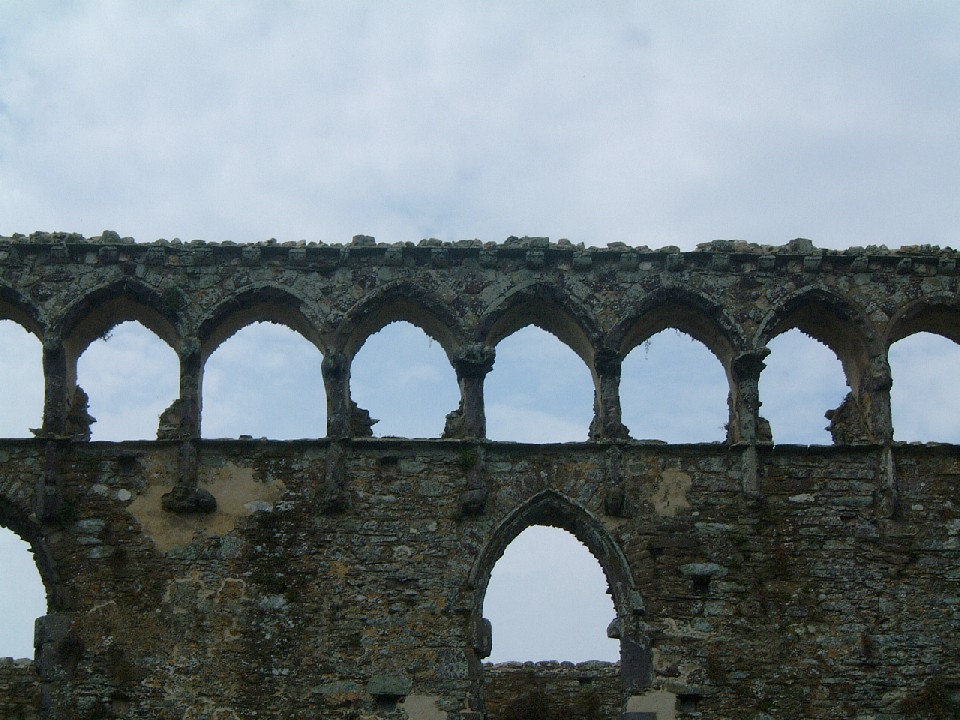
| Looking at the top of the wall. (193kb) | Another shot of the nice arcading along the
wall top. (187kb)
|
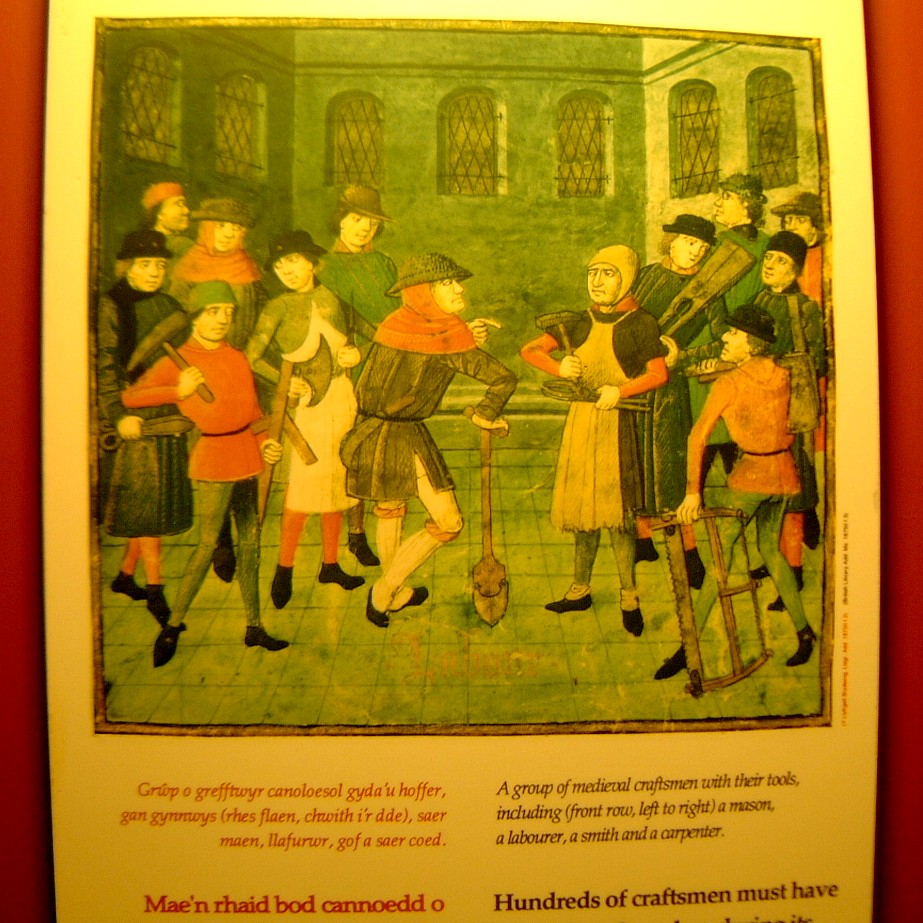
A neat painting showing medieval craftsmen and their tools. (237kb) |
 |
 |
 |
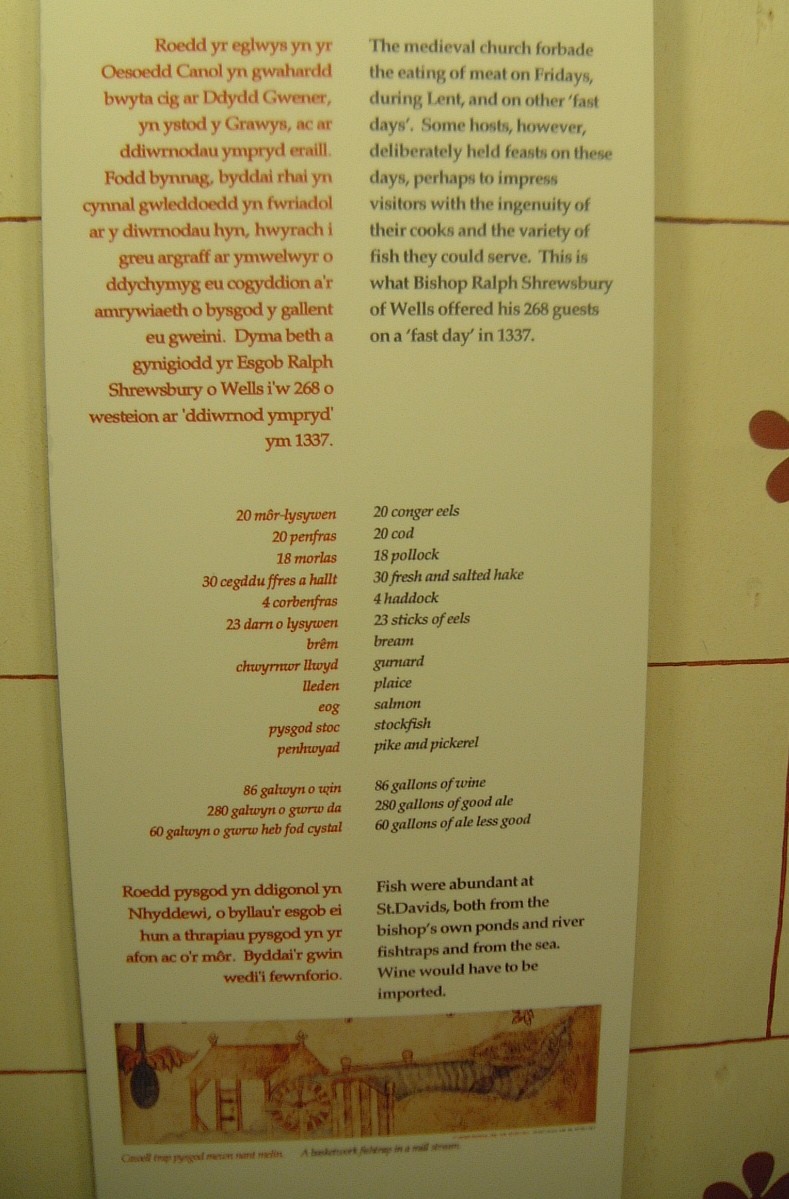
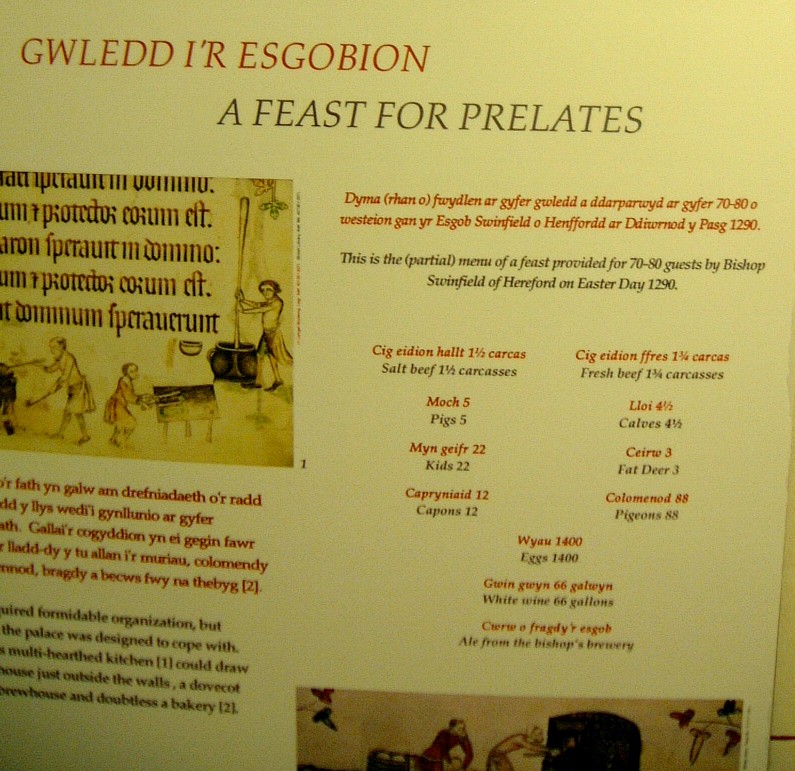
| Information on the fish served during fast days (and Fridays in Lent). (201kb) | Information on a feast. (173kb)
|
The round window in the mail hall. (163kb) |
 |
 |
 |
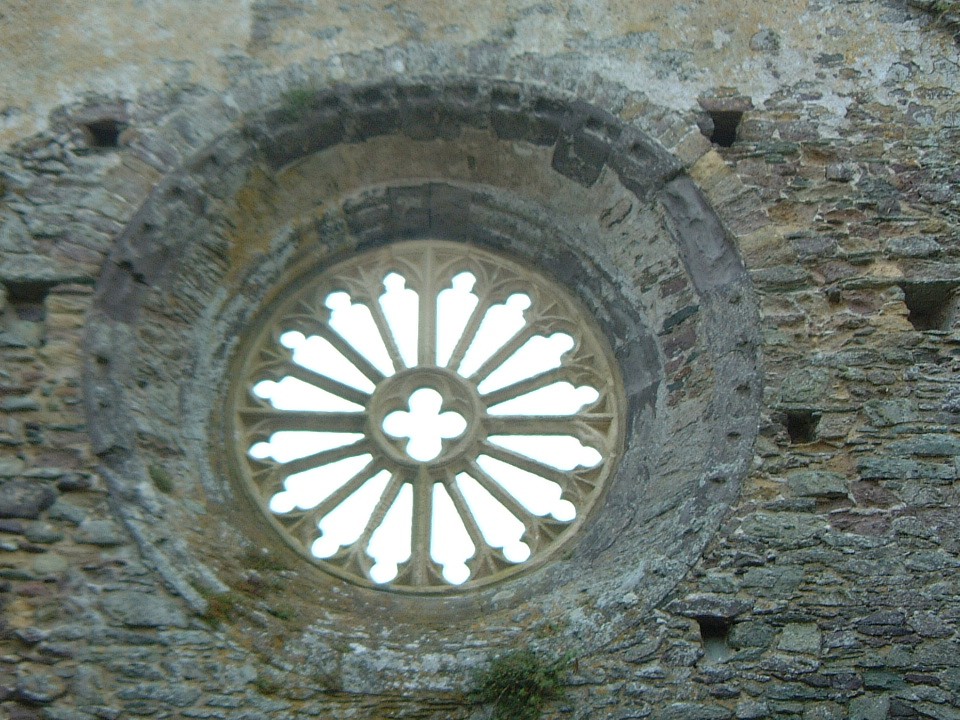
| Information on the arcading along the wall. (286kb) | Information on the round window. (183kb)
|
St Davids cathedral. (221kb) |
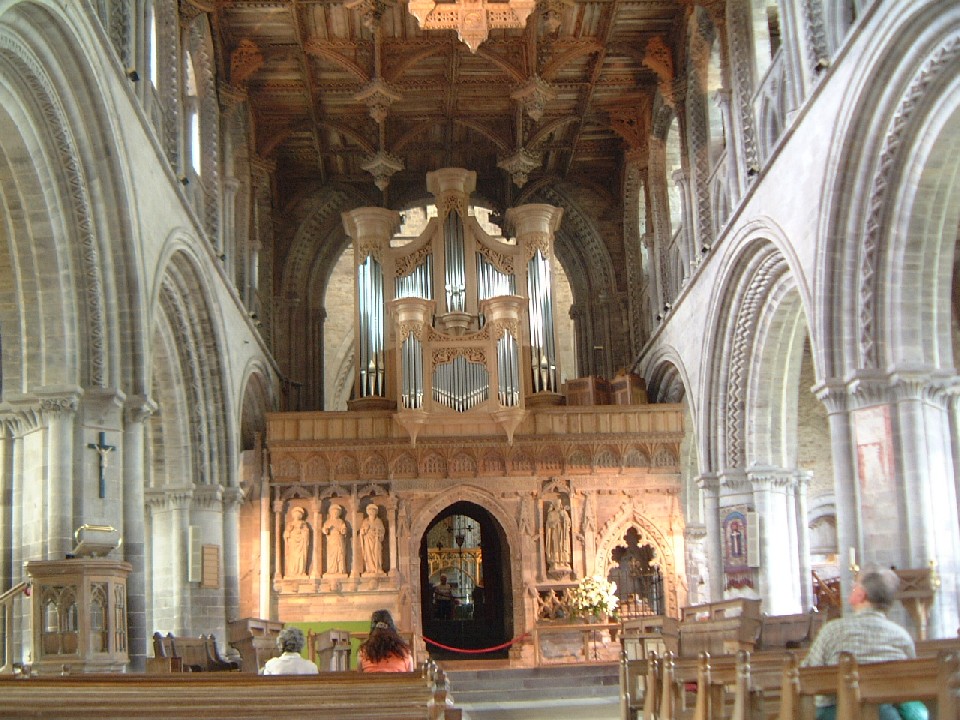
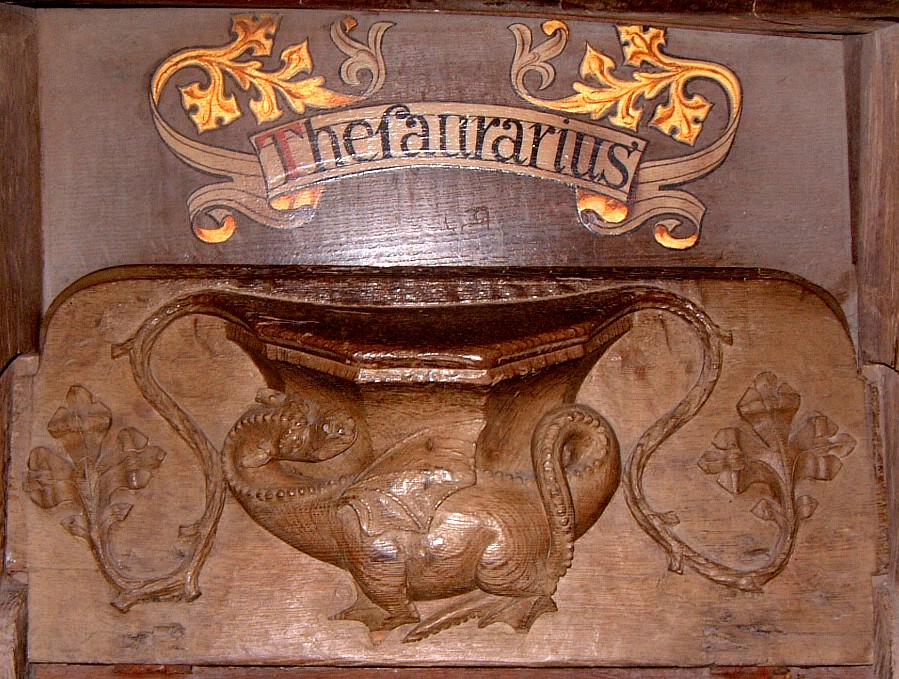
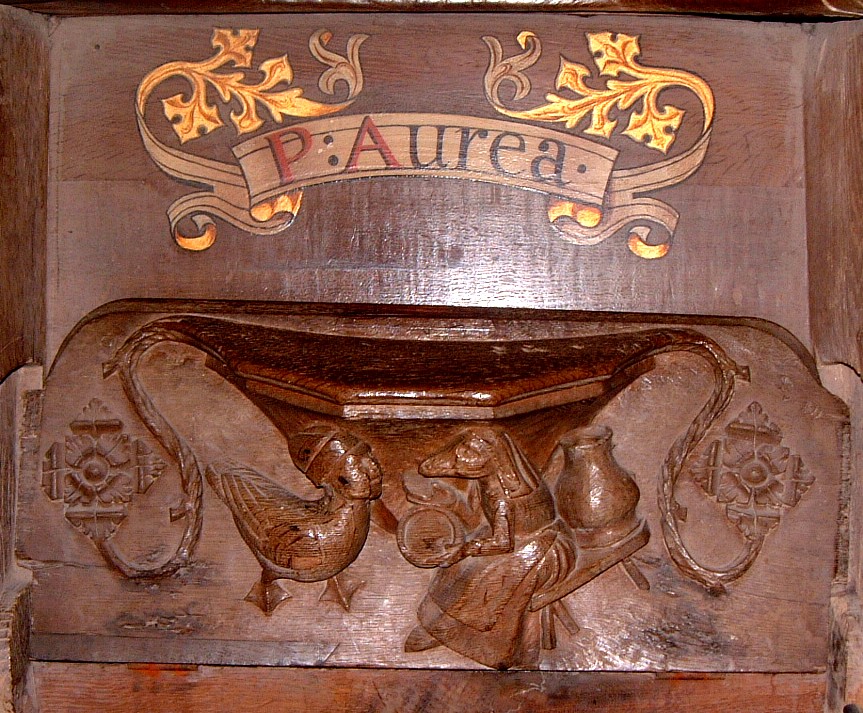
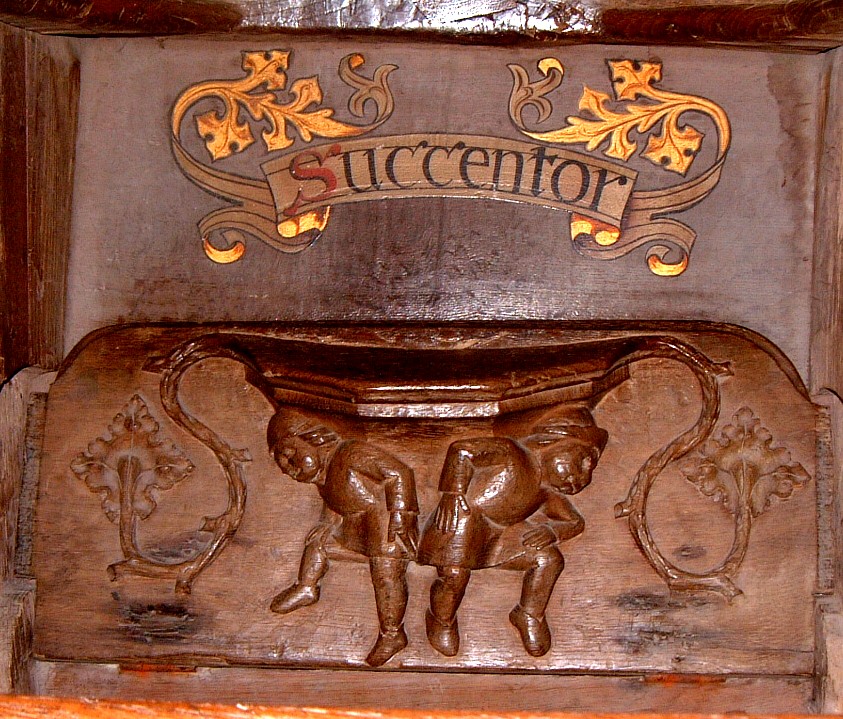
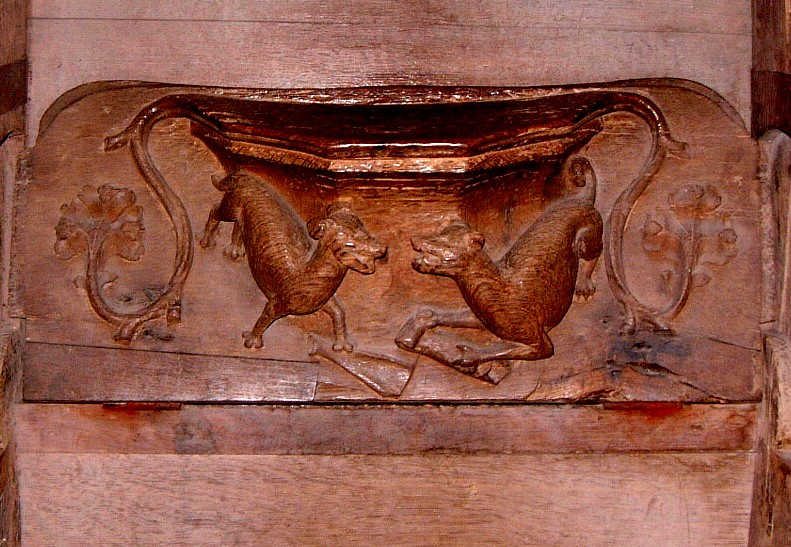
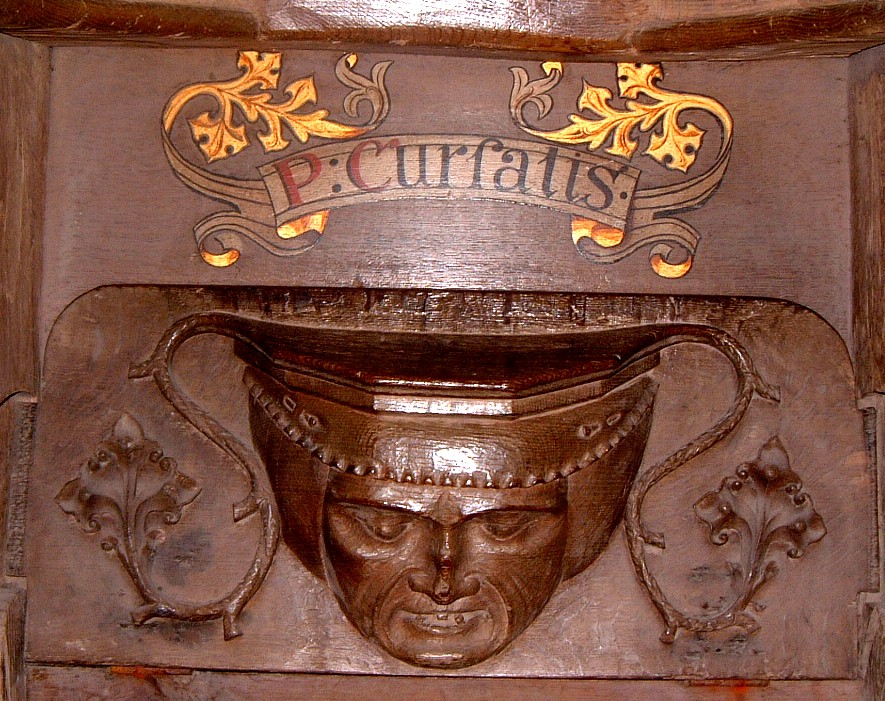
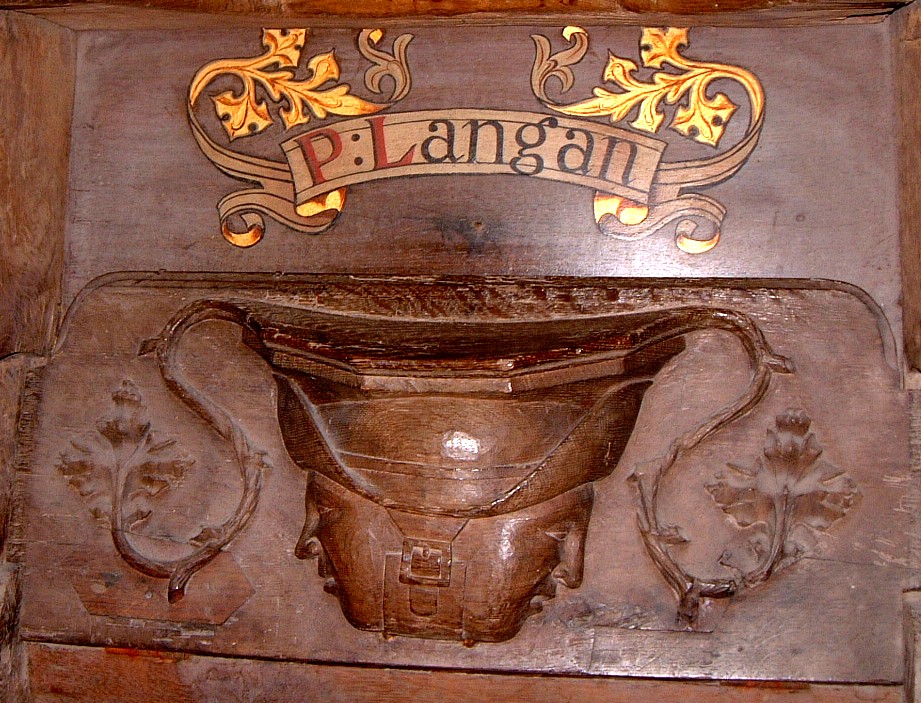
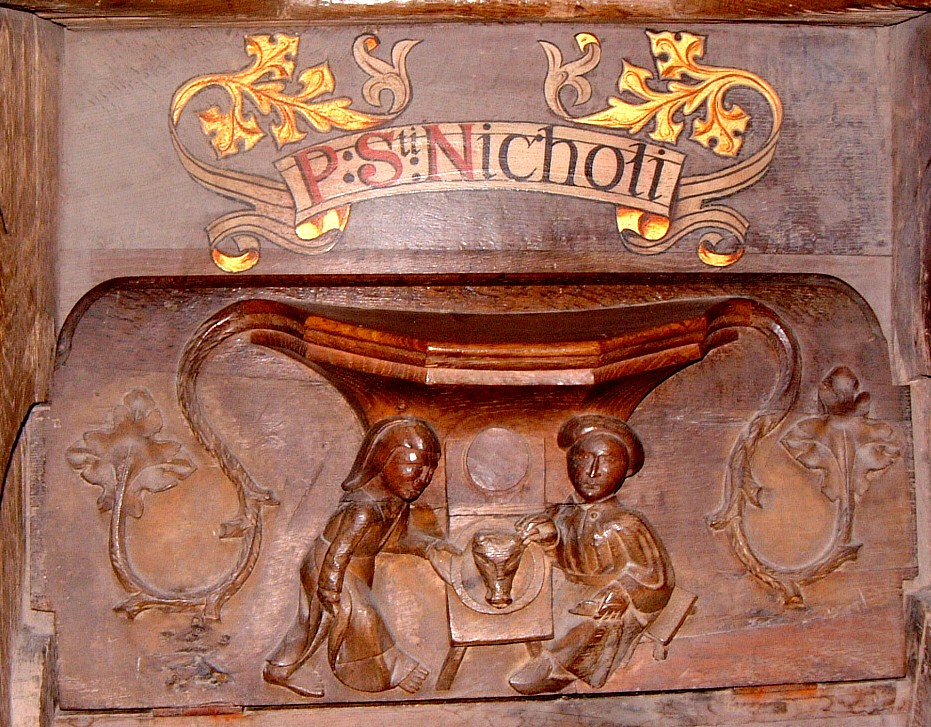
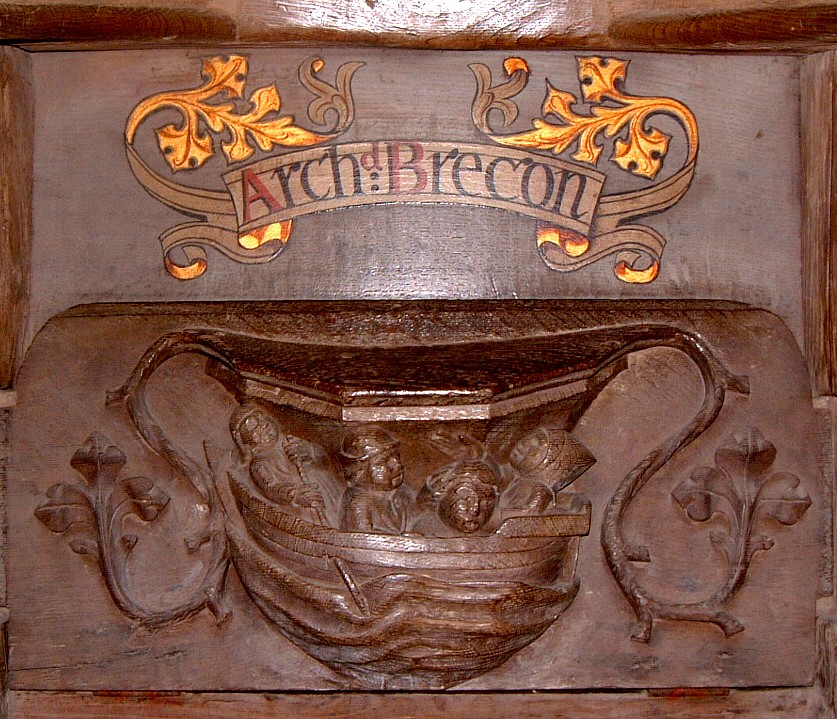
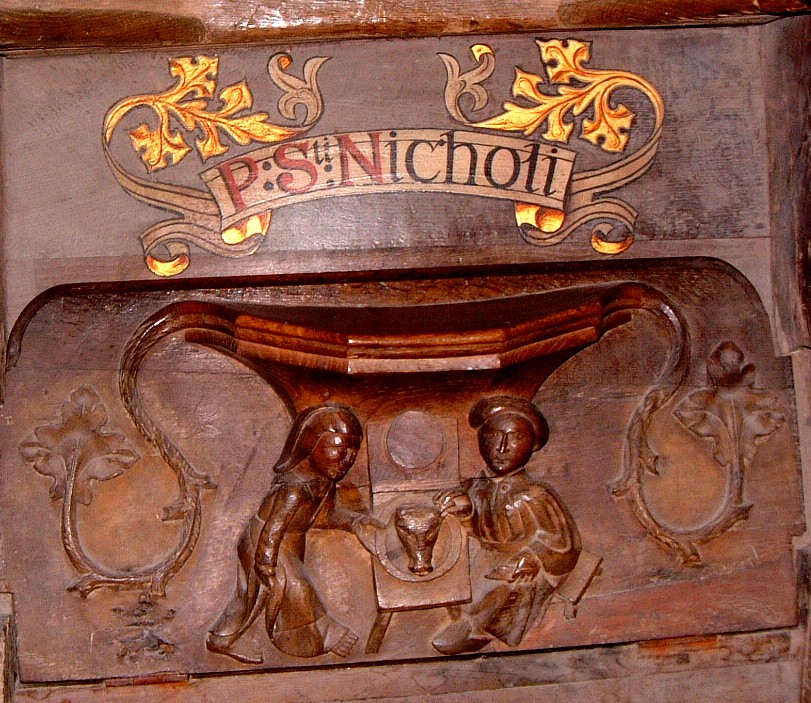
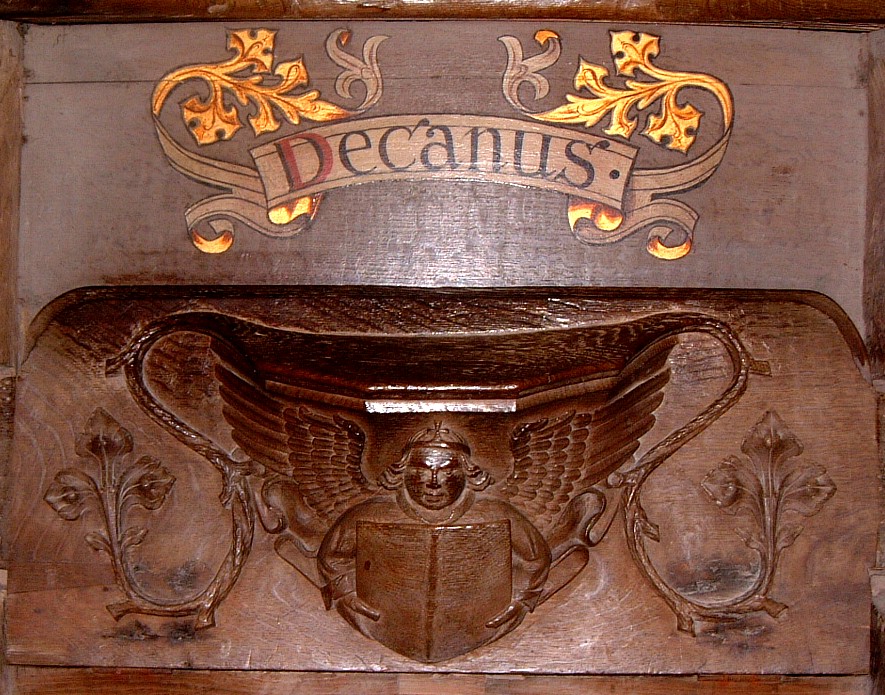
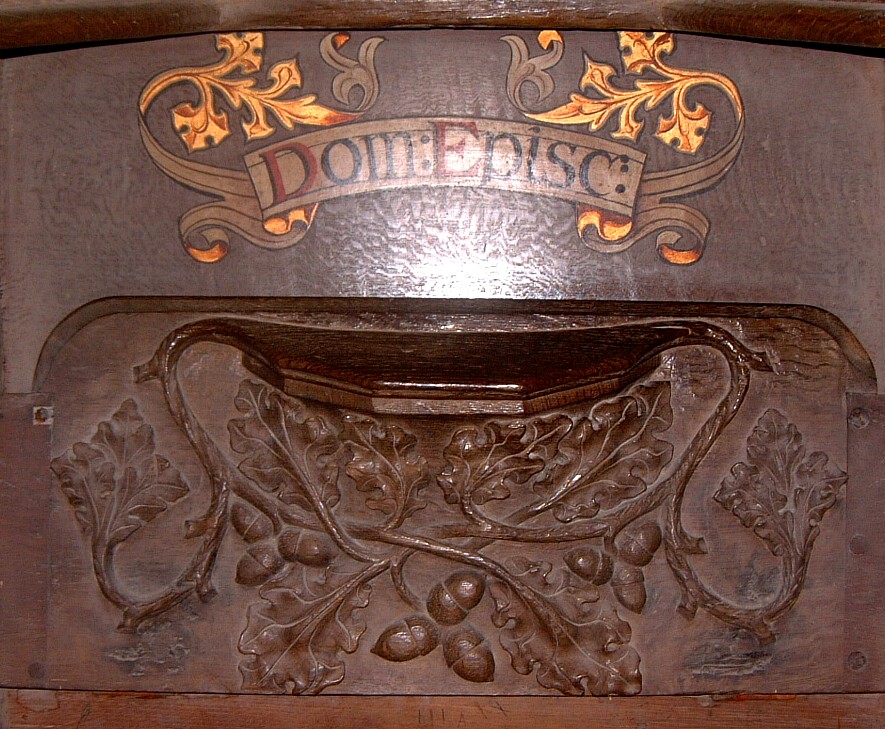
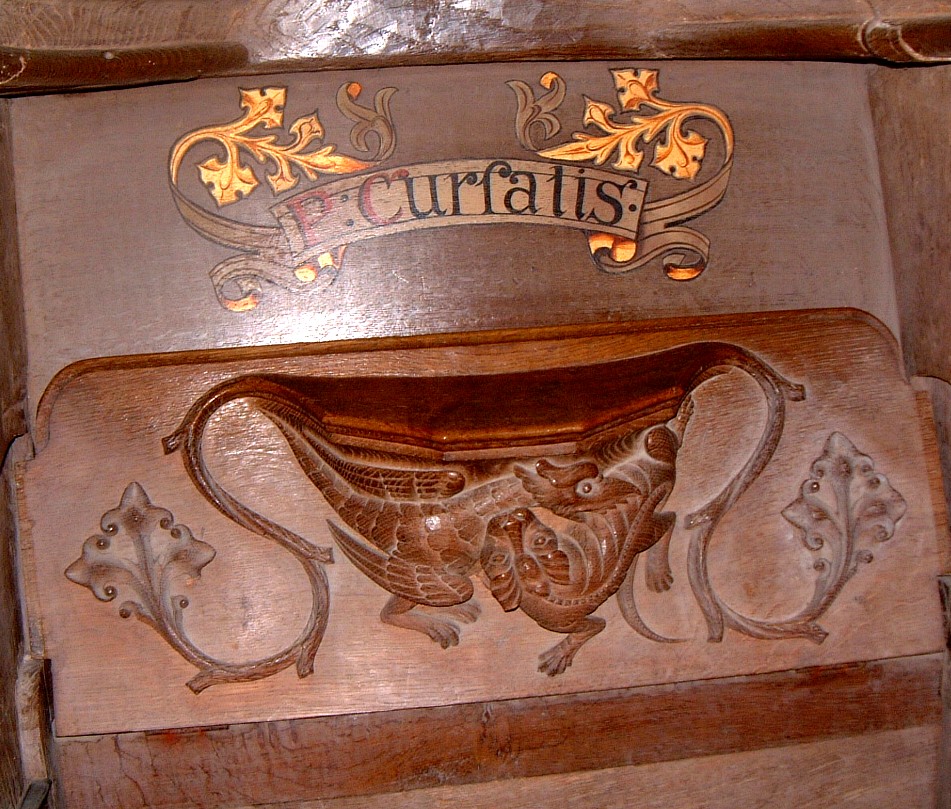
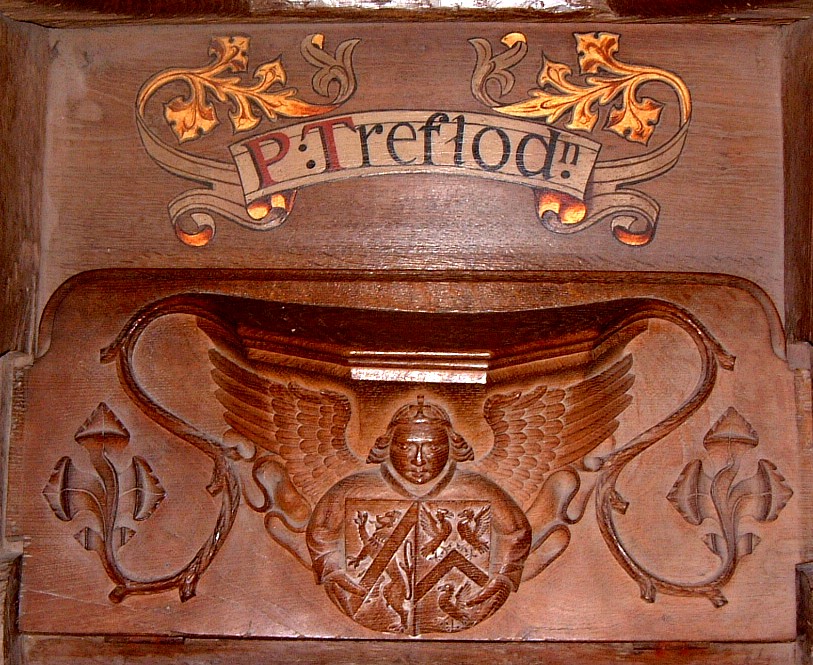
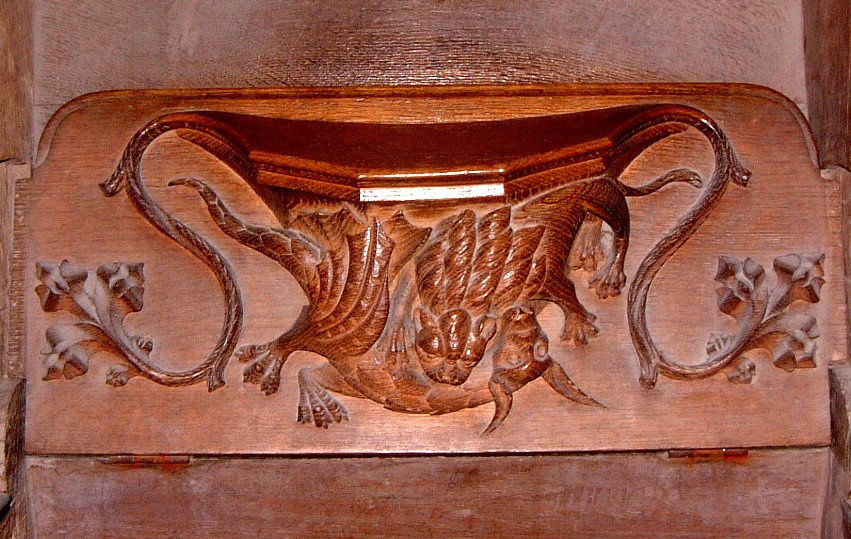
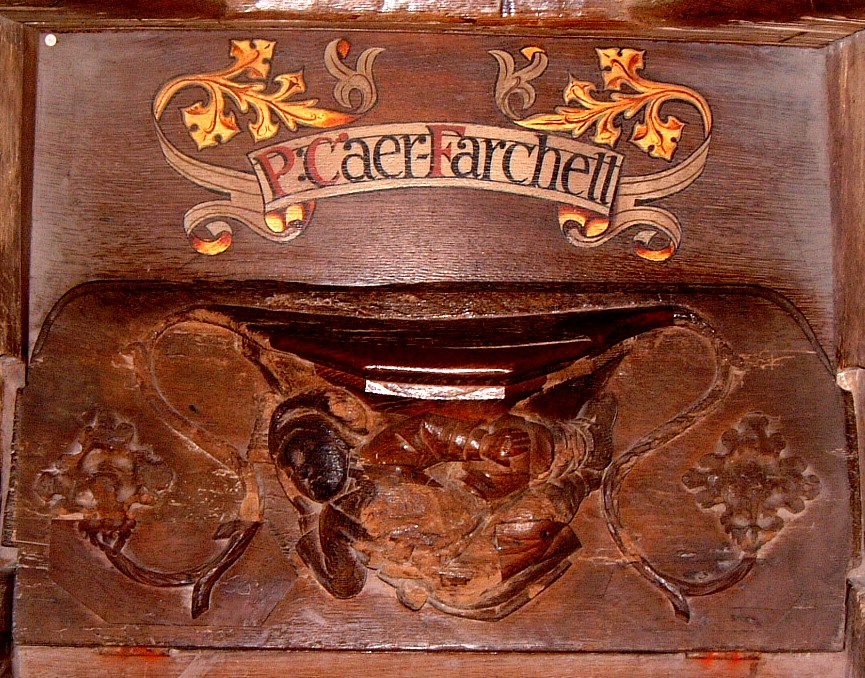
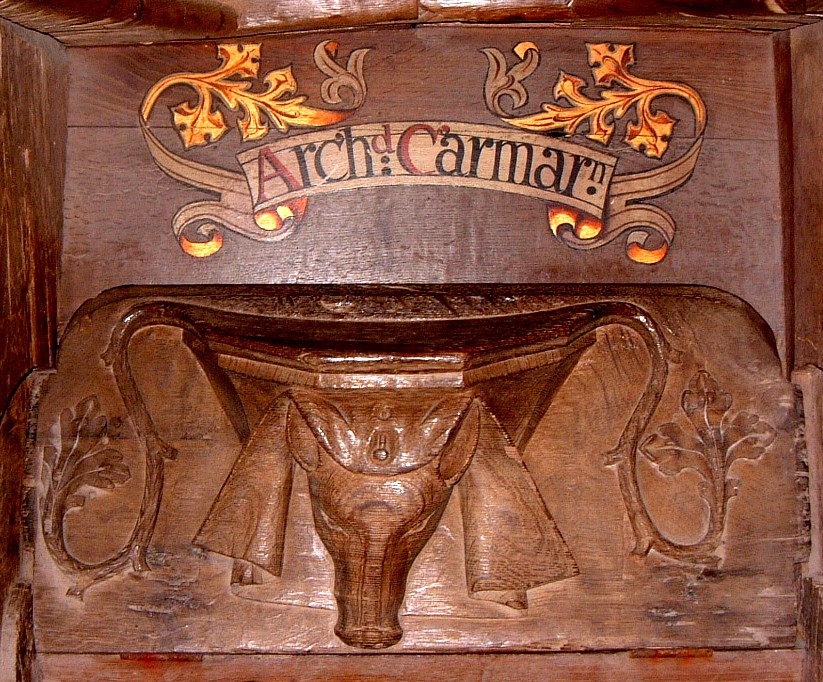
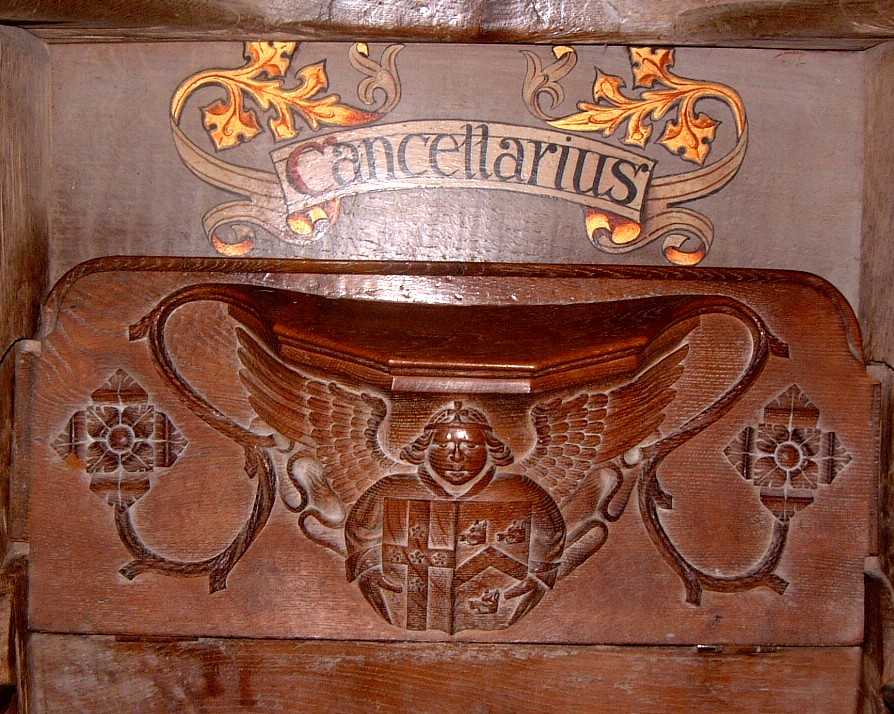
| St David's Cathedral had lots of cool medieval misericords. They are all shown below. | ||
 |
 |
 |
| A dragon (237kb) | A woman's-headed bird and a bird-headed
woman (243kb)
|
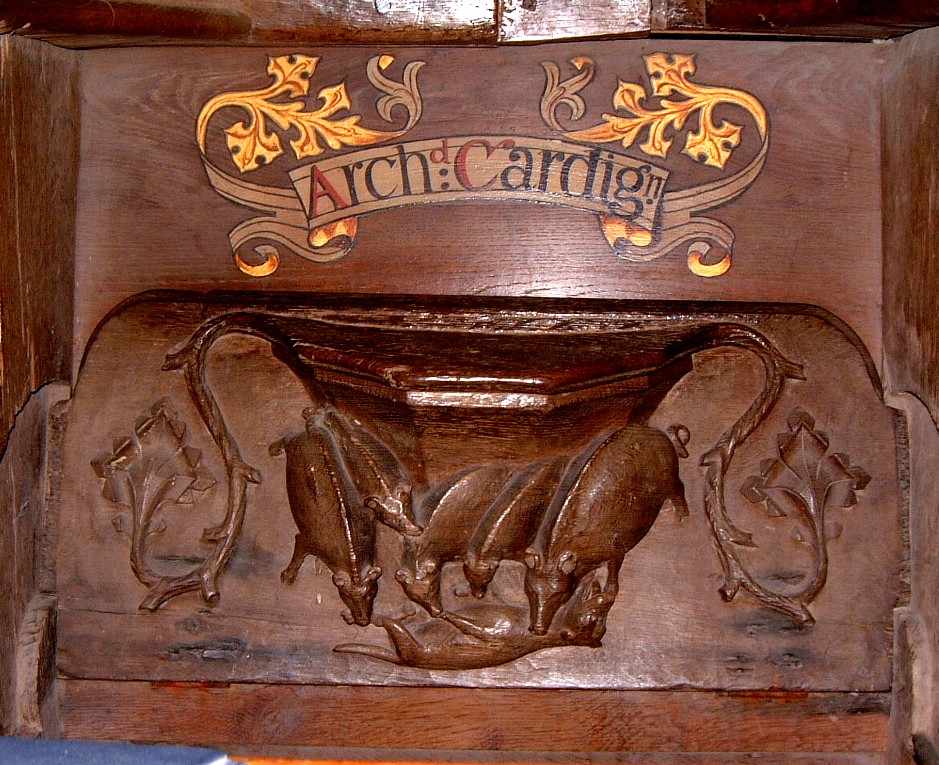
Four pigs eating a dead one. (273kb) |
 |
 |
 |
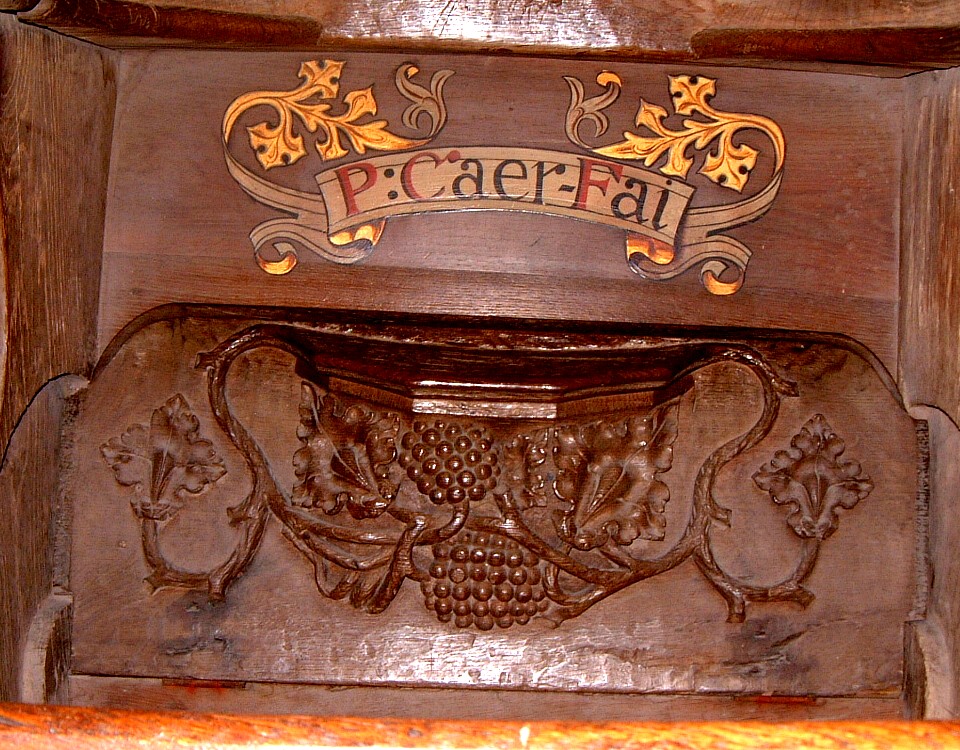
| Two entwined snakes. (269kb) | Grapes and leaves. (282kb)
|
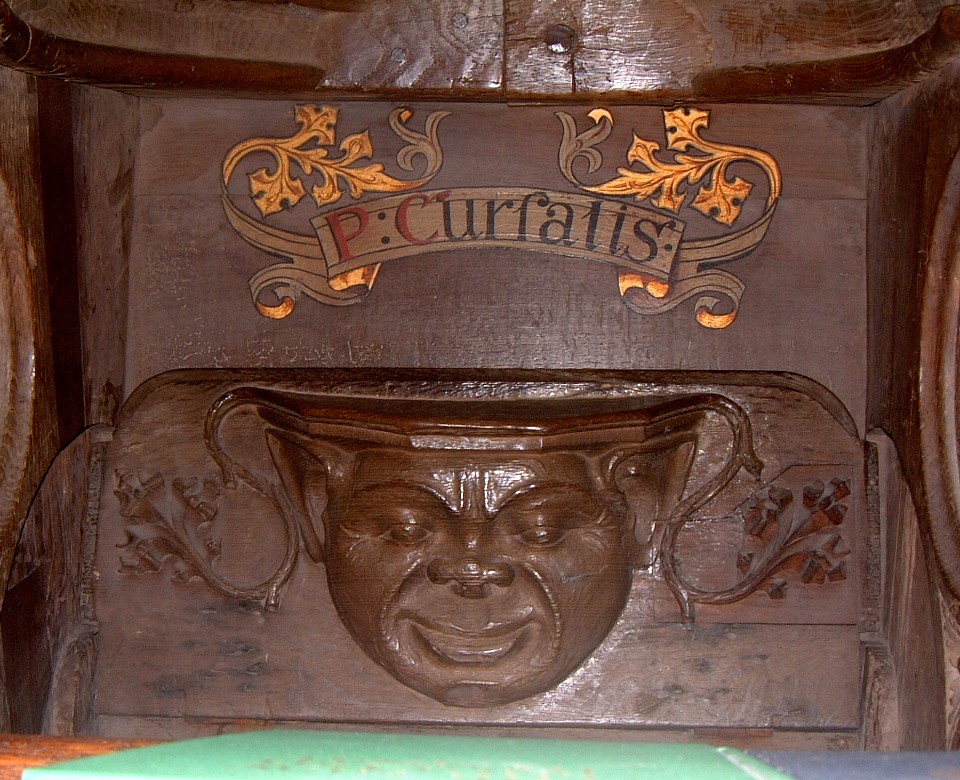
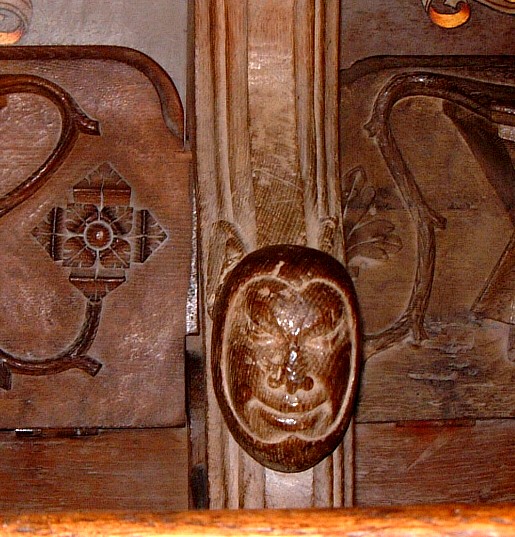
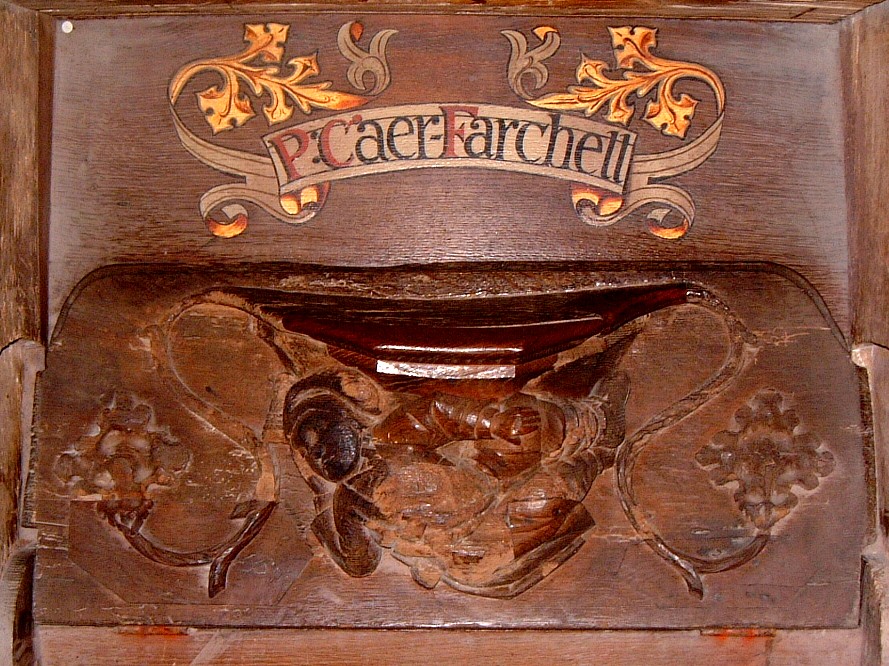
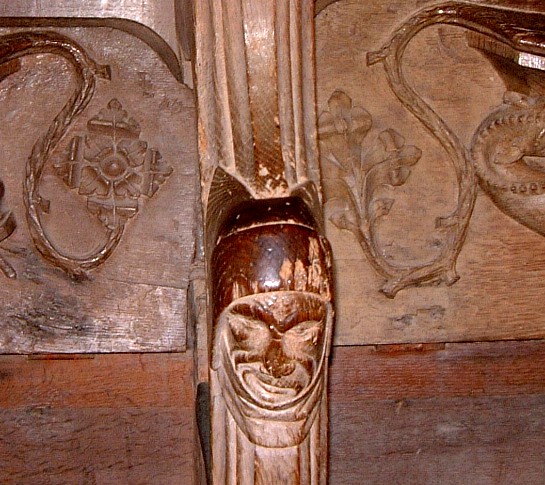
A cool face. (236kb) |
 |
 |
 |
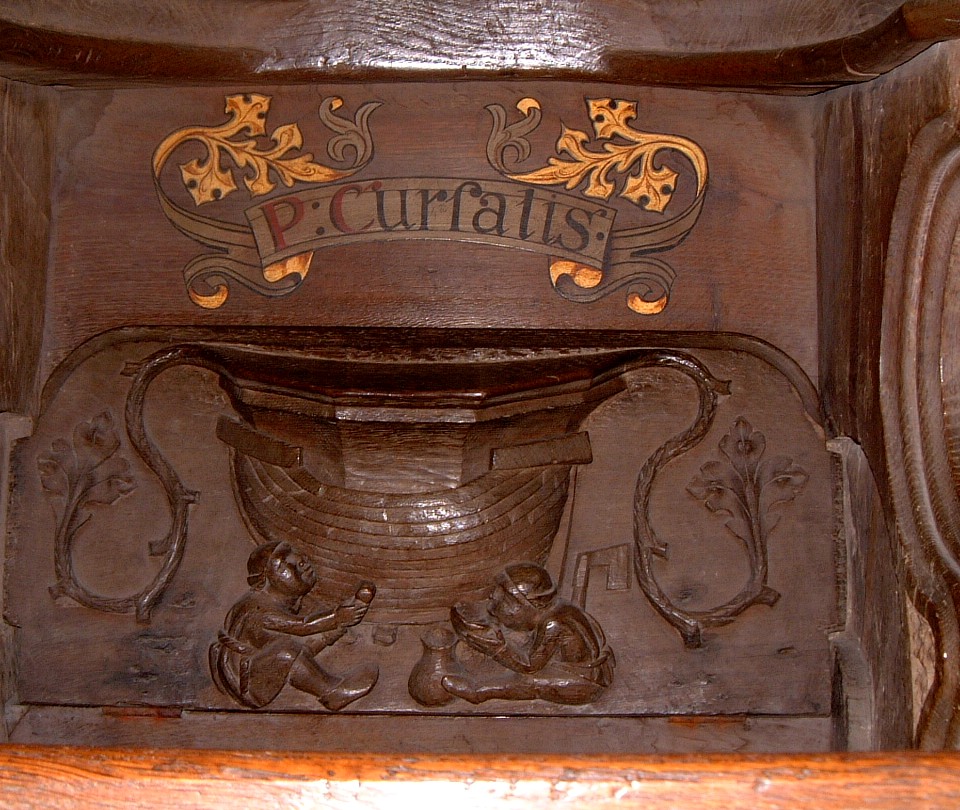
| Two boat builders taking a break. (248kb) | Two men (242kb)
|
Two dogs. (173kb) |
 |
 |
 |
| A cool face. (245kb) | A two-faced head. (247kb) | A man and woman with food on the table. (274kb)
|
 |
 |
 |
| Four men in a boat. (234kb) | A man and woman with food on the table. (226kb)
|
An angel with a shield. (239kb) |
 |
 |
 |
| Oak leaves and acorns. (225kb) | Leaves. (234kb)
|
An owl. (225kb) |
 |
 |
 |
| An eagle and lion locked in combat. (265kb) | An angel with a heraldic shield. (219kb)
|
Something killing something else. (185kb) |
 |
 |
 |
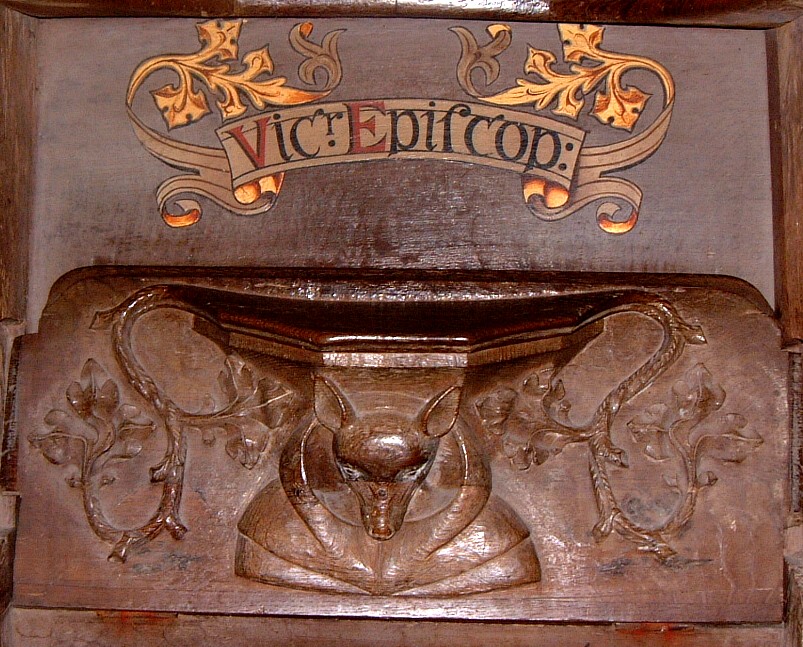
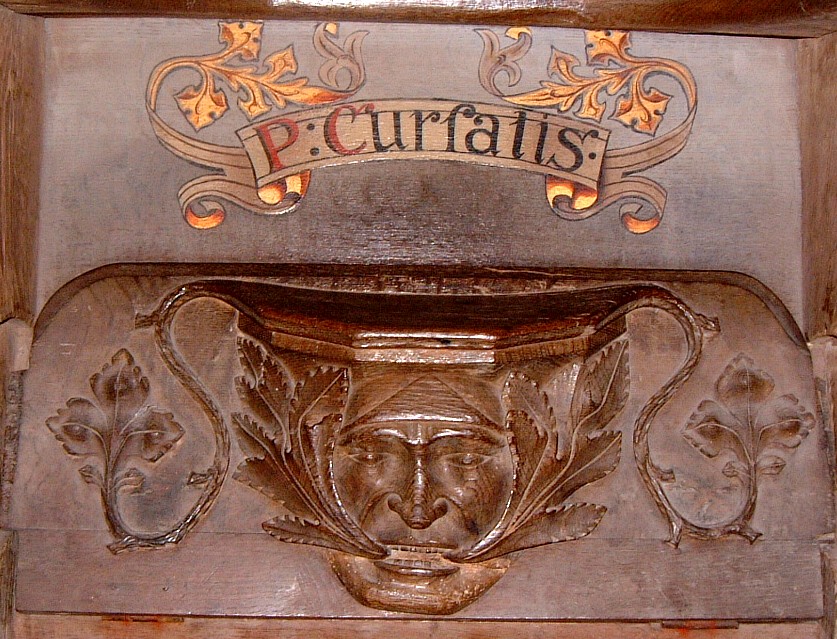
| A fox wearing a hood. (201kb) | A face with leaves in its mouth. (207kb)
|
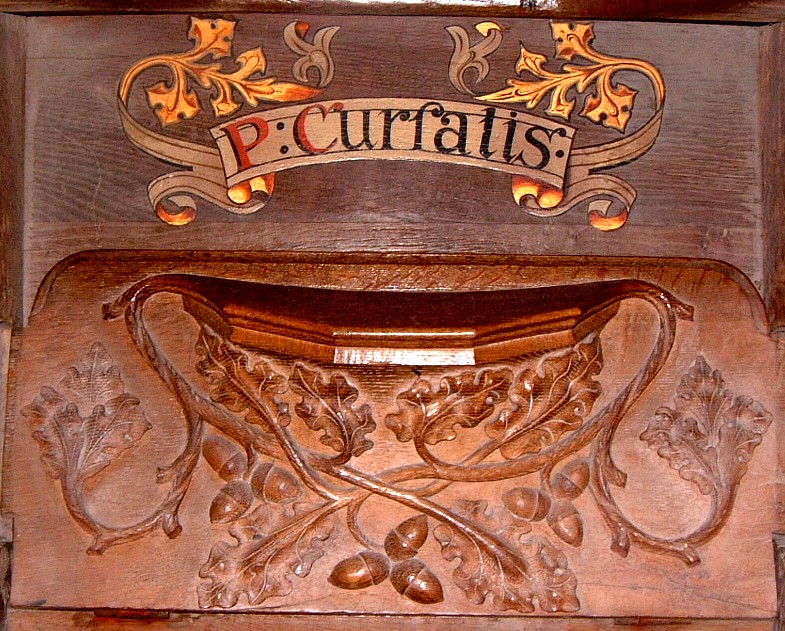
Oak leaves and acorns. (213kb) |
 |
 |
 |
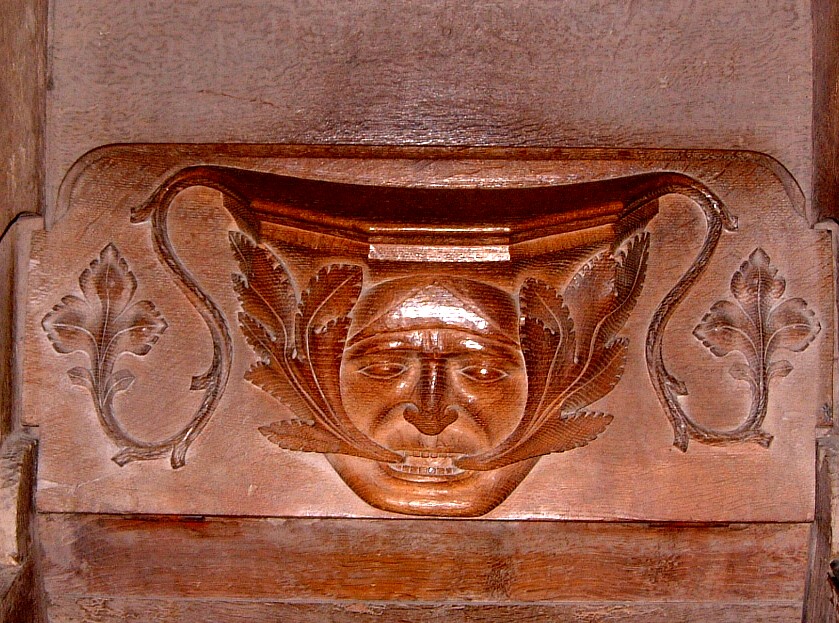
| A man being swallowed by a cockatrice. (228kb) | A face with leaves. (213kb)
|
A man laying on his side (although much damaged.) (252kb) |
 |
 |
 |
| A pig's head with a veil. (233kb) | A crowned angel with a heraldic shield. (250kb)
|
A neat carving on the arm of the stall. (112kb) |
 |
 |
 |
| Another (damaged) man laying on his side(240kb) | Another neat face on the stall arm. (106kb)
|
A neat pew end carving. (214kb) |
 |
 |
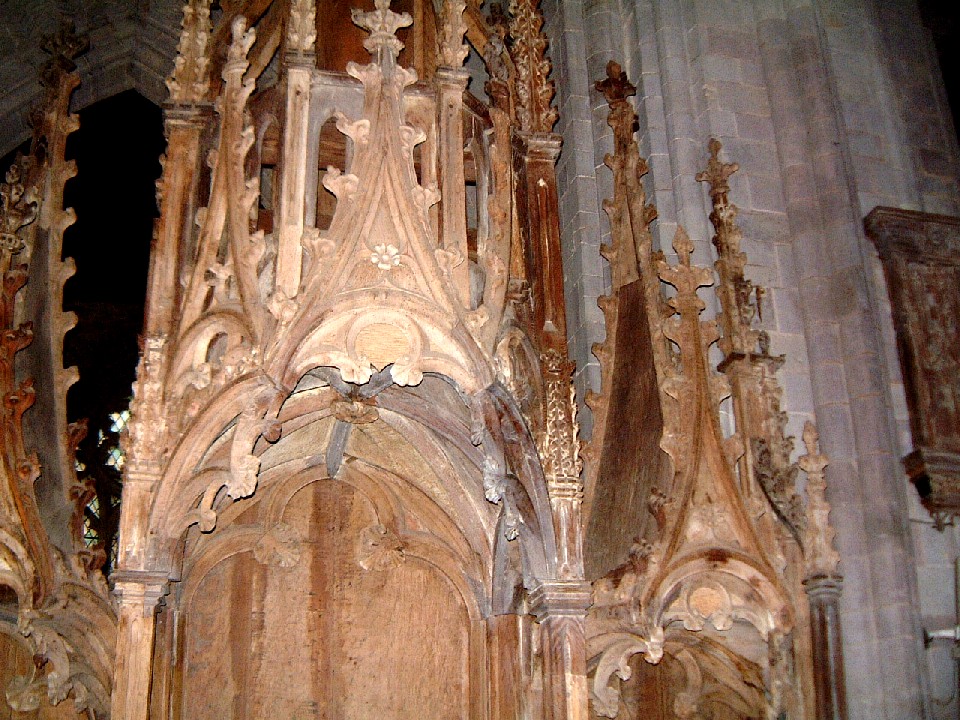 |
| The other side of the pew end carving. (125kb) | The fancy canopy over the bishop's cathedra. (286kb)
|
(kb) |
| St David's Cathedral had lots of other medieval features. |
||
 |
 |
 |
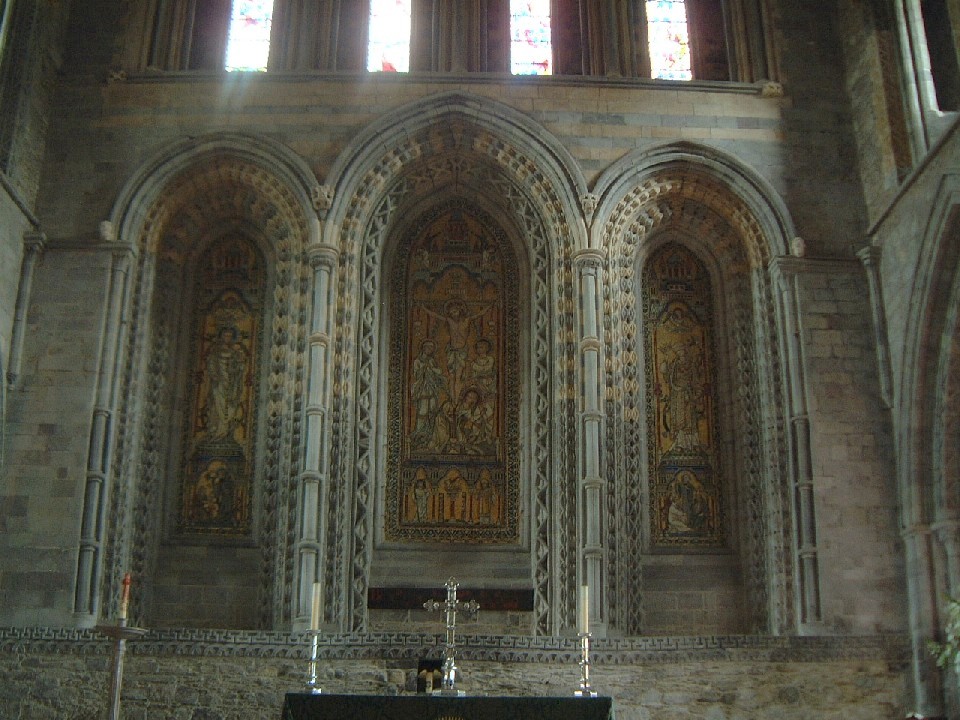
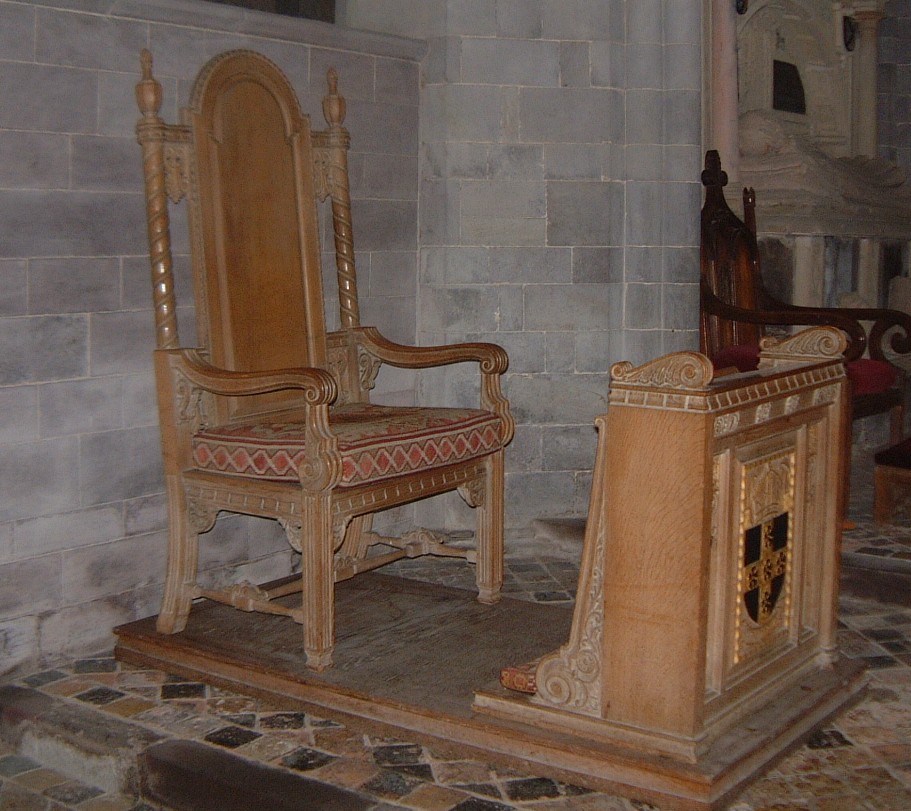
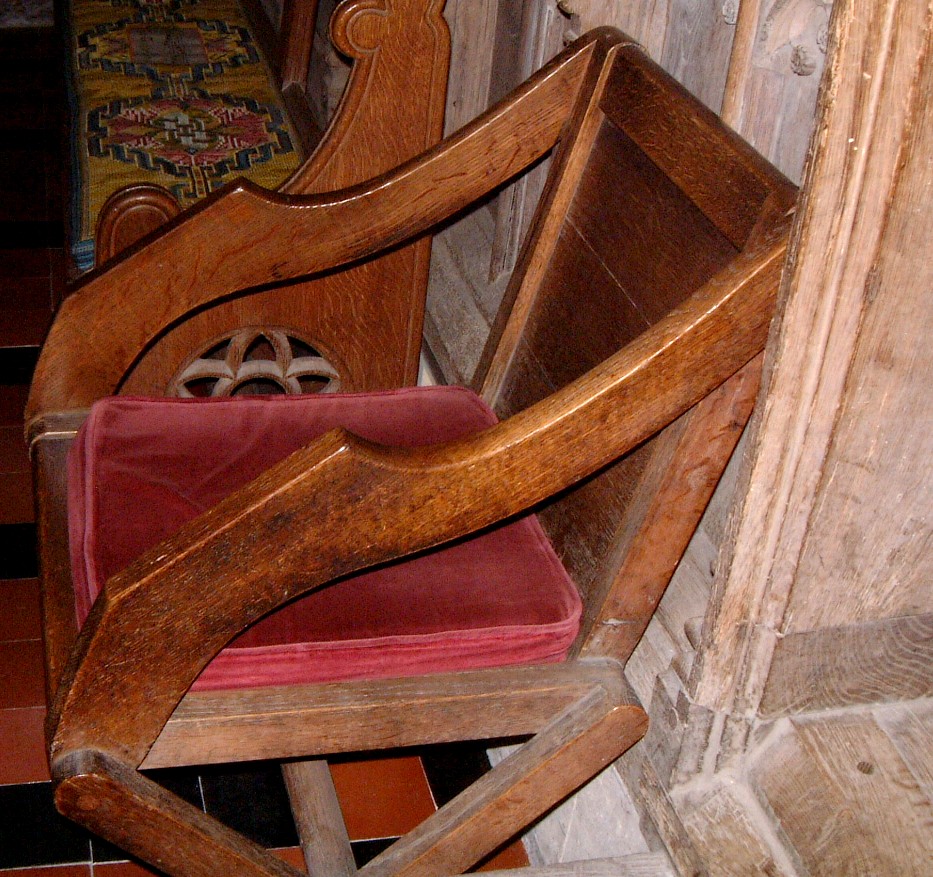
| The mosaics over the high altar. (203kb) | A ??? chair in the chancel. (190kb)
|
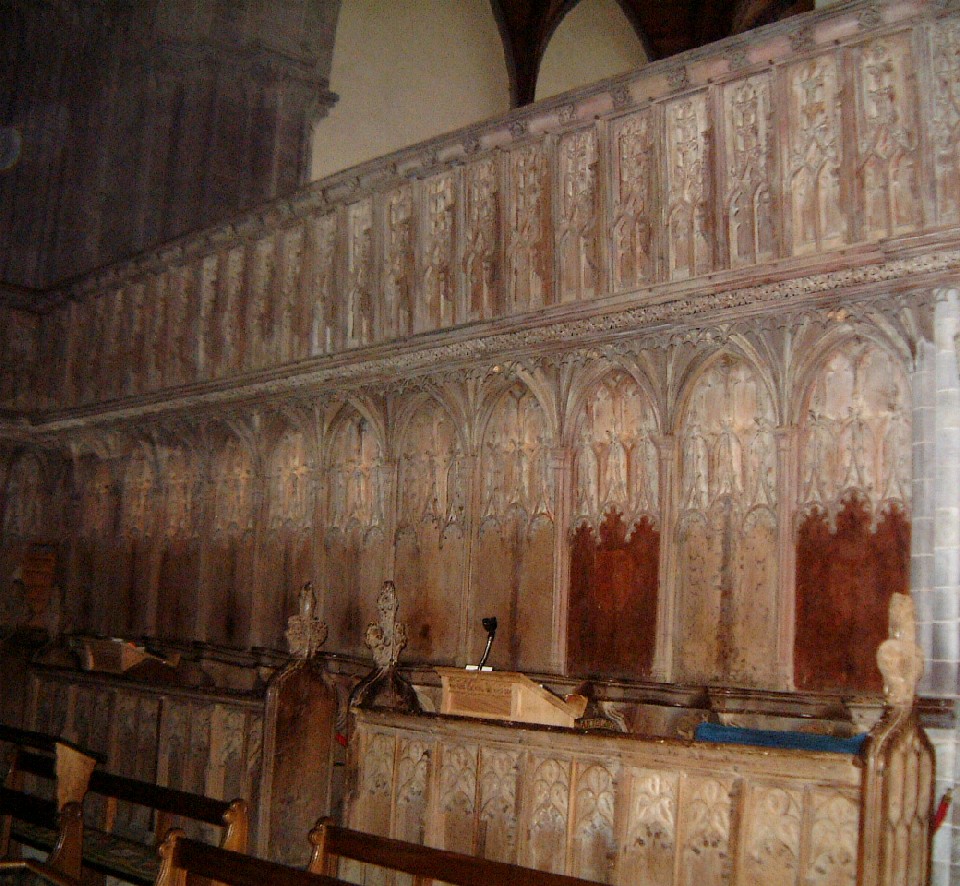
The fancy canopies over the choir stall. (264kb) |
 |
 |
 |
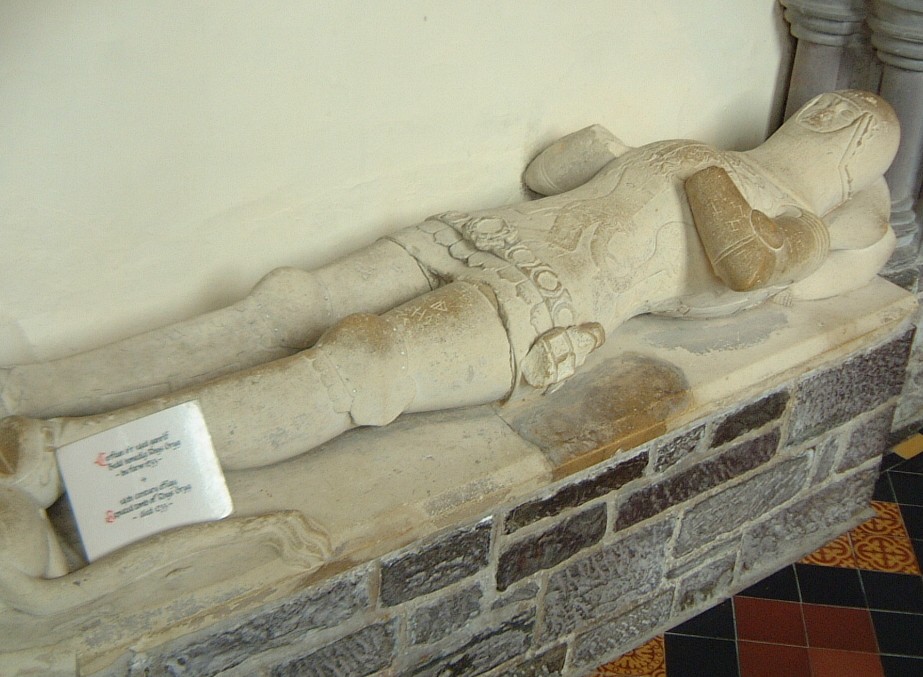
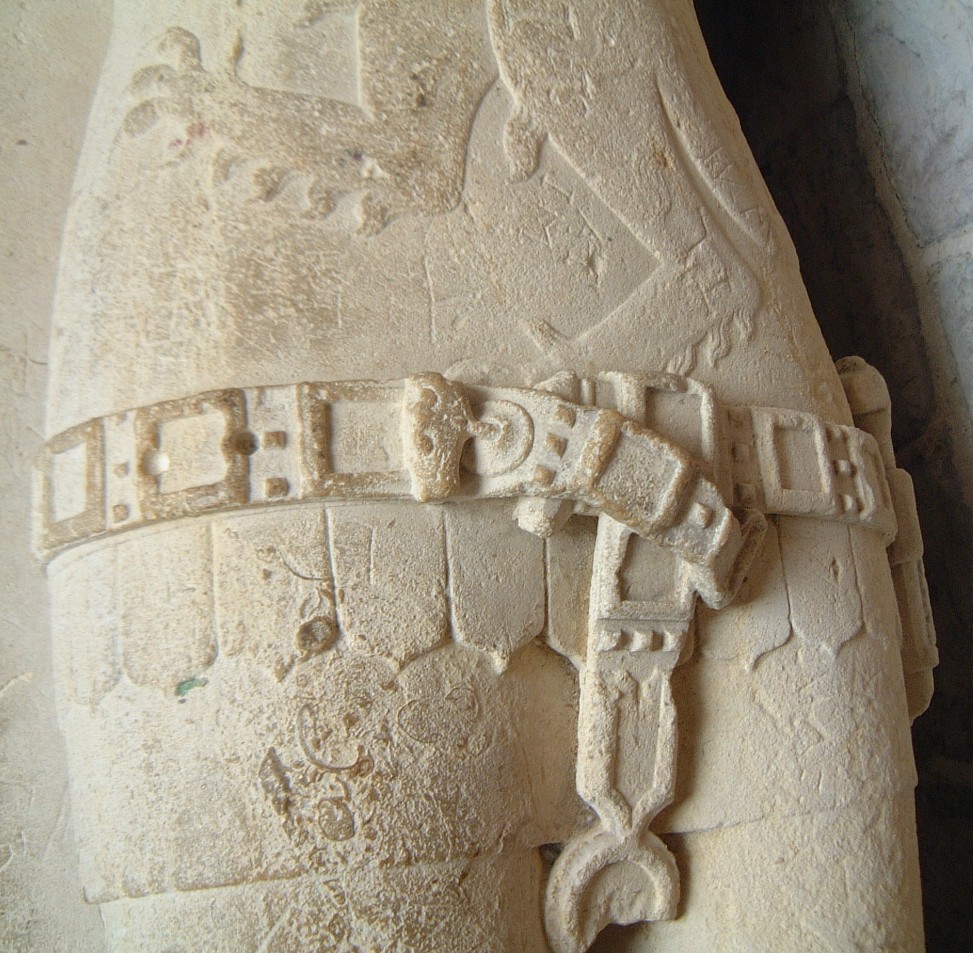
| A 14th century effigy. (147kb) | Detail on the surcoat and plaque belt of the
effigy. (140kb)
|
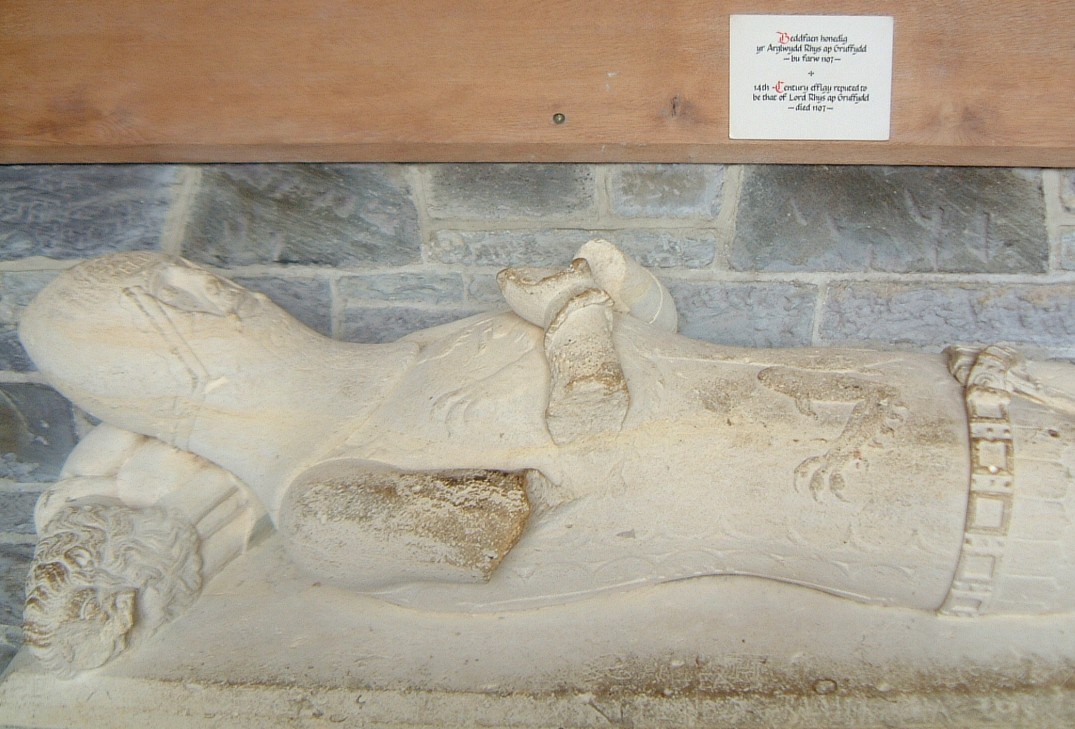
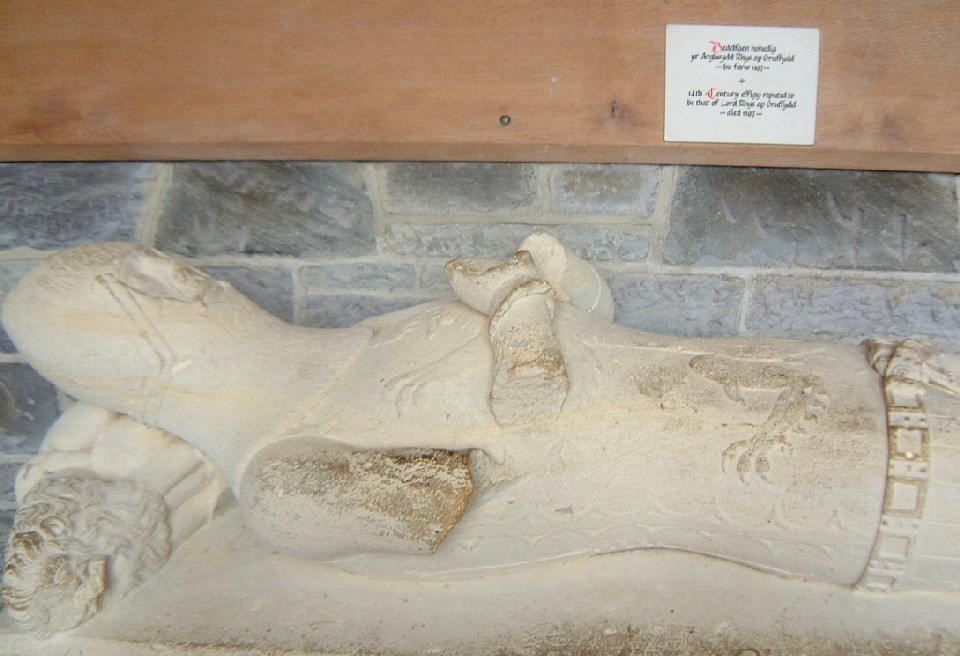
14th century effigy of Lord Rhys ap Gruffydd. (190kb) |
 |
 |
|
| Lord Rhys died in 1307. (141kb)
|
Detail of Lord Rhys's plaque belt. (276kb)
|
|
 |
 |
 |
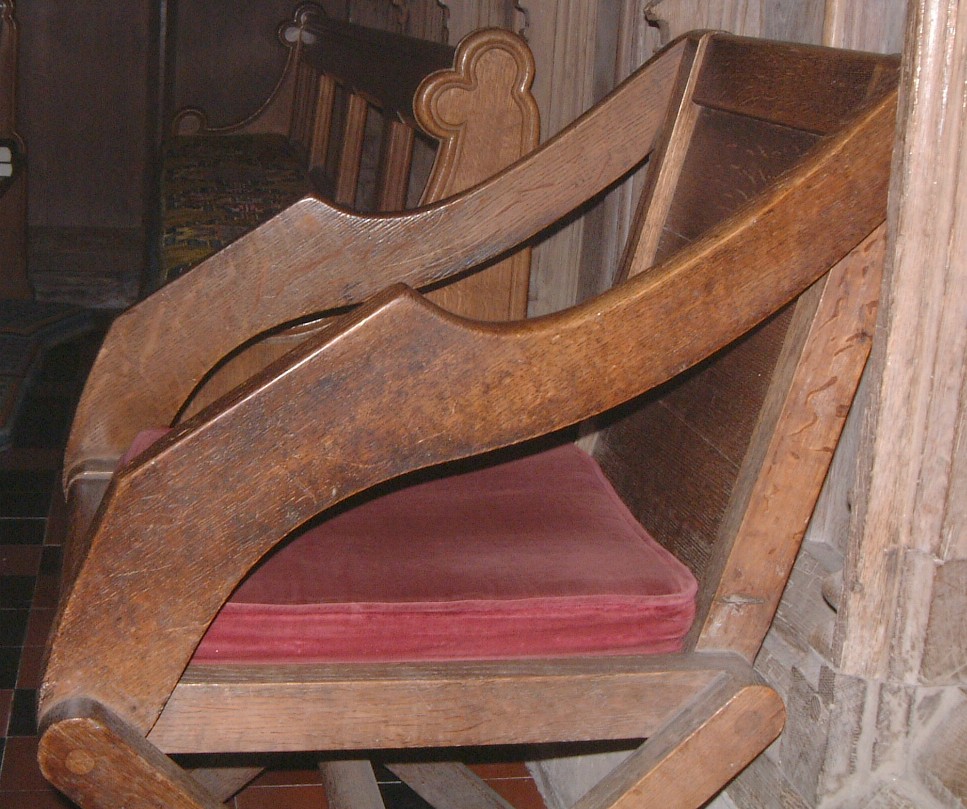
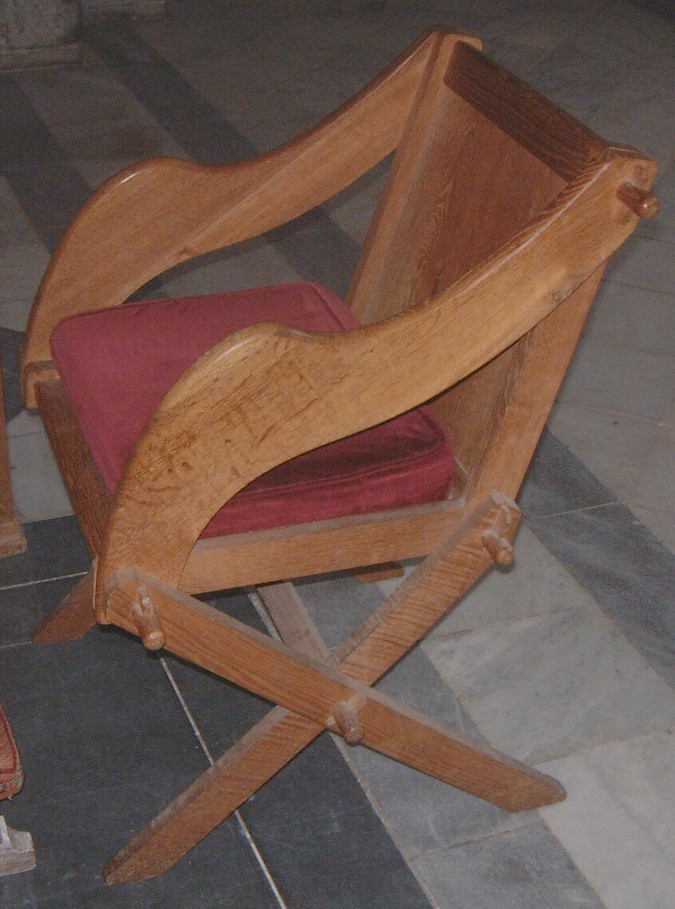
| Very plain Glastonbury chair. (276kb) | The interesting part is the flat slope of
the front of the arms. (212kb)
|
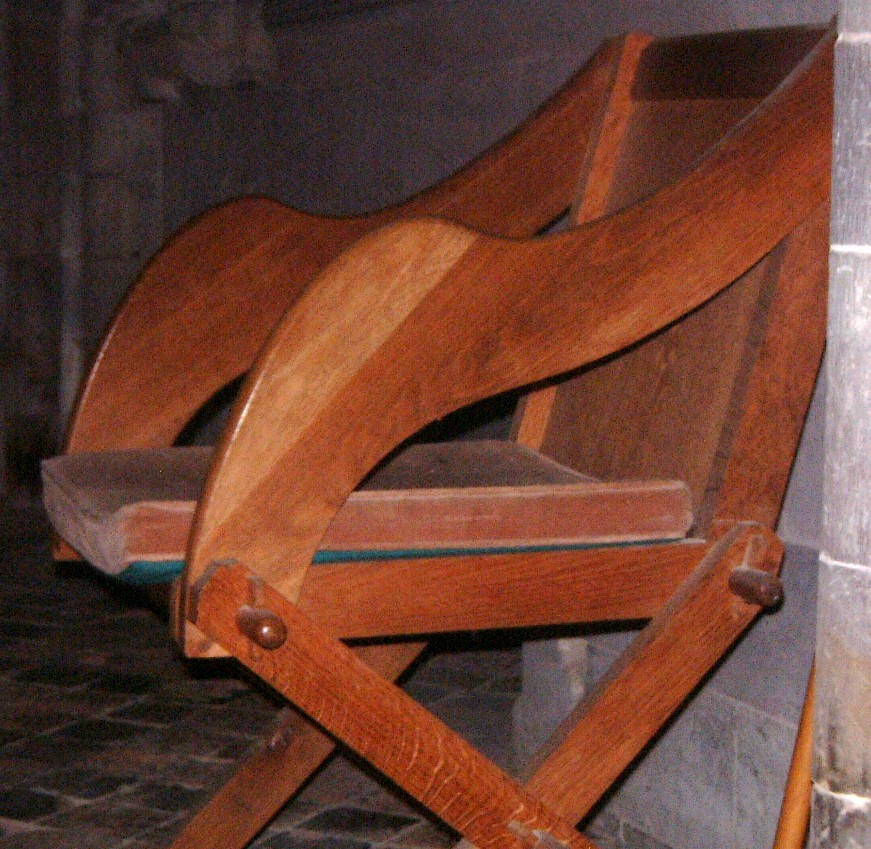
A plain Glastonbury chair. (239kb) |
 |
 |
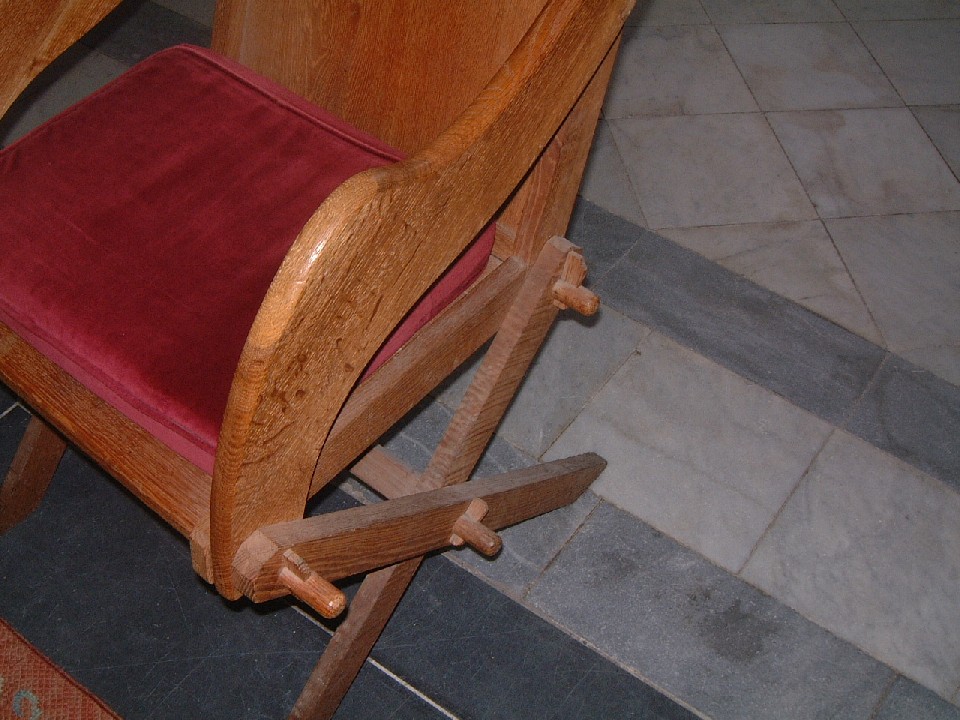 |
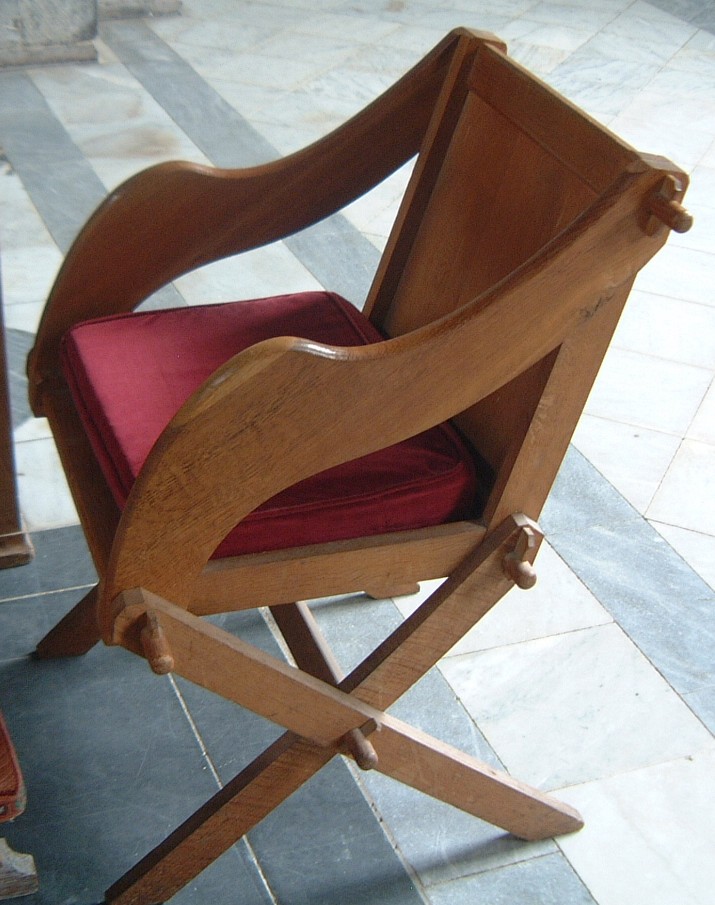
| An interesting Glastonbury chair, very plain but unique in construction. (147kb) | The sides of the seat are in the same
'plane' as the sides of the back. (141kb)
|
This is very clear in this picture. (185kb) |
 |
 |
 |
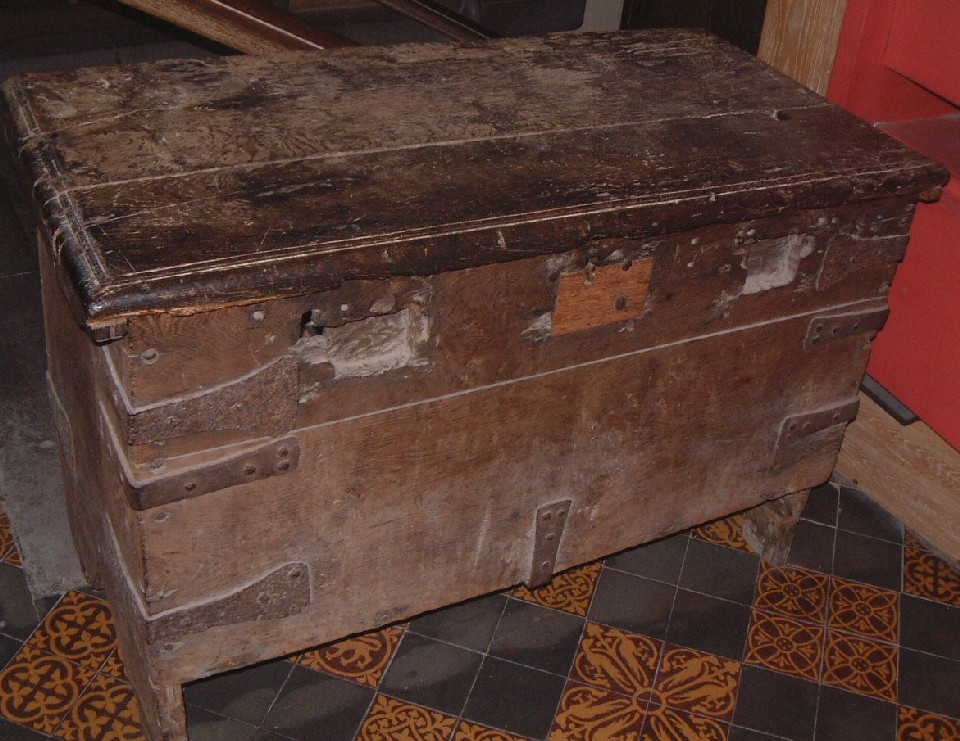
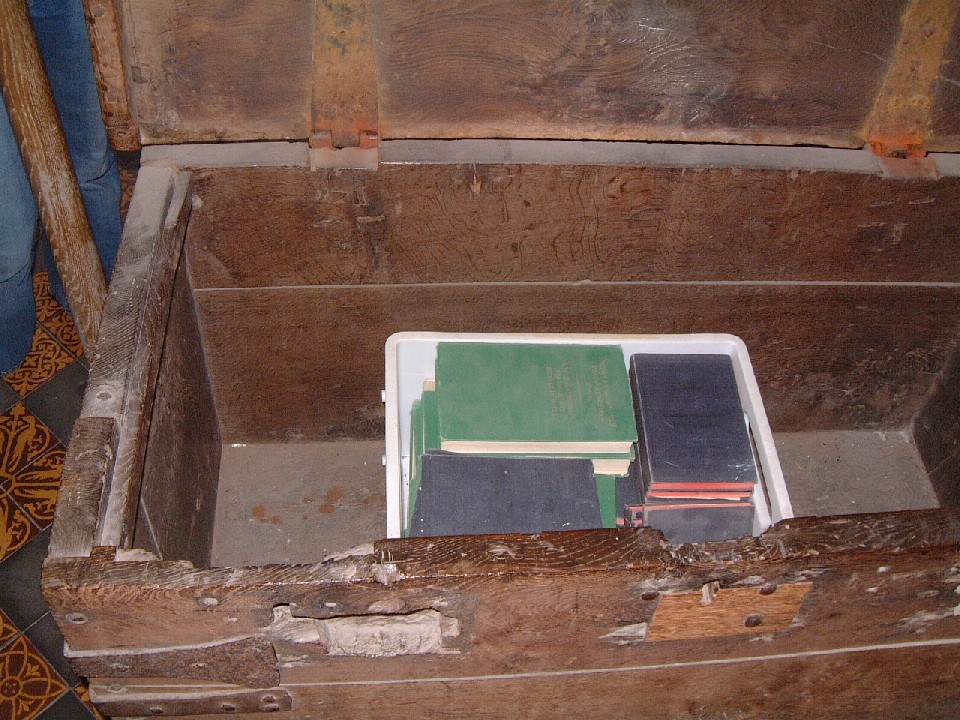
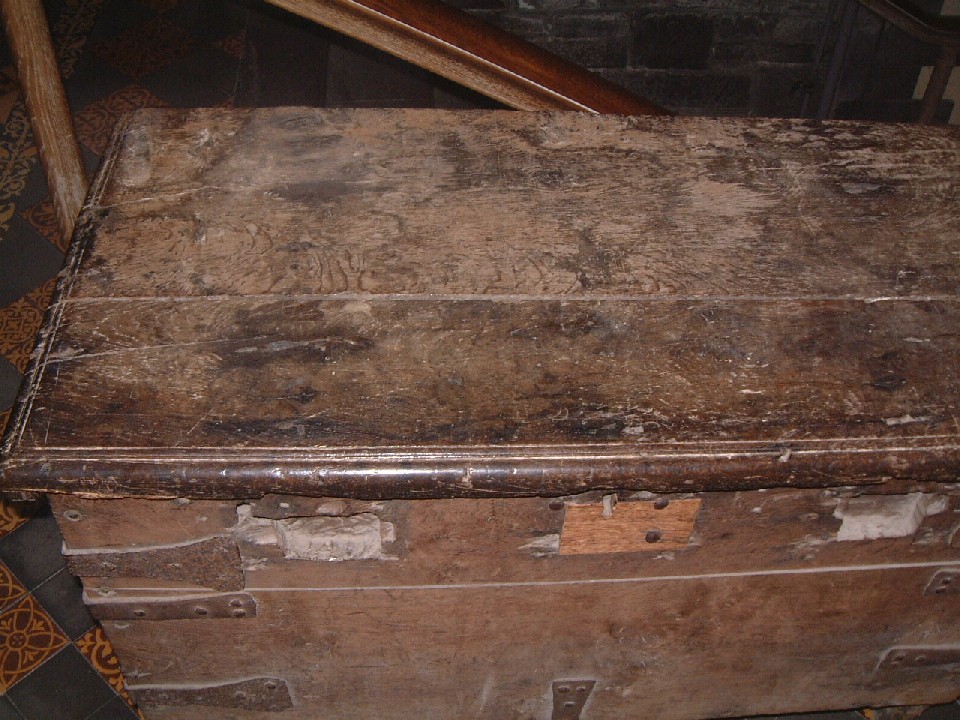
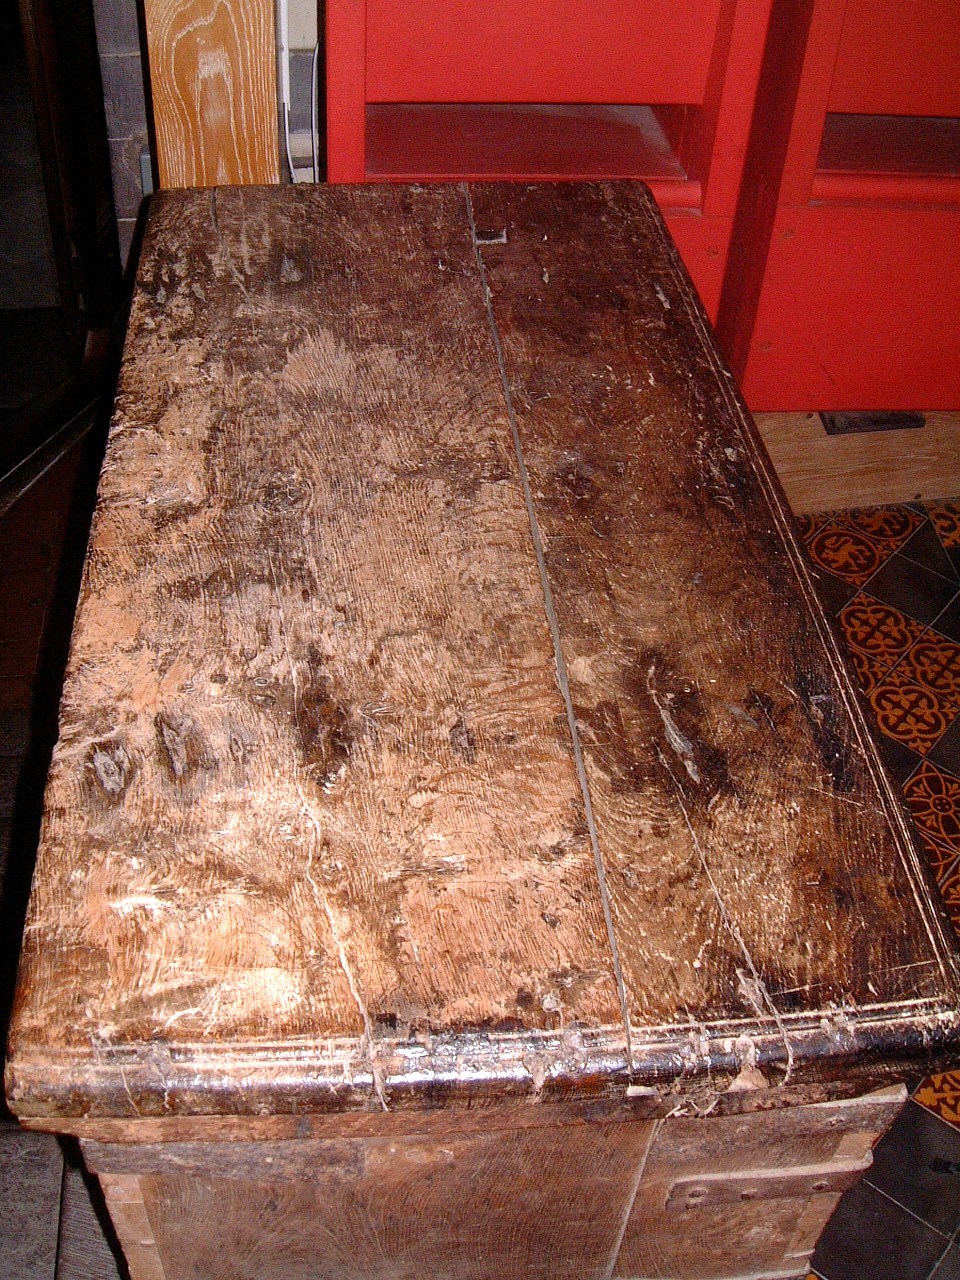
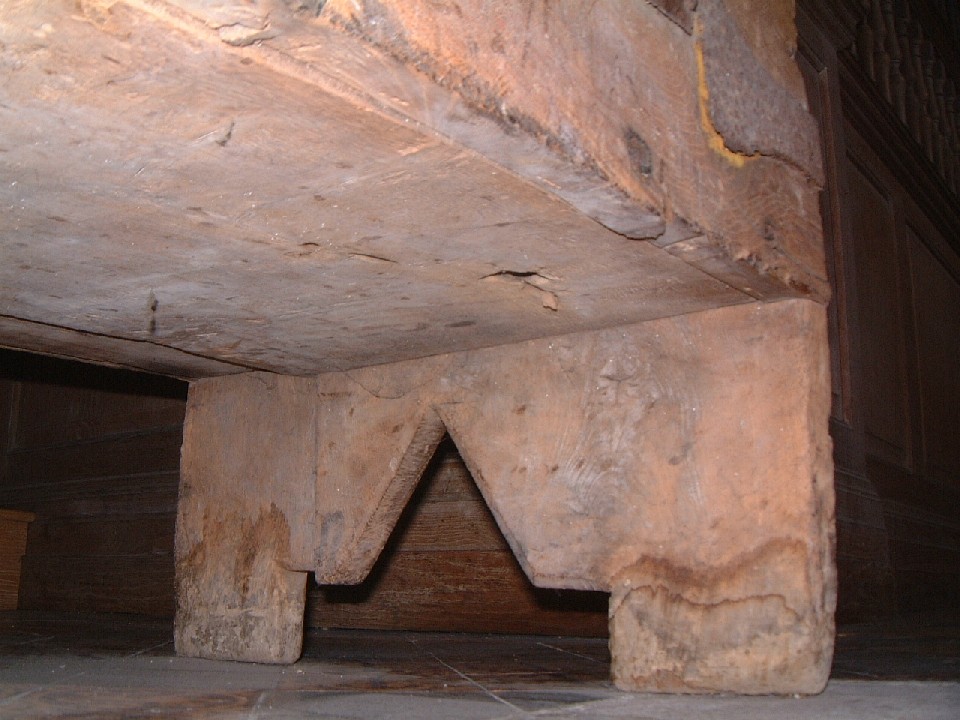
| A ??? century chest. (338kb) | The front of the chest. (207kb)
|
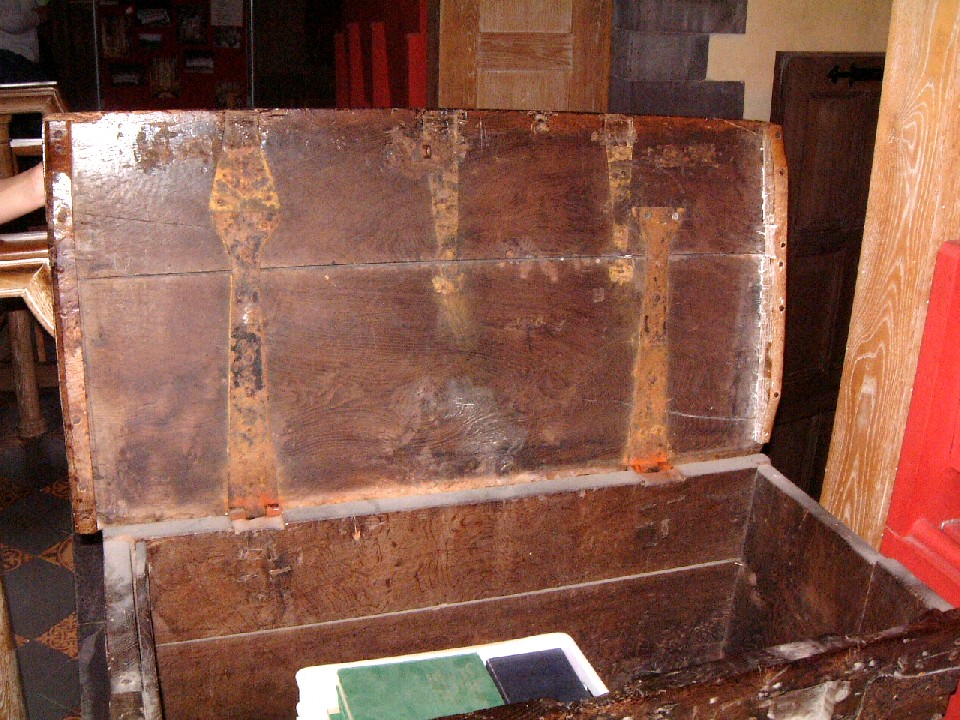
The inside of the chest and lid.(251kb) |
 |
 |
 |
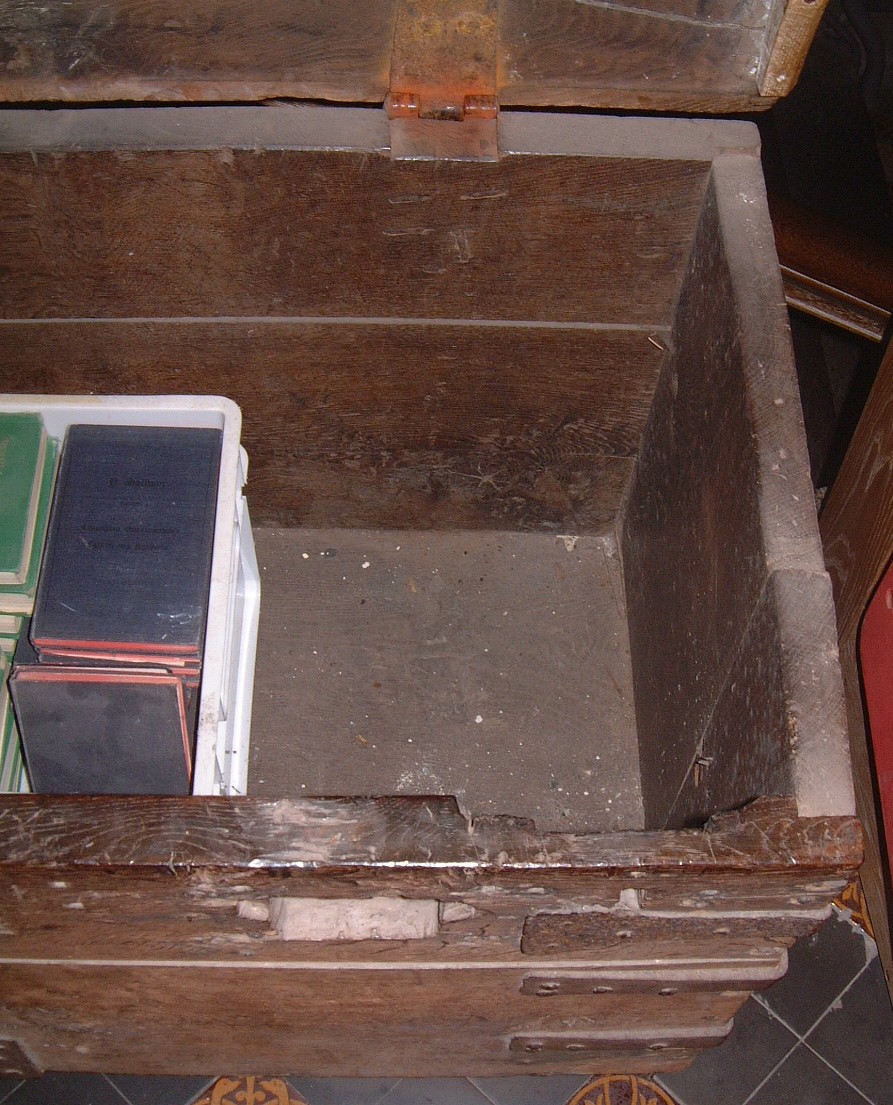
| The inside of the chest, showing the hinges. (241kb) | The right hinge, and some visible clinched
nails. (294kb)
|
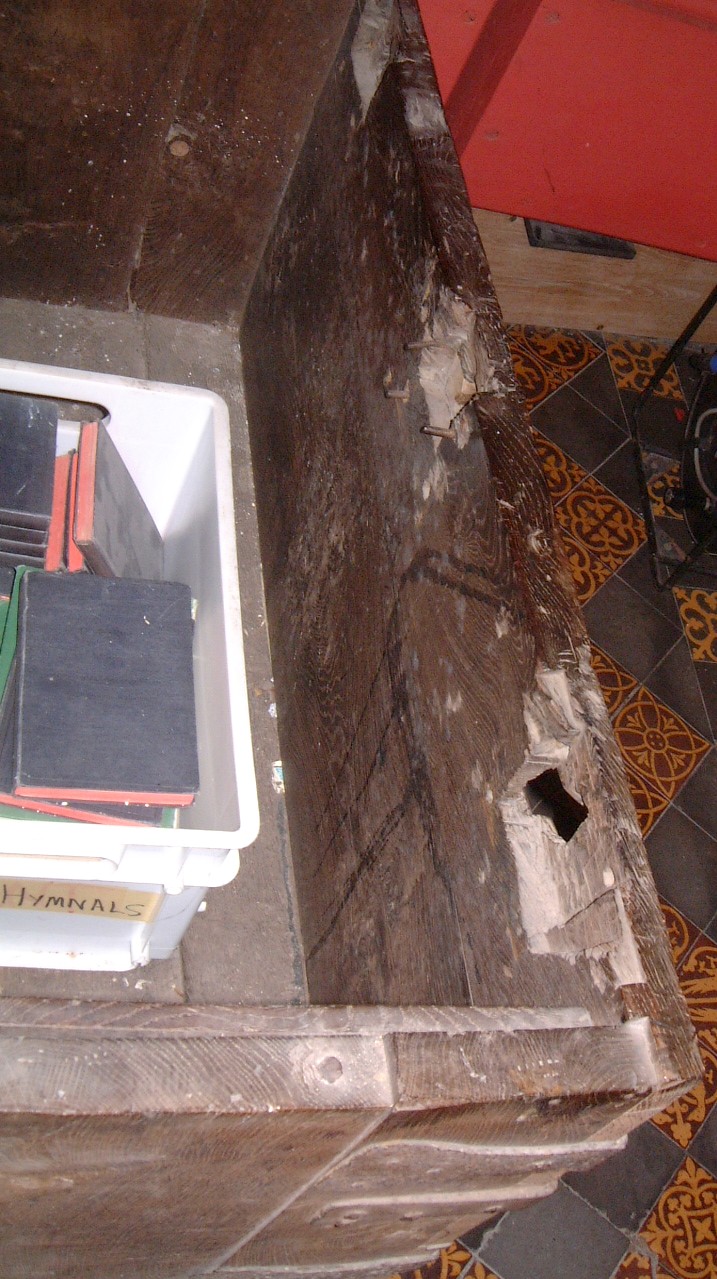
The inside of the front boards of the chest. (266kb) |
 |
 |
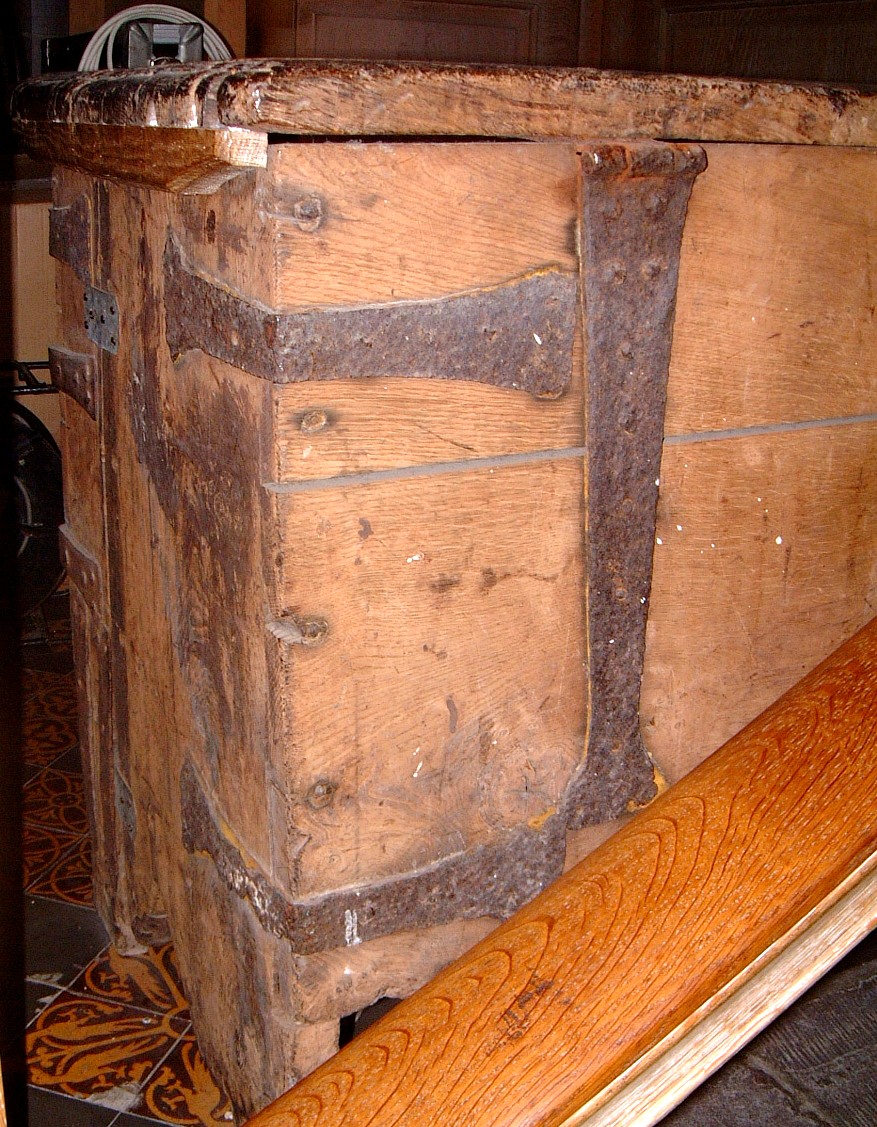 |
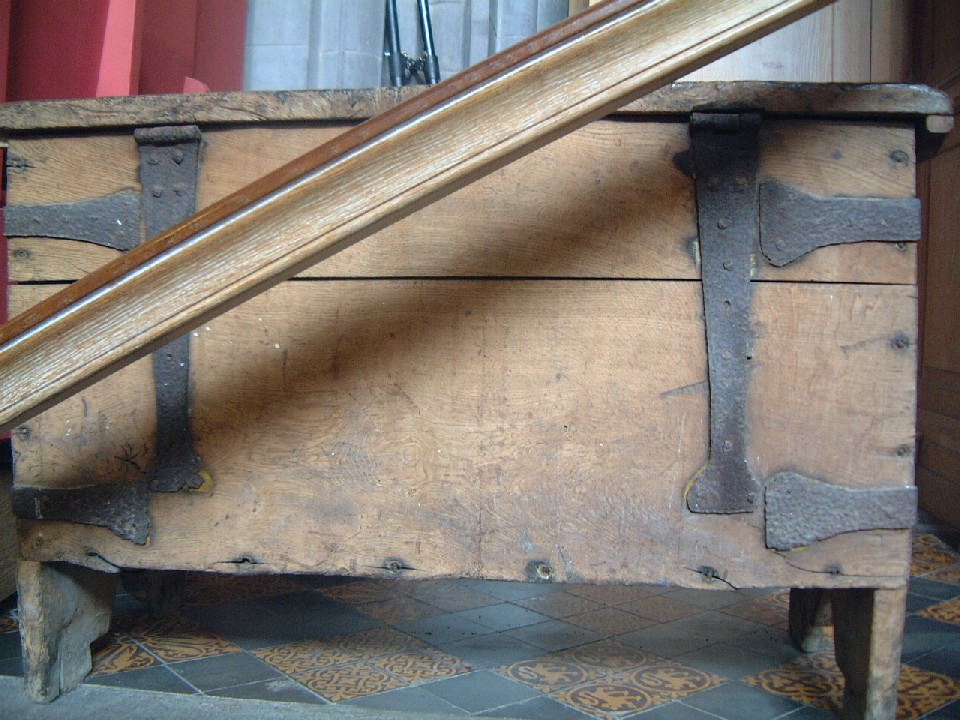
| The lid and front of the (left side of the)
chest, showing some damage and repairs. (217kb)
|
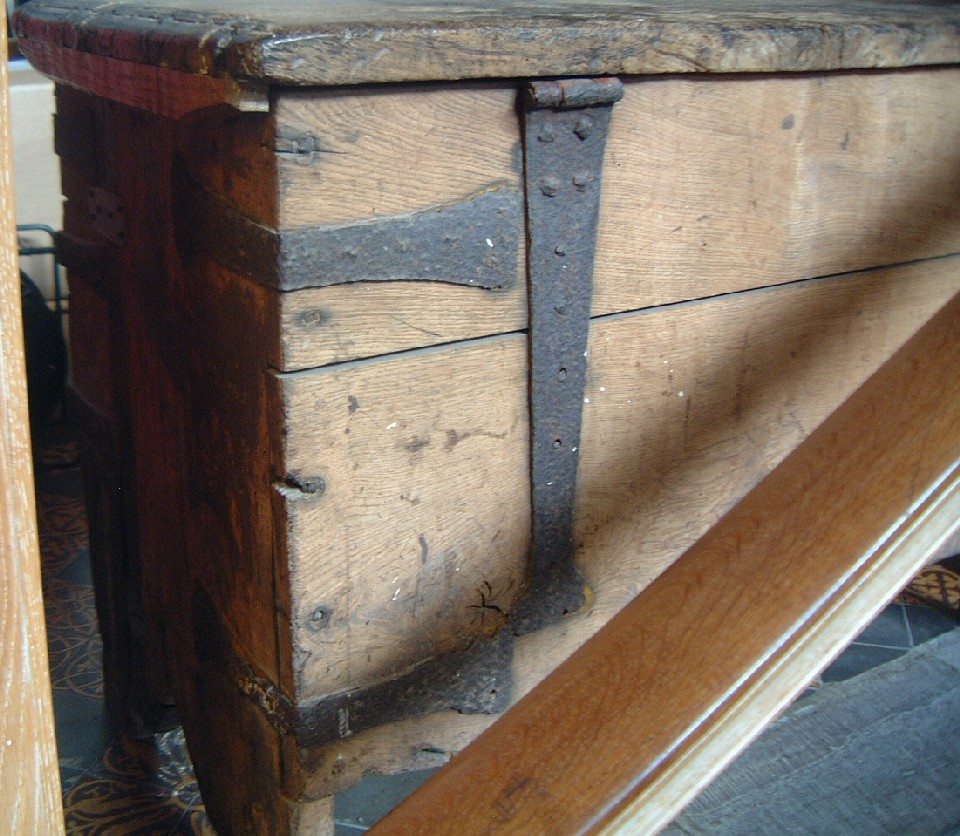
The chest from one end. (502kb) | The back of the chest, showing the right rear and hinge. (364kb) |
 |
 |
 |
| Another shot of the right rear, without flash, which shows the existing nails (better). (215kb) | The right rear leg, showing how the back
boards of the chest are sitting on the legs. (295kb)
|
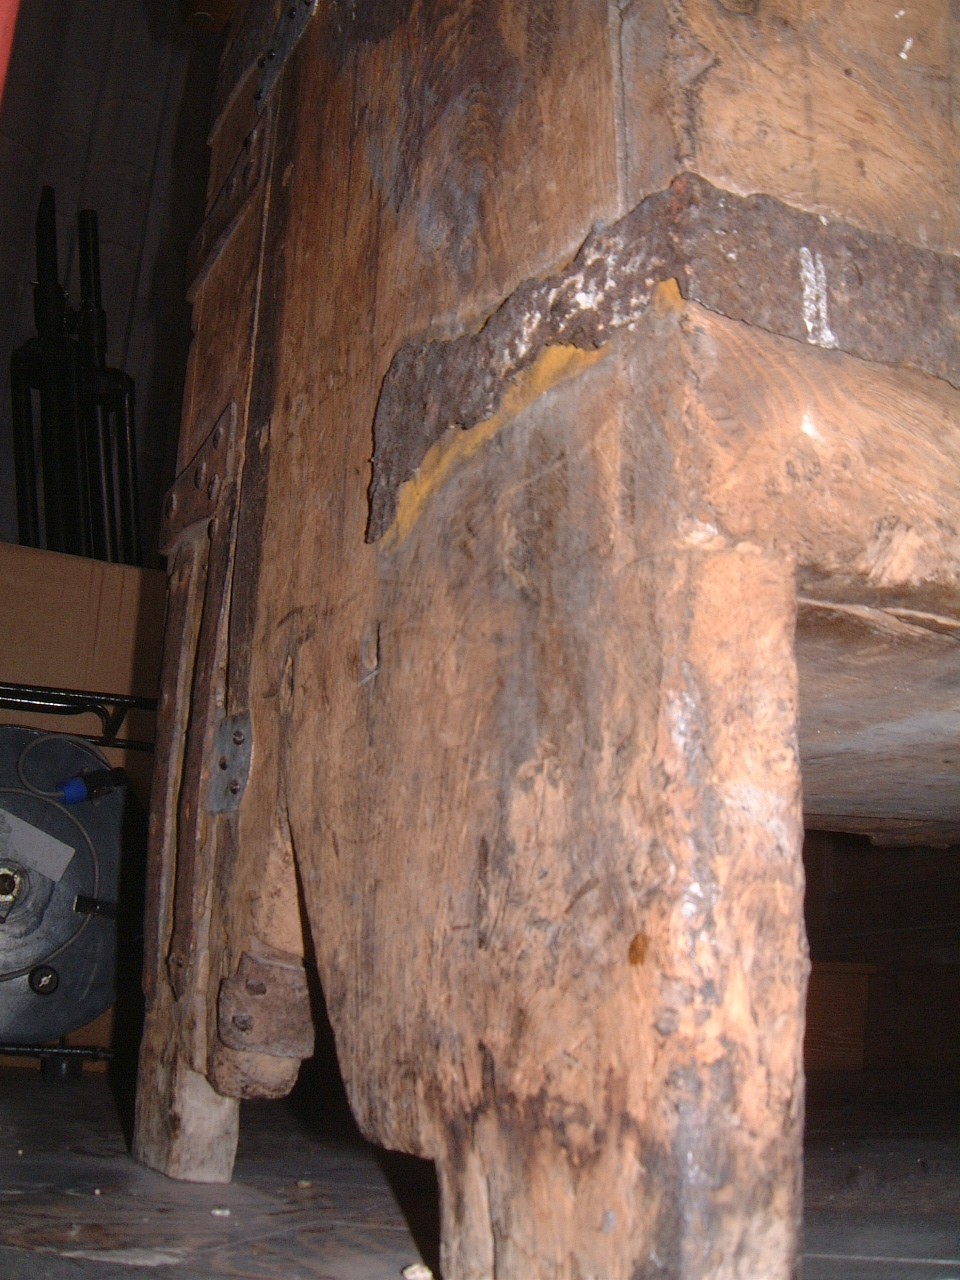
The underside of the left rear. (158kb) |
 |
 |
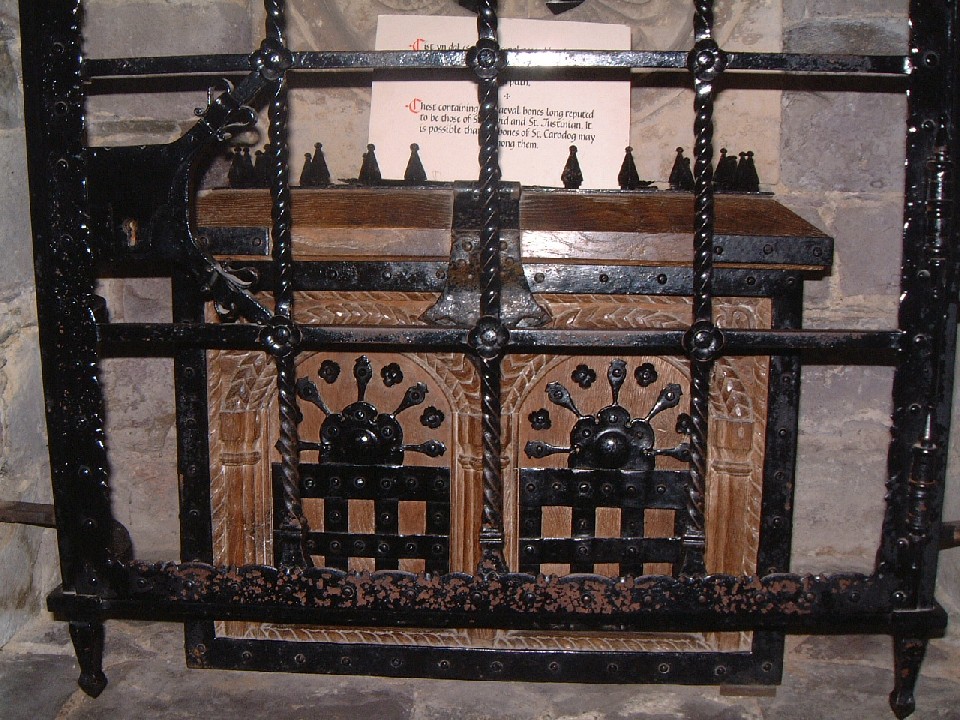 |
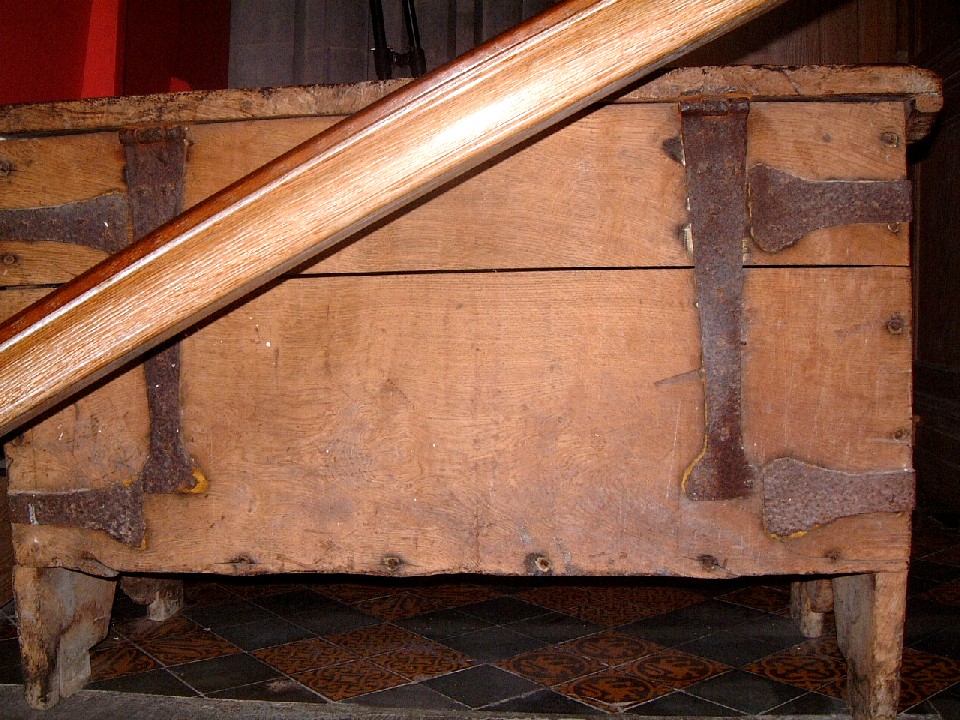
| The back of the chest, without flash. (200kb) | The back of the chest with flash. (250kb) | Reliquary with the bones of St ??? and St
??? (252kb)
|
 |
 |
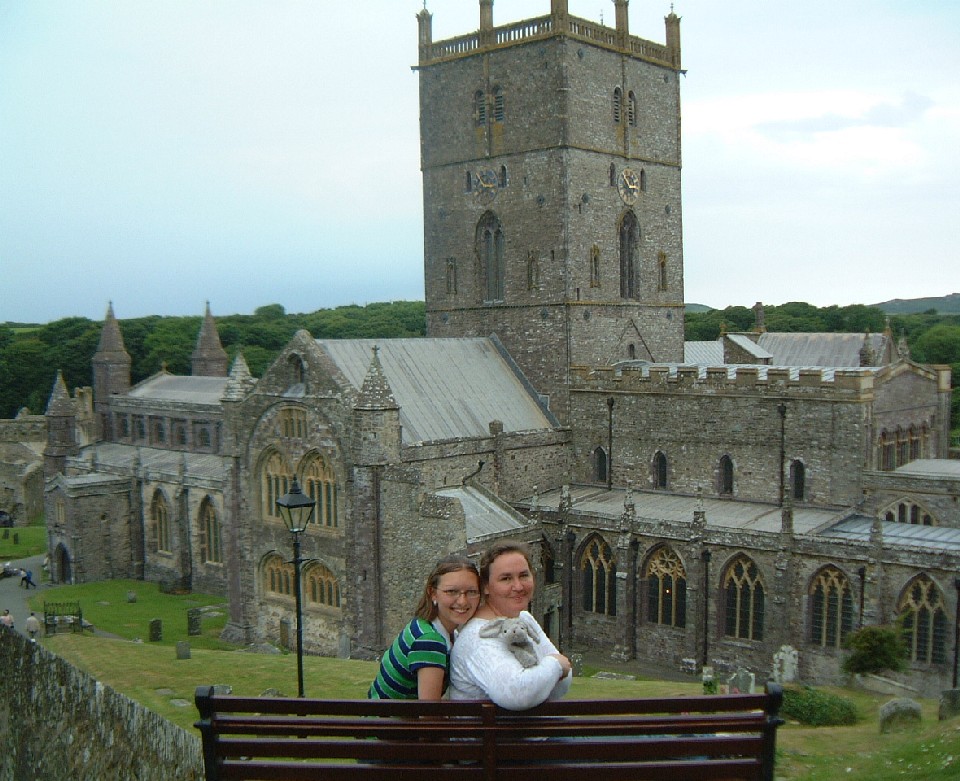 |
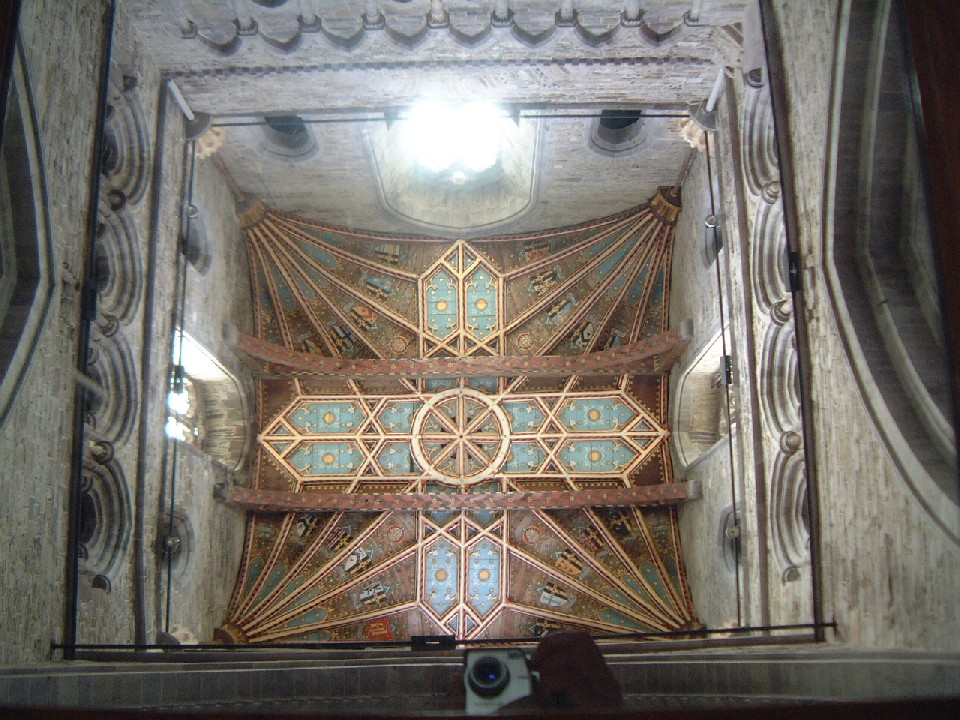
| A view (in a mirror) of the cathedral tower. (233kb) | The outer gate to the cathedral close. (204kb) | Tarythe, Debbie, and the vorpal bunny
outside the cathedral. (205kb)
|
 |
 |
|
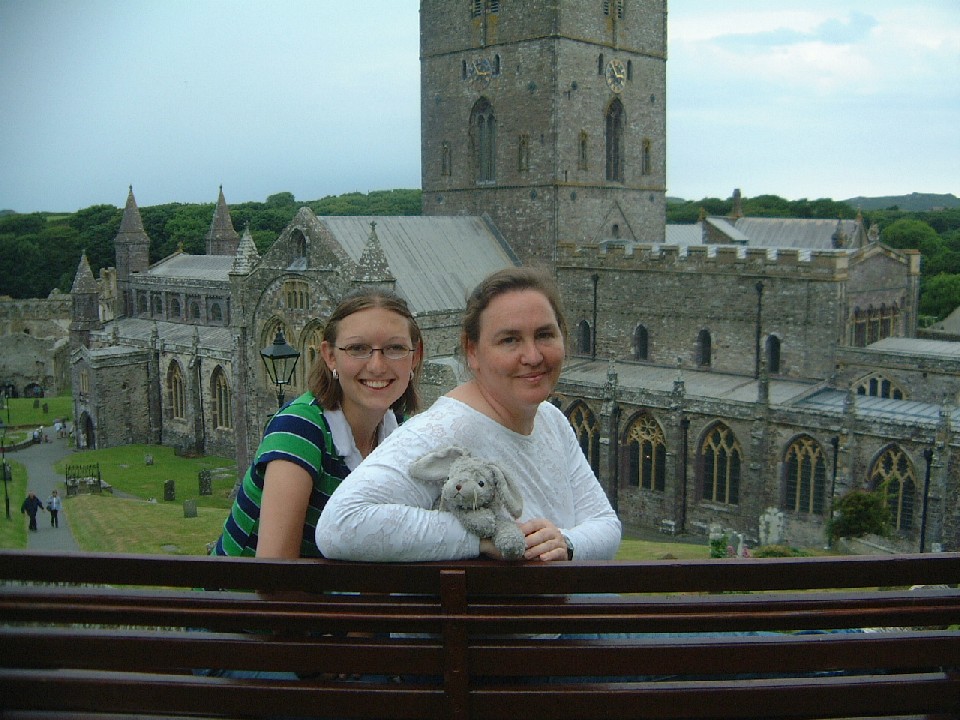
| A broader view of the cathedral. (197kb) | A close up of Tarythe, Deb, and the vorpal
bunny. (189kb)
|
|
| From St. David's we drove out to see St. Nons chapel. |
||
 |
 |
|
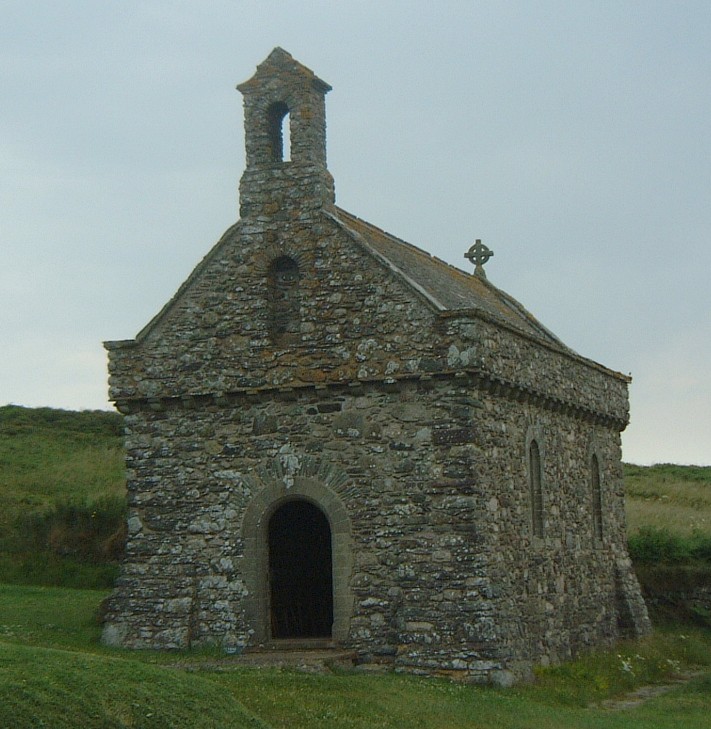
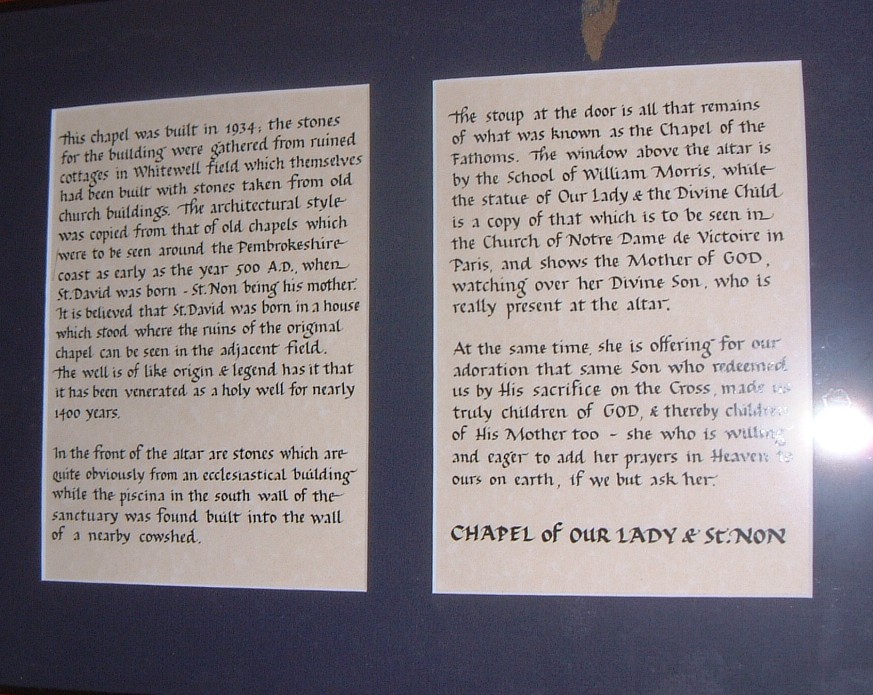
| Chapel of our Lady of St. Non (134kb) | Details on the chapel. (184kb)
|
|
| From St. Nons, we stopped in Haverfordwest to see the priory and castle. |
||
 |
 |
 |
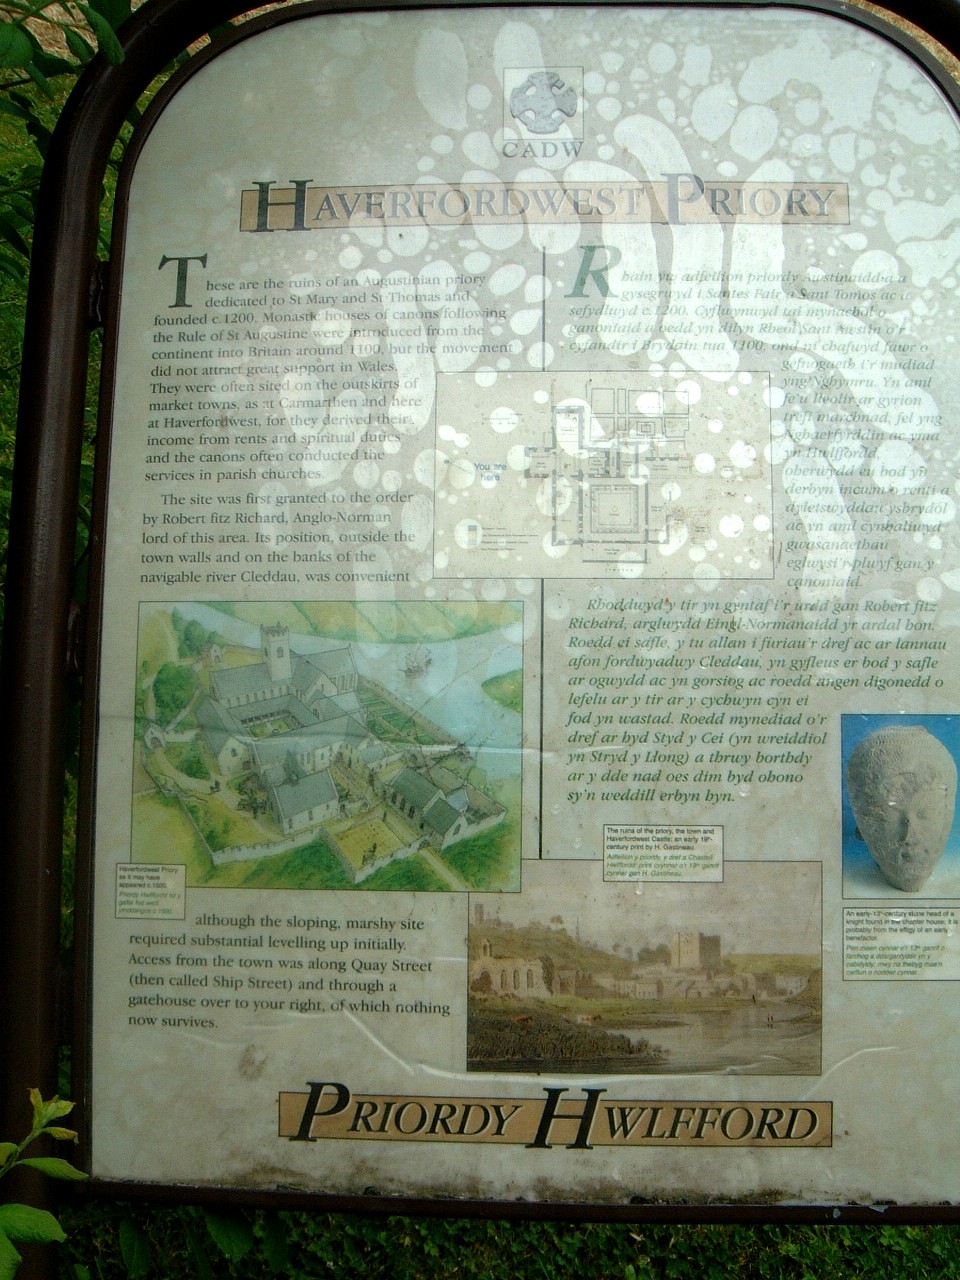
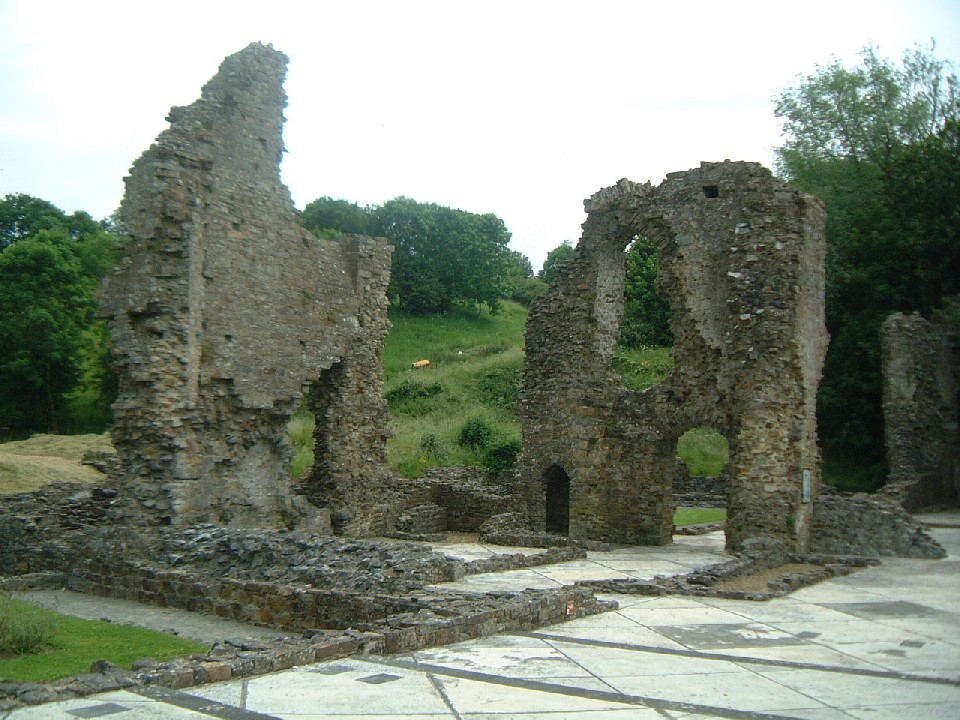
| Information on Haverfordwest Priory. (358kb) | The remains of the north transept (from the north) . (169kb) | The vorpal bunny checking out the remains of
Haverfordwest Priory. (252kb)
|
 |
 |
 |
| Deb and Tarythe among the remains. (225kb) | The central crossing of the church. (239kb)
|
Another view. (201kb) |
 |
||
The remains of the north transept (from the south) (235kb)
|
||
 |
 |
 |
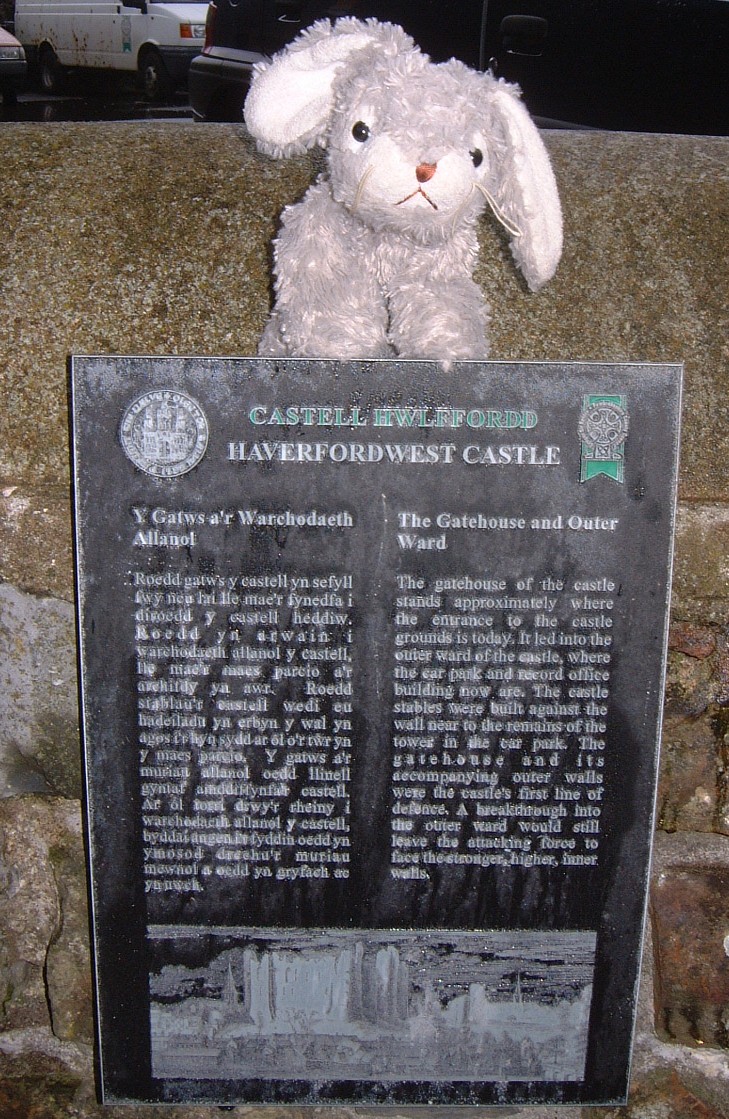
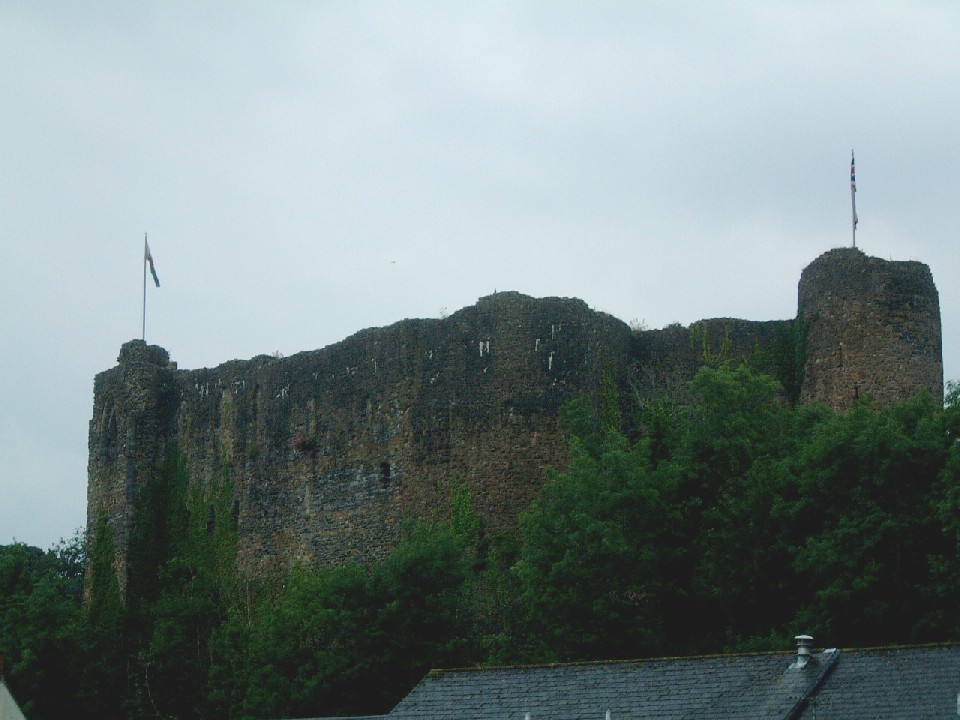
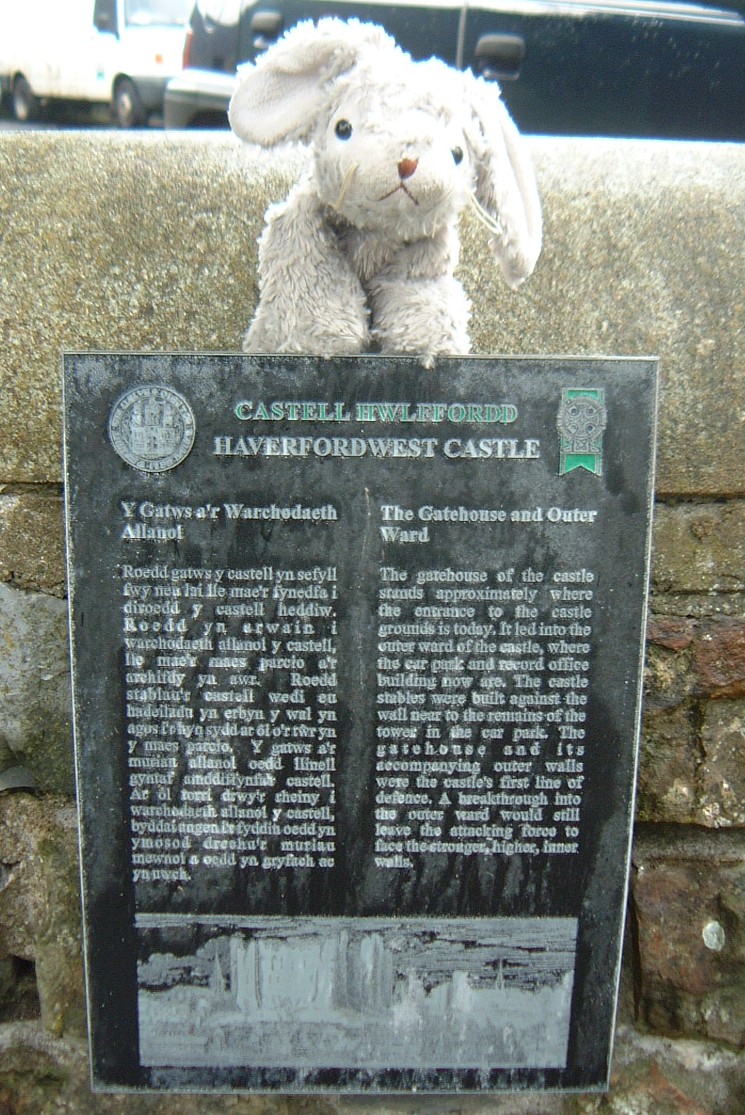
| The vorpal bunny with information on Haverfordwest castle. (324kb) | Haverfordwest Castle from down below. (132kb)
|
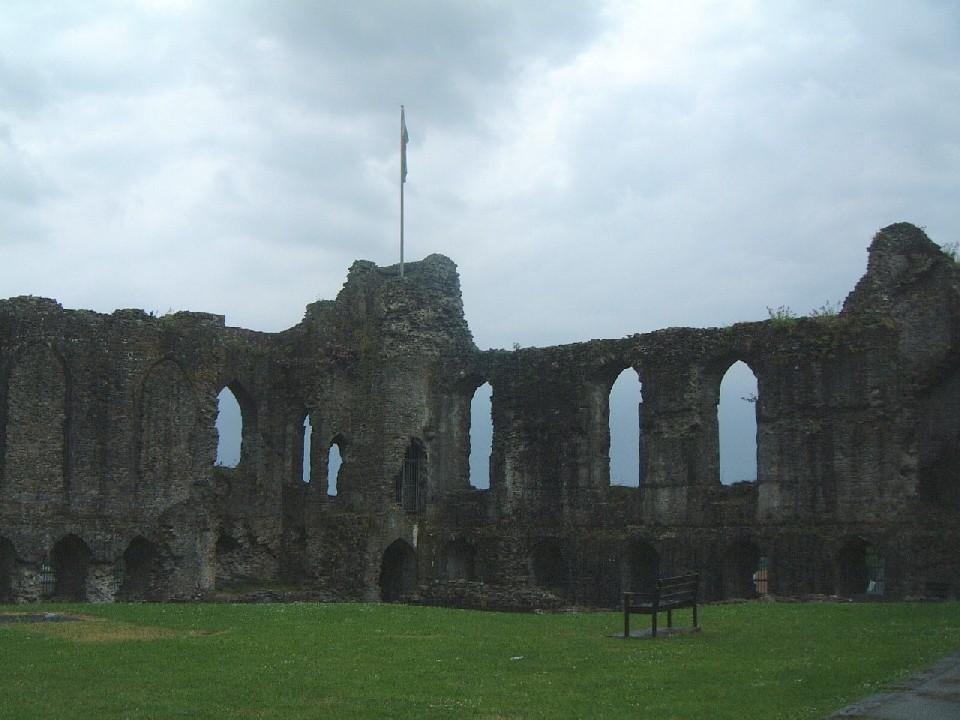
The inside of the remains of Haverfordwest castle. (142kb) |
 |
 |
|
| Another angle of the inside of Haverfordwest castle. (176kb) | Another shot of the information panel. (298kb)
|
|